
Butterscotch Hard Candy

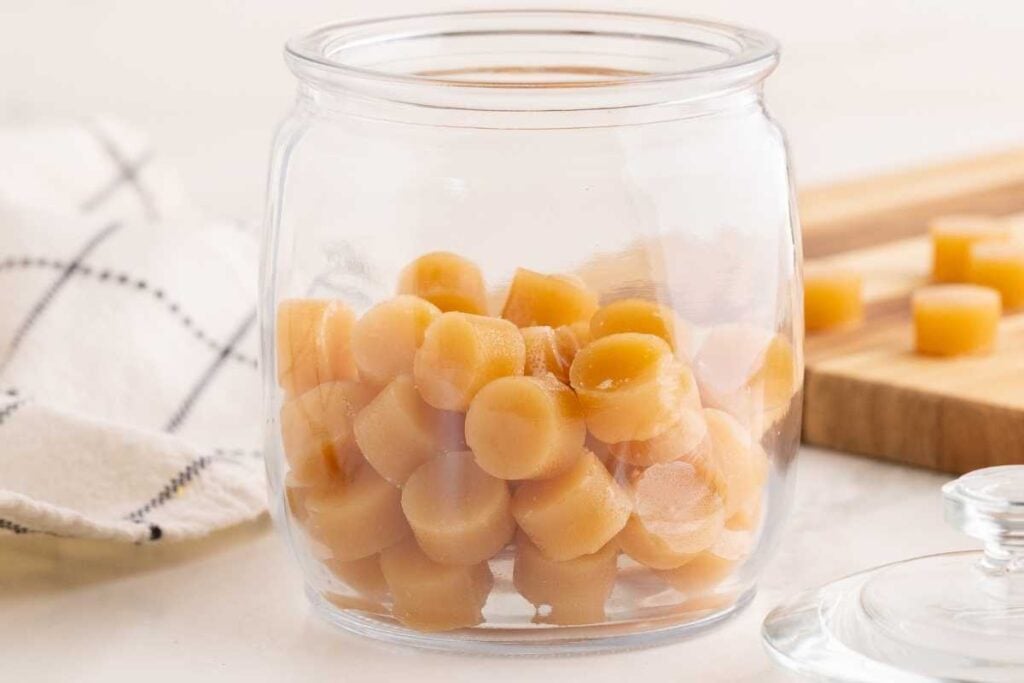
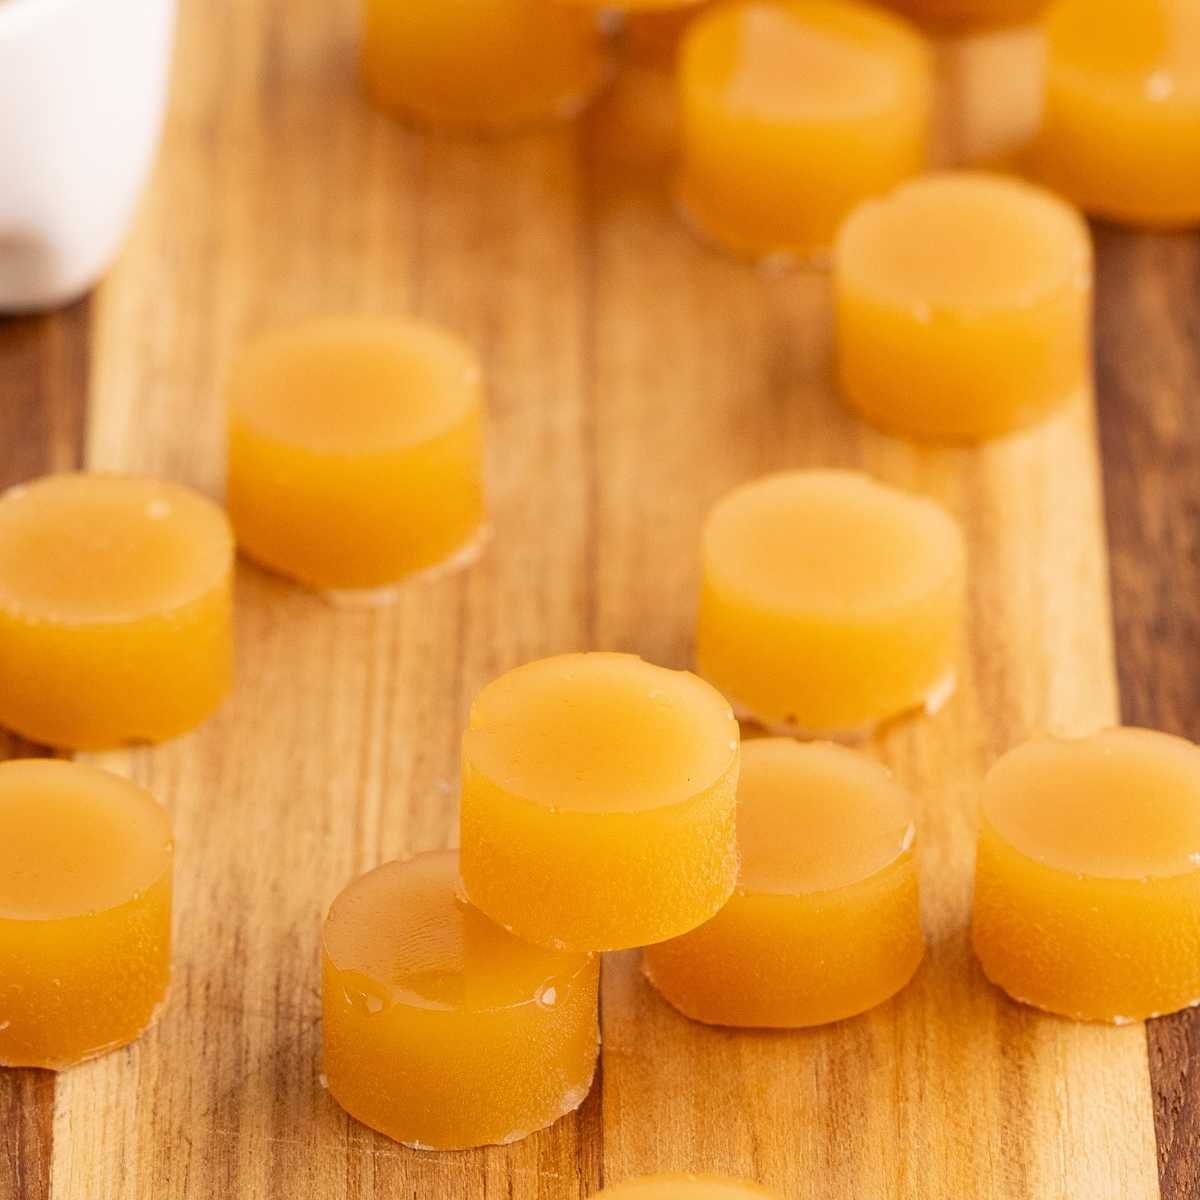
Hard butterscotch candies with that real caramelized-sugar snap. Keep in a jar by the door, tuck into stockings, or mix in with candy boxes at Christmas.
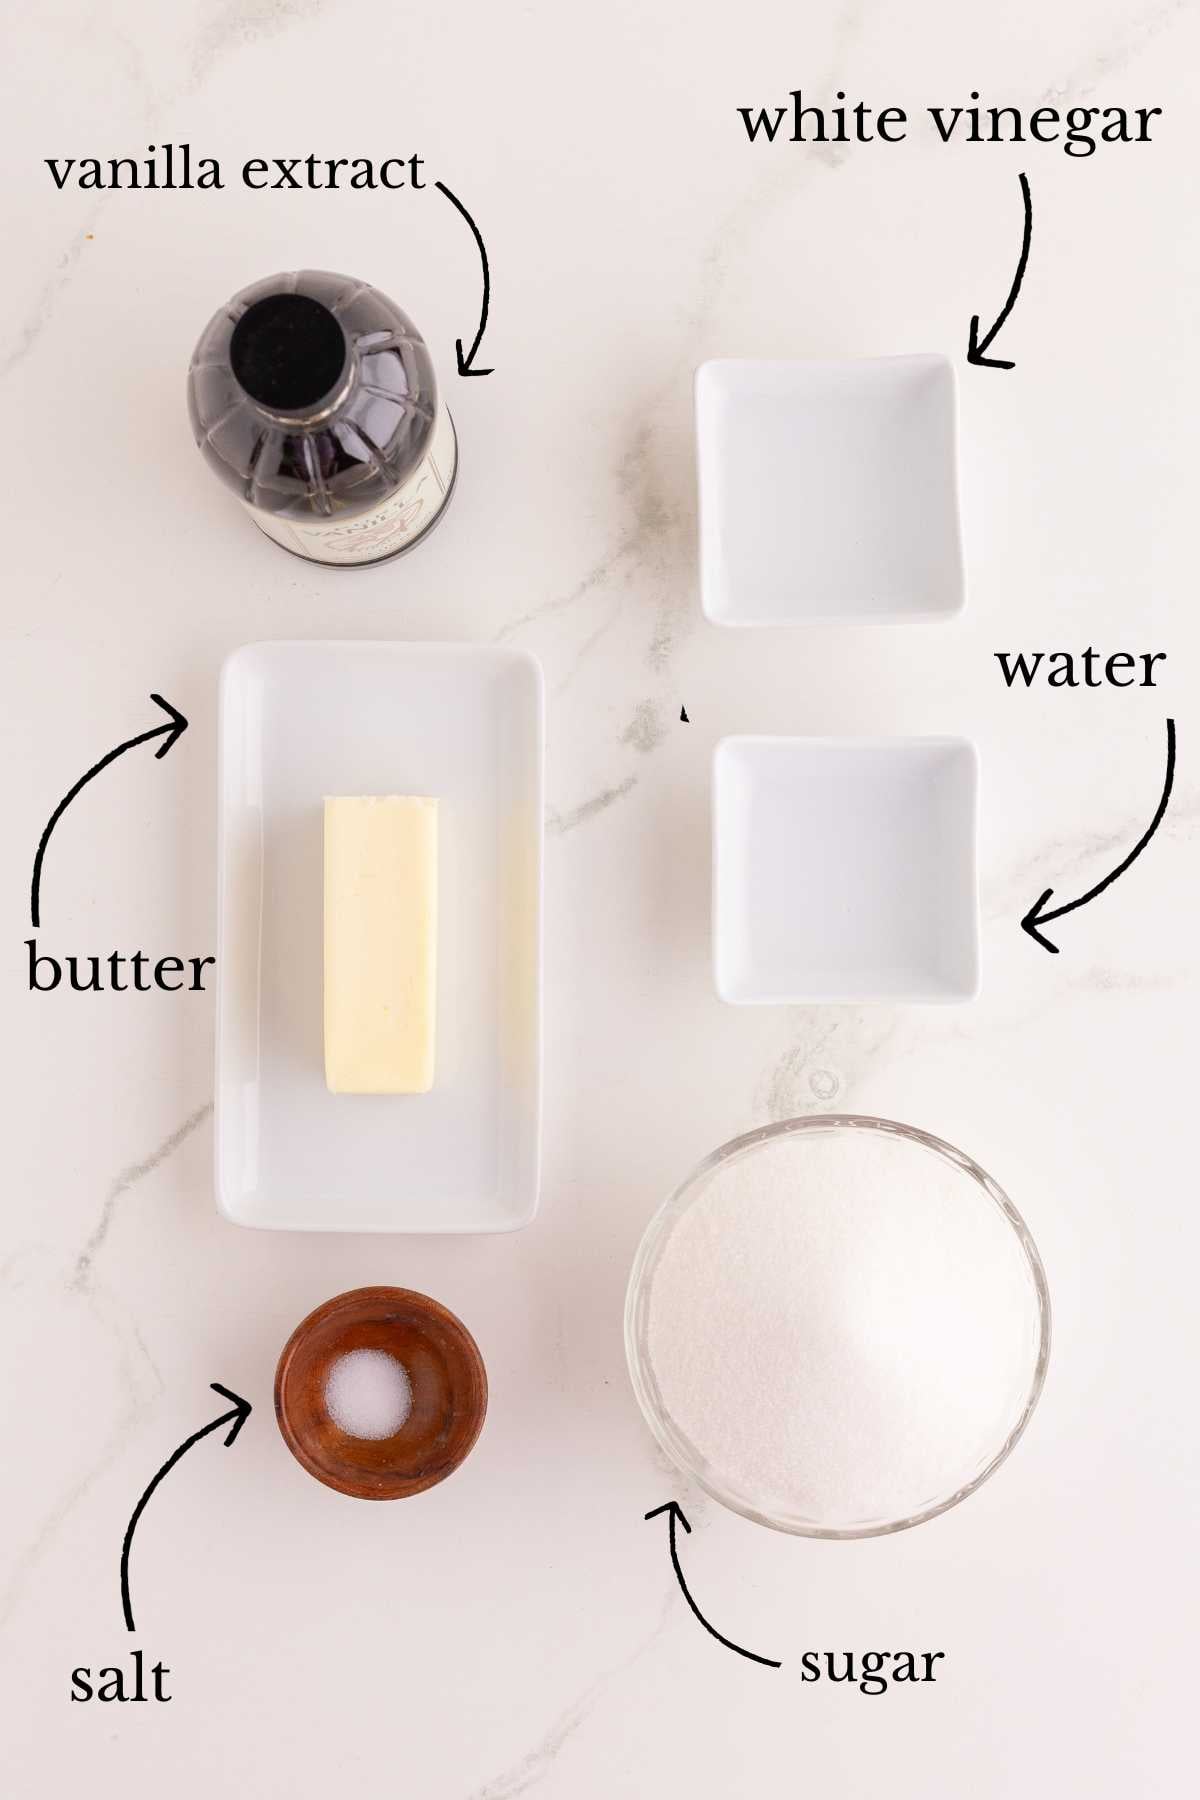
What You’ll Need
- 6 tablespoons unsalted butter. Use what you have. If you use salted, just omit the ⅛ teaspoon salt below.
- 1 ¼ cups granulated sugar. I wouldn’t substitute brown sugar here. It has different moisture and different flavor.
- 2 tablespoons water
- 1 tablespoon distilled white vinegar. Don’t skip it and don’t taste the pot looking for vinegar. The acid keeps the sugar from crystallizing, and there’s no vinegar flavor in the finished candy.
- ½ teaspoon vanilla extract. Added off the heat at the end. You can swap in rum, brandy, or maple extract for a different flavor.
- ⅛ teaspoon salt
Equipment You’ll Need
- Candy thermometer. Non-negotiable. Hard crack is 290°F, and you cannot eyeball it.
- Heavy-bottom 2-quart saucepan. A thin pan will scorch the sugar before it hits temperature. A pour spout helps too.
- Silicone candy mold
Doubling works, but here’s the catch: hot sugar sets fast, and you only have a minute or two to pour before it gets stiff in the pan. If you double, use a bigger heavy-bottomed pot (the mixture bubbles up a lot), have two molds lined up and ready, and expect the cook time to stretch by 5-10 minutes to hit 290°F. I wouldn’t triple; instead, make two separate batches, or you’ll end up with a pan of candy you can’t pour.
Instructions
Set up before you start
Get your candy mold onto a rimmed baking sheet and place it right next to the stove before you do anything else. Hot sugar waits for no one. Once that pan hits 290°F, you have about thirty seconds to pour, and if you’re hunting for your mold across the kitchen, the candy will start setting up in the pan.
Have the vanilla measured out too, and a butter knife or offset spatula ready for scraping. This is one of those recipes where the prep takes longer than the actual cooking.
Combine and start cooking
Add the butter, sugar, water, vinegar, and salt to a heavy-bottomed 2-quart saucepan. A pour spout is your best friend here if you have one. Stir everything together just enough to moisten the sugar, then put it over medium heat.
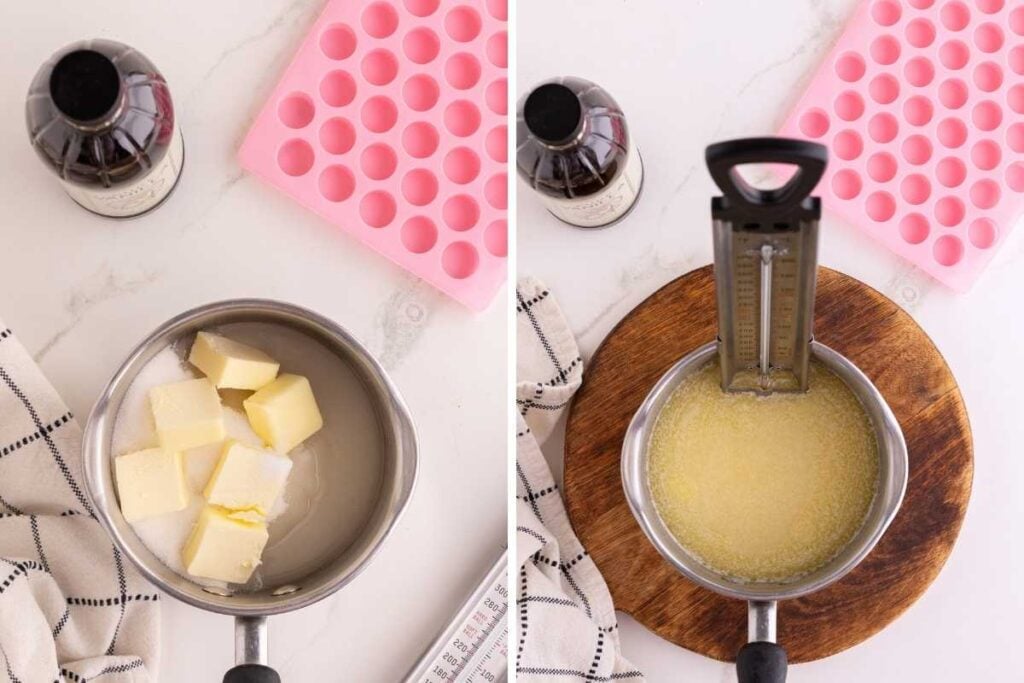
Once the butter has melted into the sugar, clip your candy thermometer to the side of the pan. Make sure the tip is sitting in the liquid but not touching the bottom of the pan. If it’s touching the metal, you’ll get a falsely high reading, and your candy will be underdone.
Cook to hard crack
Now leave it alone. Once the mixture comes to a boil, don’t stir. Stirring is the fastest way to make your candy grainy, and we worked hard to prevent exactly that with that little splash of vinegar. Just watch.
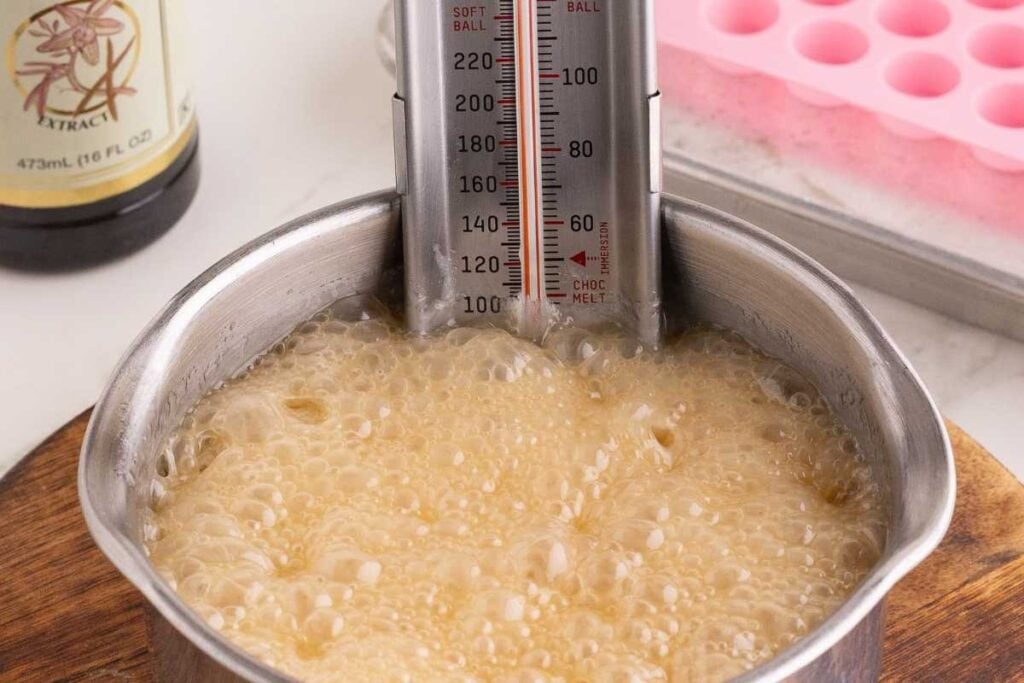
You’re cooking until the candy reaches 290°F and turns a light amber brown, which takes about 10-15 minutes. Watch the thermometer, not the clock. The color change happens fast at the end, so don’t wander off to start a load of laundry. When it hits 290°F, pull it off the heat immediately and stir in the vanilla. It will hiss and steam dramatically, which is normal.
Pour into the mold
Working quickly, pour the hot candy into the mold cavities, filling each one right to the top. Scrape across the top with an offset spatula or the straight edge of a butter knife to clean up any overflow — this is what gives you those tidy flat-bottomed candies that pop out cleanly.
Save This Post
You'll join my email list which you will love. And if you don't, unsubscribe in one click. ❤️
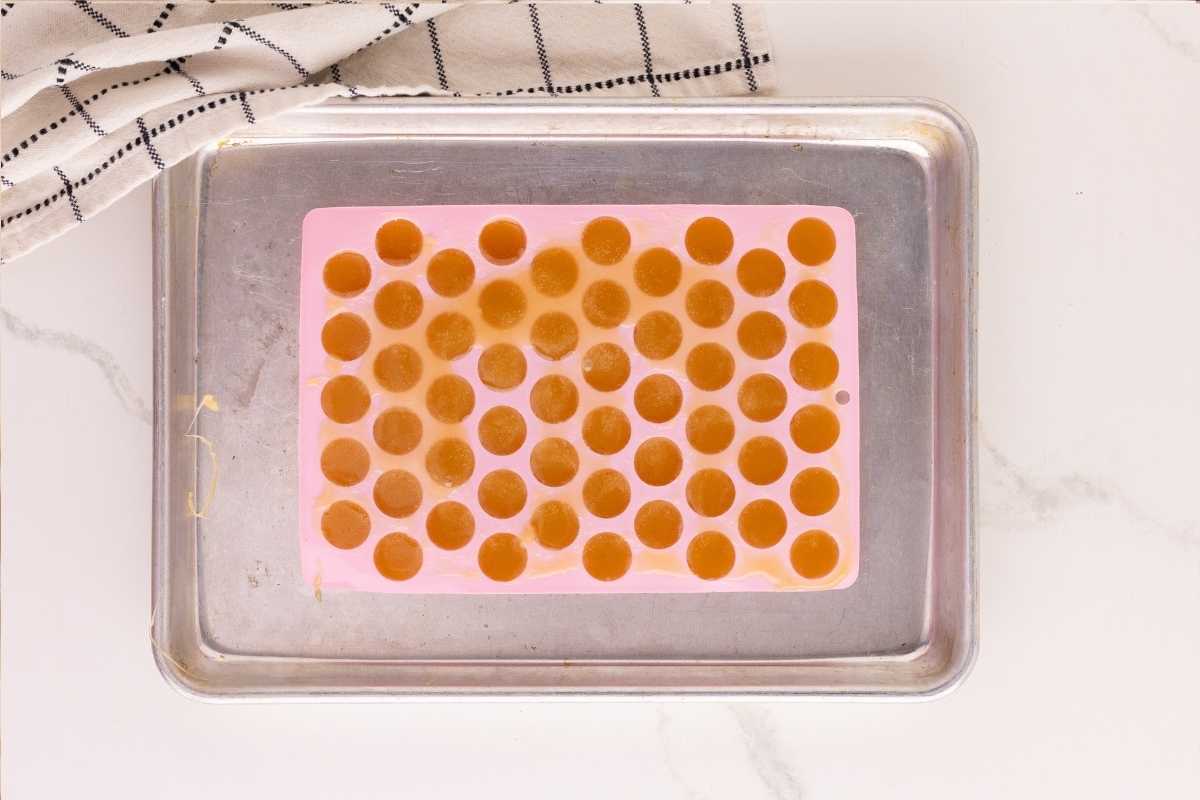
A word of caution: this mixture is around 290°F and will give you a serious burn if it touches your skin. Pour with intention, keep kids and pets out of the kitchen during this step, and don’t taste-test until the candies are fully cool.
Cool and unmold
Let the candies cool at room temperature for 1-2 hours. Don’t put them in the fridge to speed things up. Condensation will make them sticky, and sticky hard candy is sad hard candy.
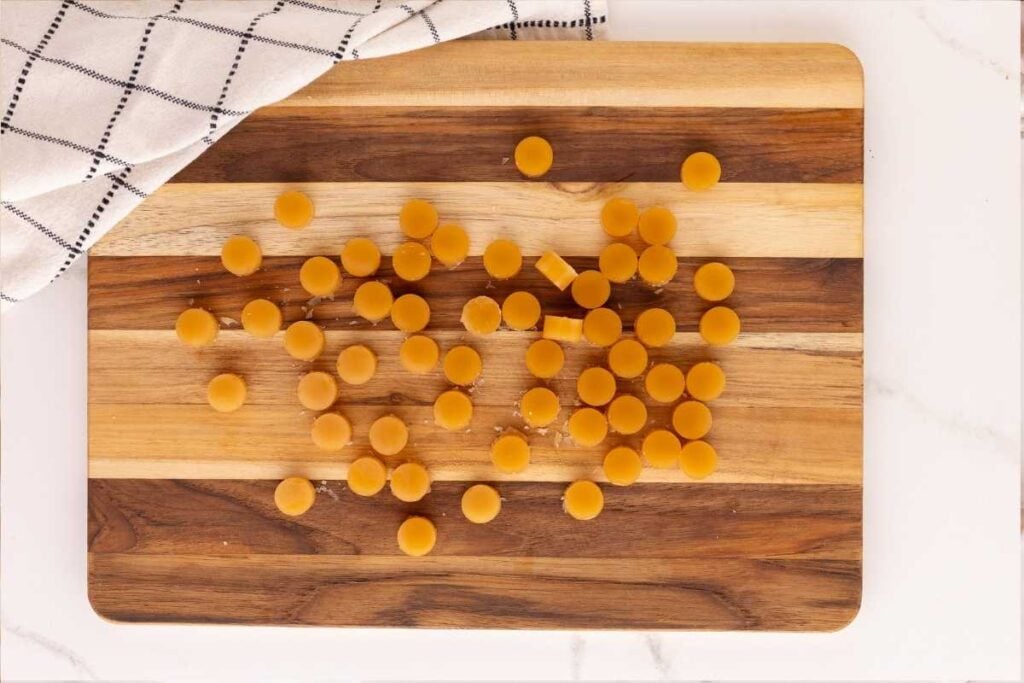
Once they’re completely cool and hard, press the bottom of each cavity to pop the candies out. You should get about 55 little half-teaspoon candies. Wrap them individually in twists of wax paper or cellophane, and they’ll keep at room temperature in an airtight container for up to 4 weeks.
Storage Instructions
Hard candies are sticky little magnets for humidity, so wrap each one individually in a small square of wax paper or cellophane (twist the ends) before storing. Unwrapped candies piled together will fuse into one giant butterscotch boulder within a day — ask me how I know.
Once wrapped, keep them in an airtight container at room temperature for up to 4 weeks. A cool, dry cabinet is ideal. Avoid anywhere near the stove or a sunny windowsill, since heat will soften them.
Skip the fridge. The condensation when you pull them out will make them tacky and cloudy.
Variations
- Maple butterscotch: swap the vanilla for ½ teaspoon maple extract.
- Rum butterscotch: swap the vanilla for ½ teaspoon rum extract — tastes like an old-fashioned hard sauce.
- Brown sugar version: use brown sugar instead of granulated for a darker, deeper candy. Just know it won’t be that classic golden color.
- Flaky salt on top: sprinkle a tiny pinch of flaky salt into each mold before pouring.
Questions and Troubleshooting
Do I really need a candy thermometer?
Yes. Hard candy is all about hitting 290°F exactly — too low, and it’s sticky, too high, and it’s bitter. This is not the recipe to wing it on.
Can I use brown sugar instead of granulated?
You can, but the candy will be darker and the flavor more molasses-y than classic butterscotch. I’d stick with granulated and let the caramelization do the work.
What if I don’t have a silicone candy mold?
Pour the mixture onto a parchment-lined baking sheet in a thin layer, let it harden, then crack it into shards. Less cute, equally delicious.
More Candies to make and gift
Butterscotch Hard Candy
Equipment
- Candy thermometer
- Silicone candy mold
- heavy-bottomed saucepan
- Baking Sheet
Ingredients
- 6 tablespoons unsalted butter
- 1¼ cups granulated sugar
- 2 tablespoons water
- 1 tablespoon distilled white vinegar
- ½ teaspoon vanilla extract
- ⅛ teaspoon salt
Instructions
- Set up the mold. Place the silicone candy mold on a rimmed baking sheet and set aside.
- Combine the ingredients. In a 2-quart heavy-bottomed saucepan, preferably with a pour spout, combine the butter, sugar, water, vinegar, and salt. Stir to moisten the sugar, then place over medium heat.
- Clip on the thermometer. Once the butter has melted, clip the candy thermometer to the side of the pan, making sure the tip does not touch the bottom.
- Cook to hard crack. Once the mixture begins to boil, stop stirring. Cook until the syrup turns light brown and reaches 290°F (hard crack stage), 10-15 minutes.
- Add the vanilla. Remove the pan from the heat, add the vanilla extract, and stir gently to incorporate.
- Fill the mold. Working quickly and carefully, pour the hot mixture into the candy mold, filling each cavity to the top. Scrape away any excess with an offset spatula or the straight edge of a butter knife.
- Cool and unmold. Let the candy cool at room temperature for 1-2 hours, then press the bottom of the mold to release the hardened candies.
Notes

More to explore