
Chewy Homemade Raspberry Caramels

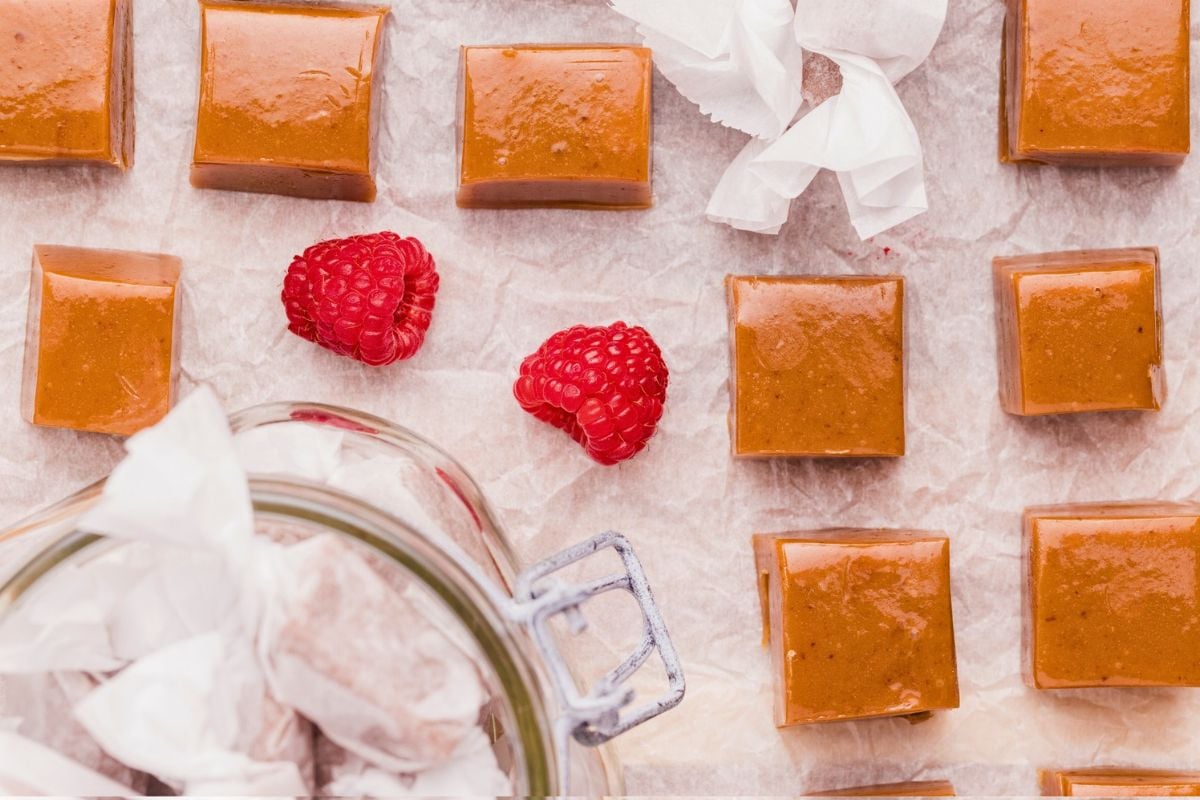
A little different from a regular ol’ caramel, with just a hint of raspberry sweetness. You’ll use frozen berries, so you can definitely make this for any winter holiday.
What You’ll Need
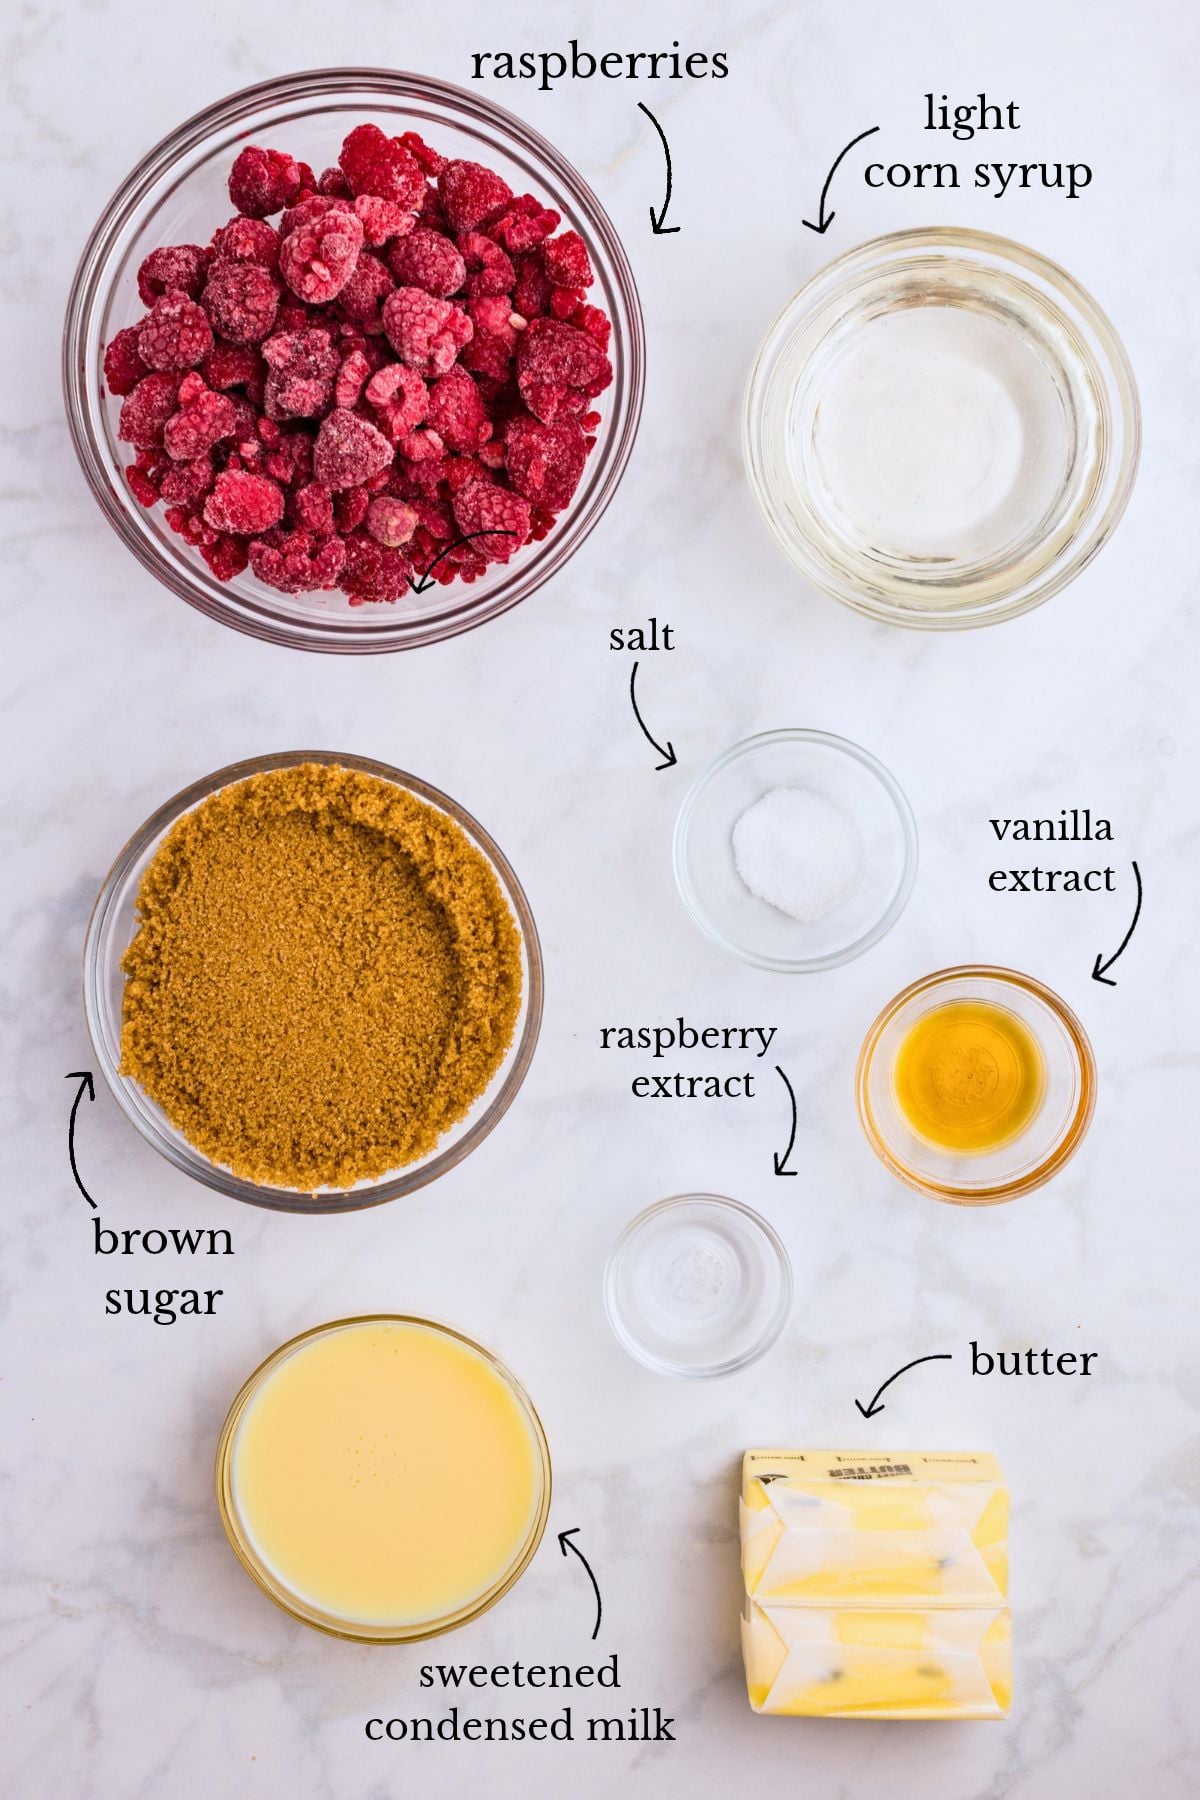
- 1 12-ounce bag frozen raspberries, thawed (or 12 oz fresh raspberries)
- 2 cups brown sugar, packed
- 1 14-ounce can sweetened condensed milk
- 1 cup light corn syrup
- 1 cup unsalted butter
- ½ teaspoon salt
- 1 teaspoon vanilla extract
- ½ teaspoon raspberry extract – this is optional (but highly recommended for the best raspberry flavor)
- Red gel food coloring – also optional; feel free to add if you want the caramels to have a red tint. Use very sparingly; you only need a small drop to change the color.
Equipment You’ll Need
You’ll need a few tools for this recipe that I’m sure you already have.
You’ll need a blender and a fine-mesh strainer to make the raspberry puree.
You’ll also need a heavy-bottomed saucepan to make the caramel. Trust me on this; it’s the best pan for maintaining the right caramel temperature. A candy thermometer is also incredibly helpful if you find yourself loving recipes like this!
An 8×8 pan is great for making the perfectly sized caramels (9×9 will also work, but they won’t be as thick). You’ll also want parchment paper so nothing sticks.
Instructions
Puree the raspberries
Start by thawing the frozen raspberries, then puree them in a blender or food processor. If you’re using fresh berries, puree them as is.
Strain out the seeds
Then set the strainer over a bowl and press the berry puree to remove the seeds. I like to use a rubber spatula because it’s flexible and easily squeezes the puree out.
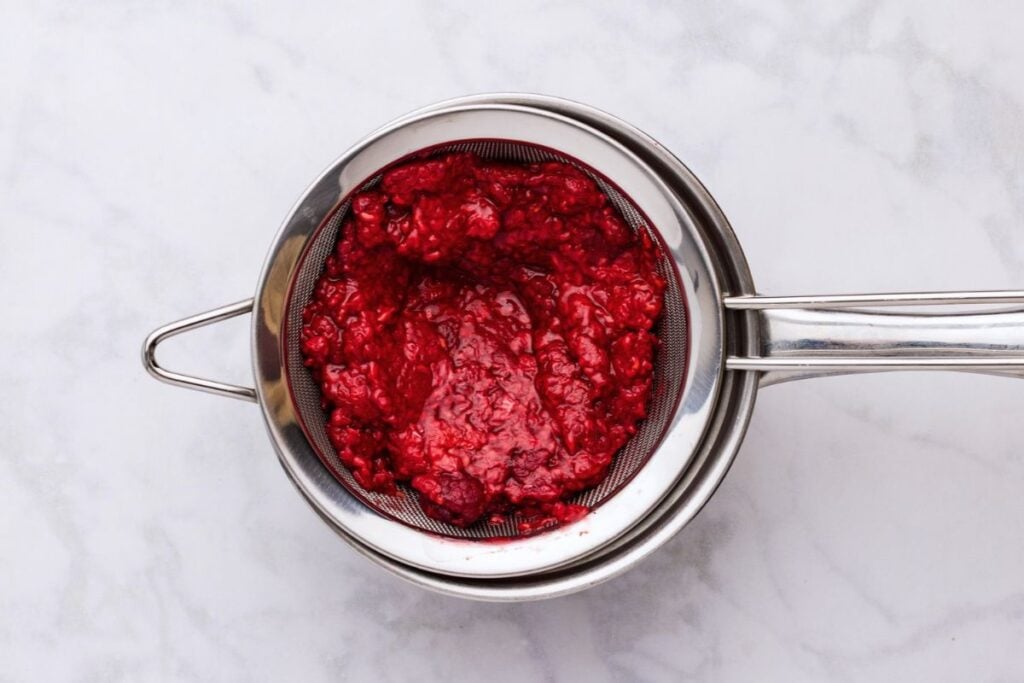
You should have about 1 to 1¼ cups of seedless puree when you’re done.
Reduce the puree
Pour the puree into a saucepan and simmer over medium heat. Stir often so the puree doesn’t burn.
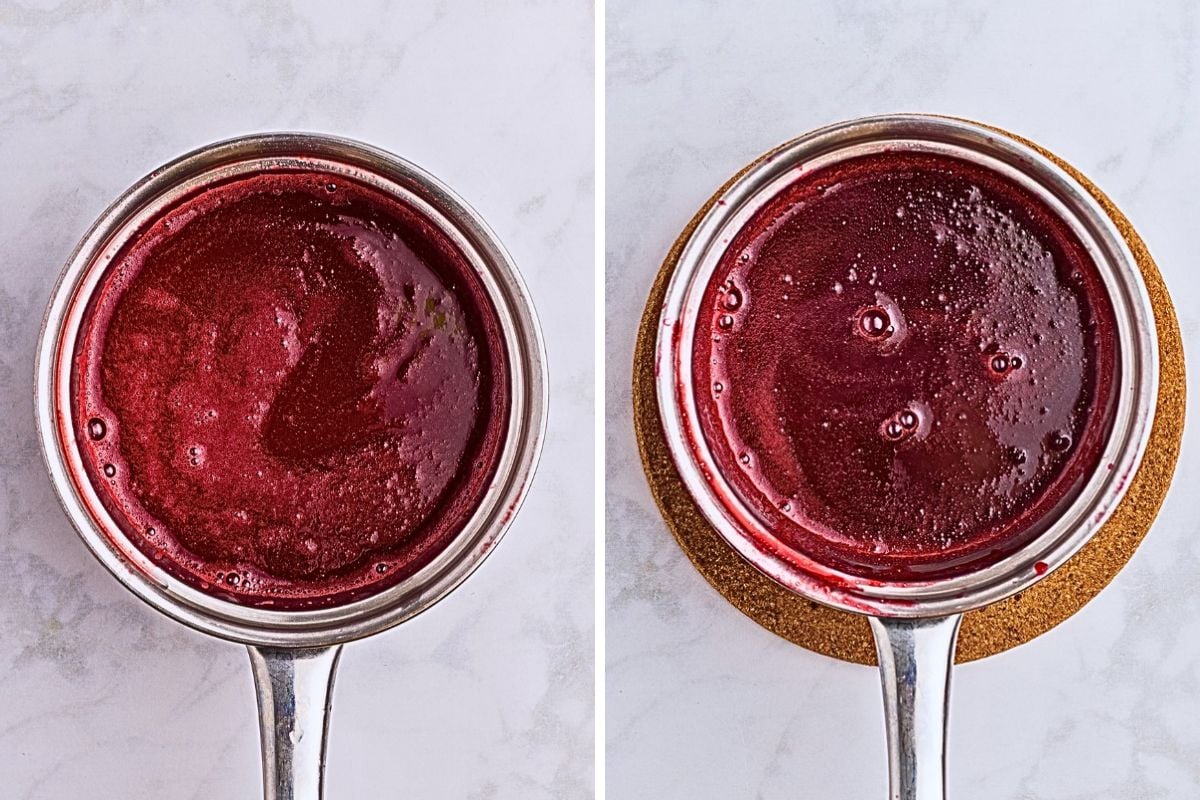
Simmer for about 6-8 minutes, until the puree reduces to about 1/4 cup. When it reaches that amount, set the pan aside while you prep it.
Prepare the pan
A simple but VERY important step — you have to prep the pan. Line your 8×8-inch square pan with parchment paper. It’s OK if some of the edges stick out. It’s easier to grab that way.
Hot tip: As the holidays approach, I find myself needing parchment paper A LOT. Here’s your reminder to pick up an extra roll to have on hand for these candy and baking recipes.
Combine the ingredients
Next, in that heavy-bottomed saucepan, add the brown sugar, sweetened condensed milk, corn syrup, butter, and raspberry puree reduction.
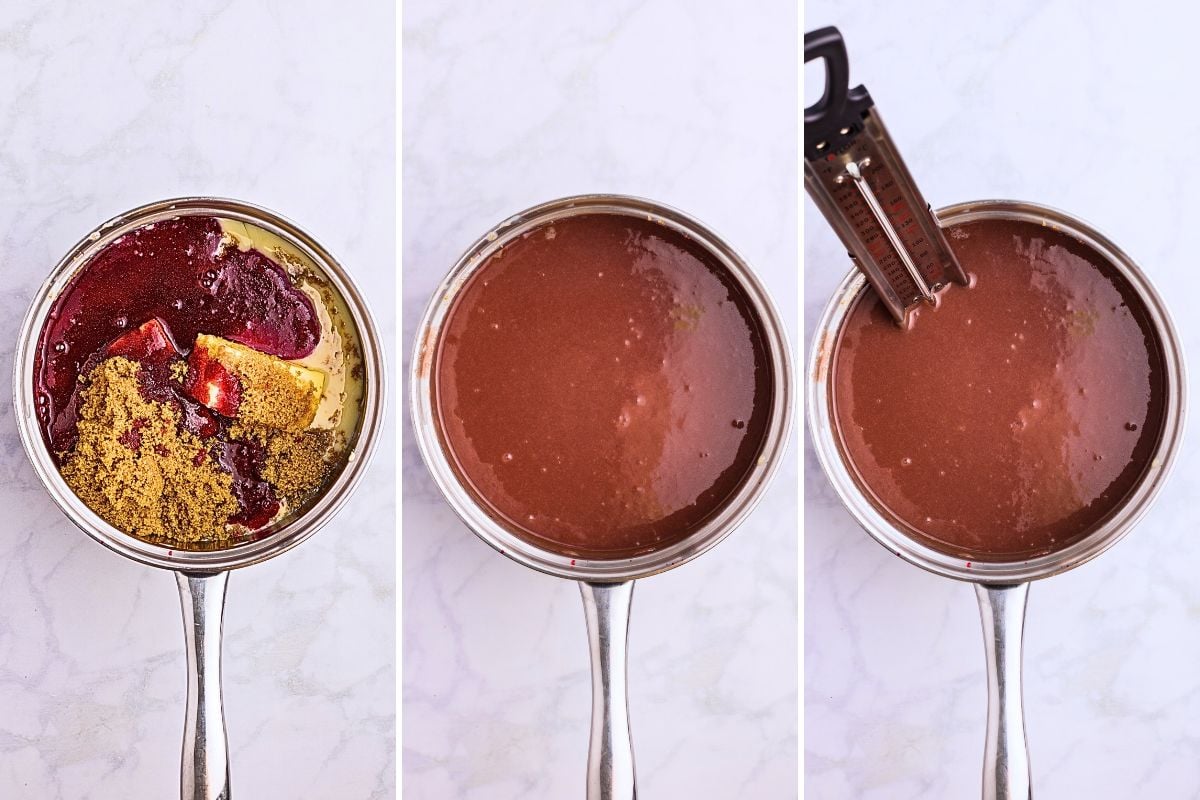
Then, on medium heat, stir as everything melts together. Stir, stir, stir! Keep the mixture moving so you get the right consistency at the end.
Cook to temperature
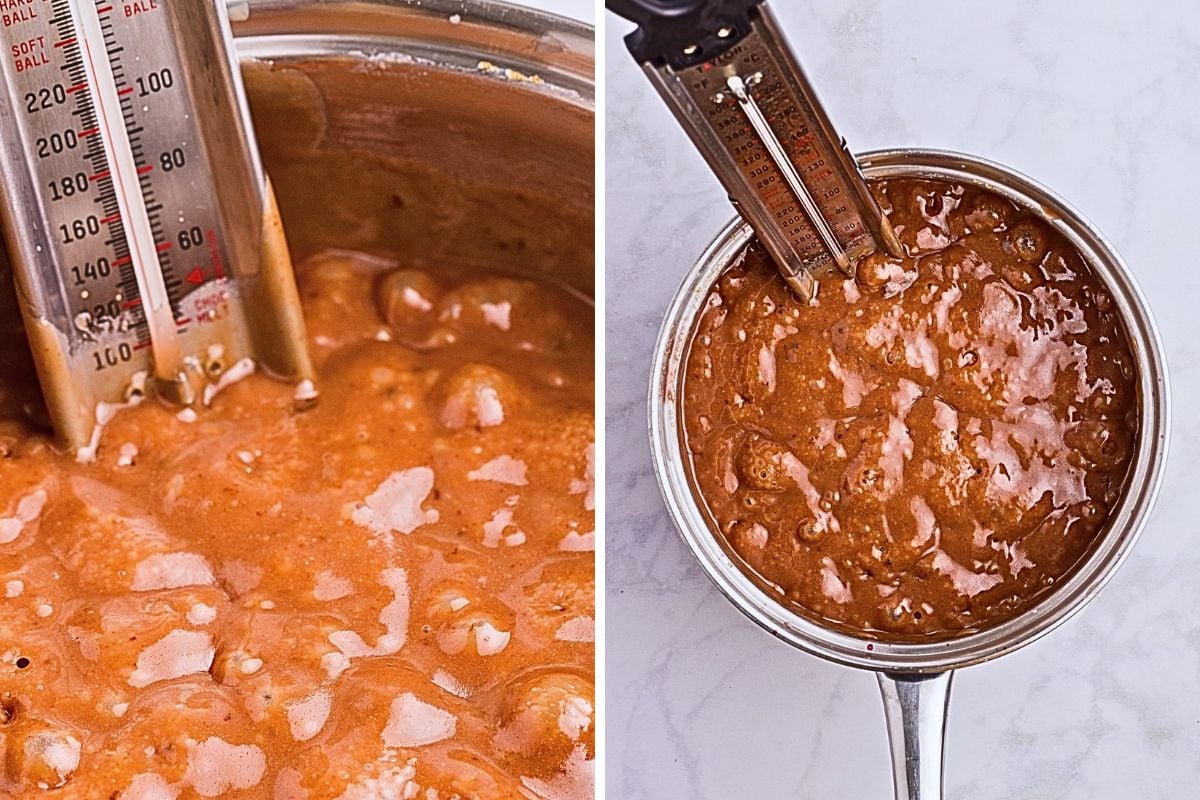
The mixture will start to boil after a while; check that it’s at the “soft-ball stage.” What is that? It’s when the caramel mixture reaches the right temperature (240°F), so you can drop it into a cool bowl of water, and it will form a squishy but structured ball in your fingertips. This is when the caramel stops cooking.
Save This Post
You'll join my email list which you will love. And if you don't, unsubscribe in one click. ❤️
It takes about 15 to 18 minutes to get to this stage. I don’t expect you to be a candy pro, but don’t let it scare you. Use a candy thermometer to make things easier. I use mine all the time!
Add the flavorings
Once you’ve hit that temperature, remove the pan from the heat and place it on a hot pad. You’re done cooking the caramel.
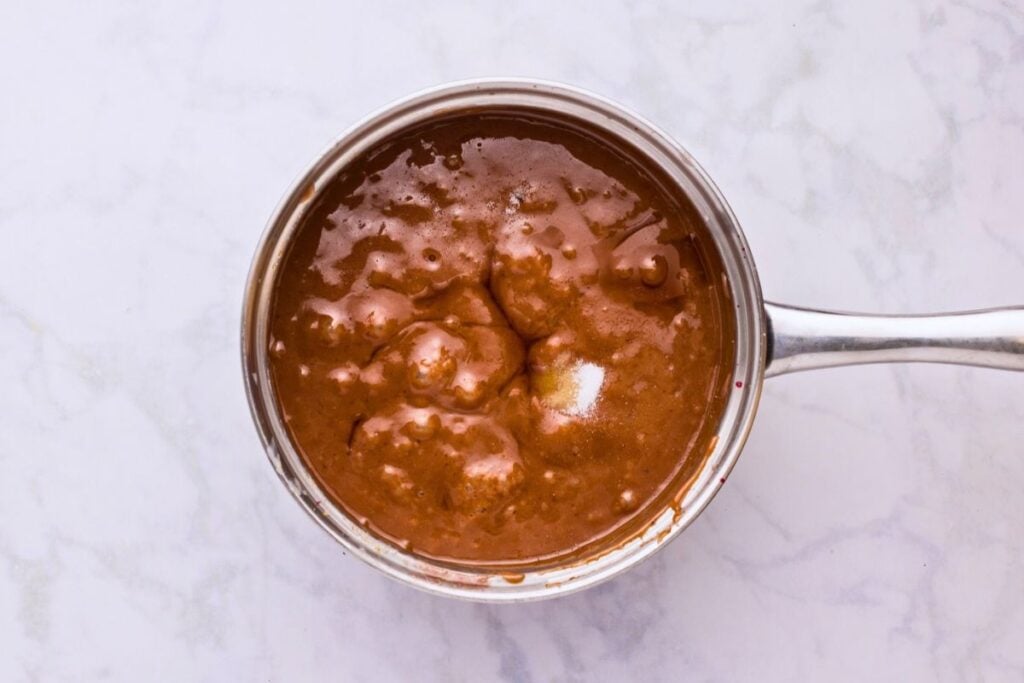
Add the salt, vanilla extract, and raspberry extract (if using).
Add coloring, if using
This is totally optional, but you can add some red gel food coloring if you want the caramels to have a red tint. You don’t need much; a half-toothpick dip is enough. Stir it in once you’ve mixed in the salt and extracts.
Pour and cool
Once everything is mixed, pour the mixture into your prepared pan.
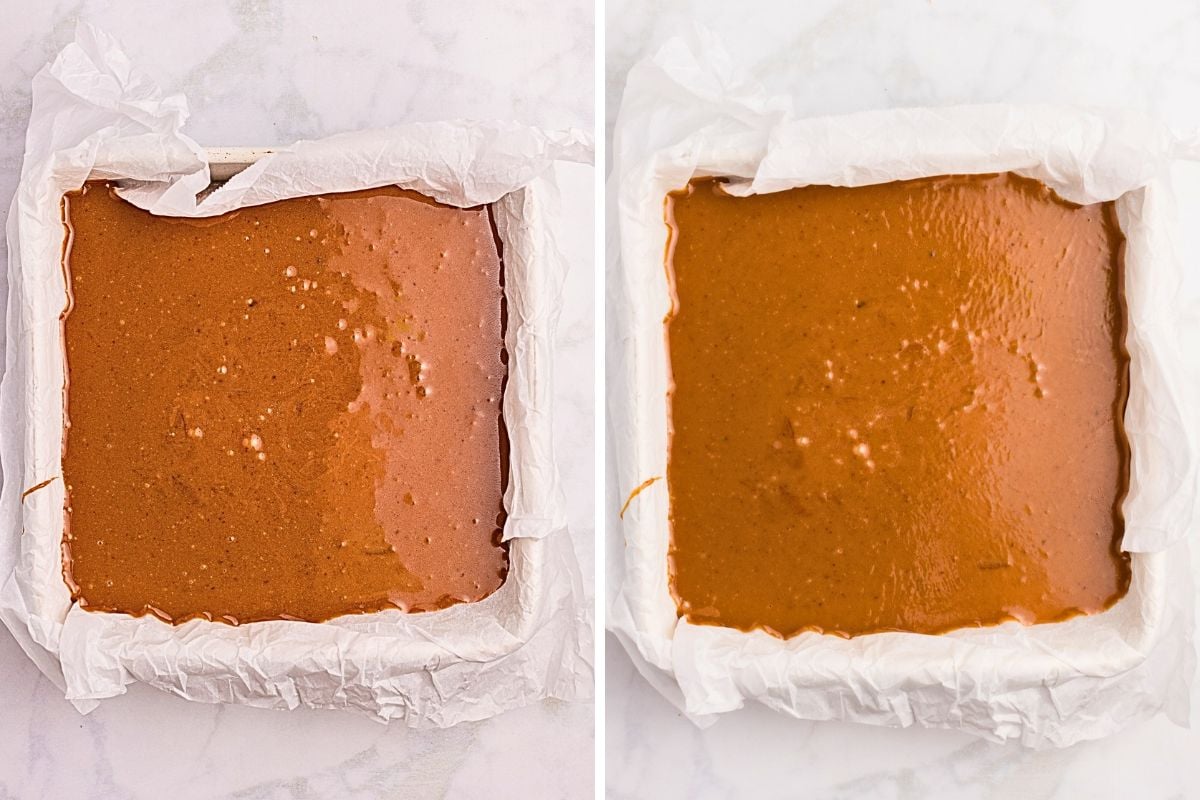
Let it cool at room temperature for about 3 to 4 hours.
Cut into squares
Once the caramels are cool and hardened, lift them out of the pan and place them on a cutting board. Cut them into small squares with a sharp knife.
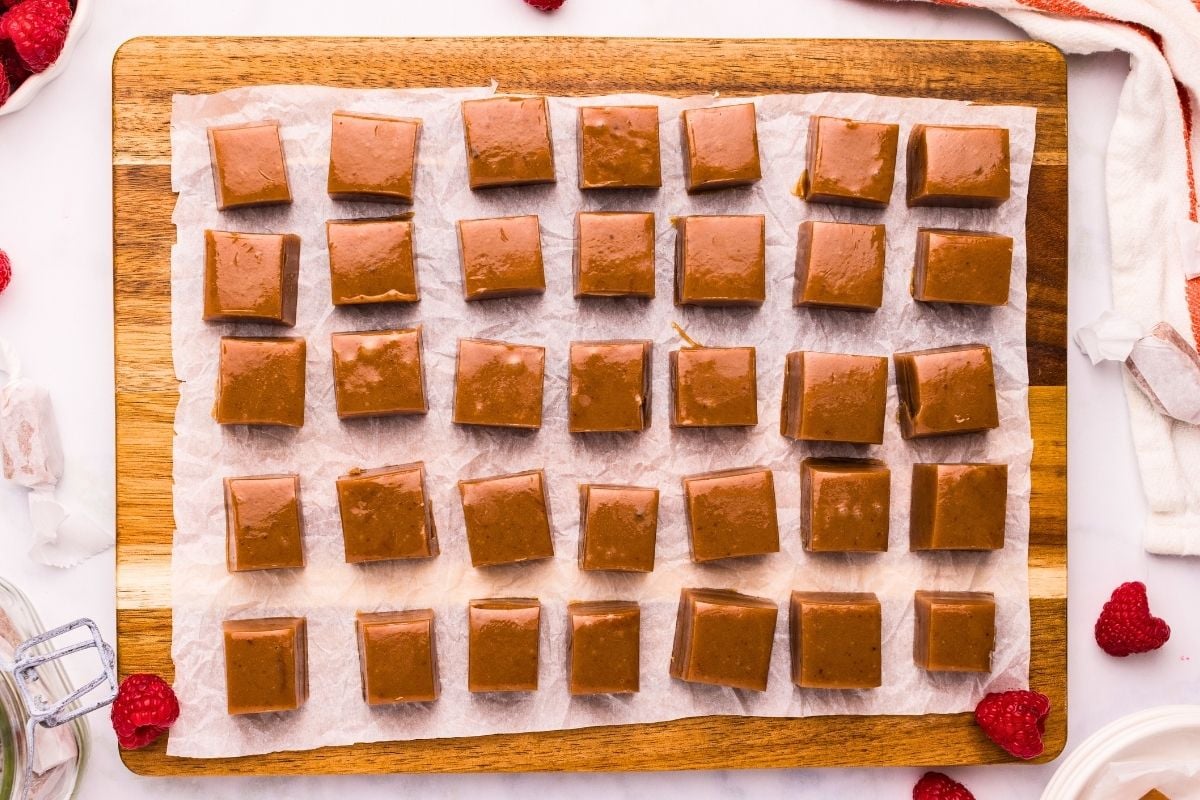
I like to grease the knife with a little butter to help it cut cleanly. Wipe and re-grease the knife often to keep the cuts smooth.
Wrap the caramels
Now you can wrap each caramel in a small piece of parchment or wax paper. Make sure the caramels are completely cooled before this step, or they will stick to the paper. Twist them at the end, just like what you see at the candy shop.
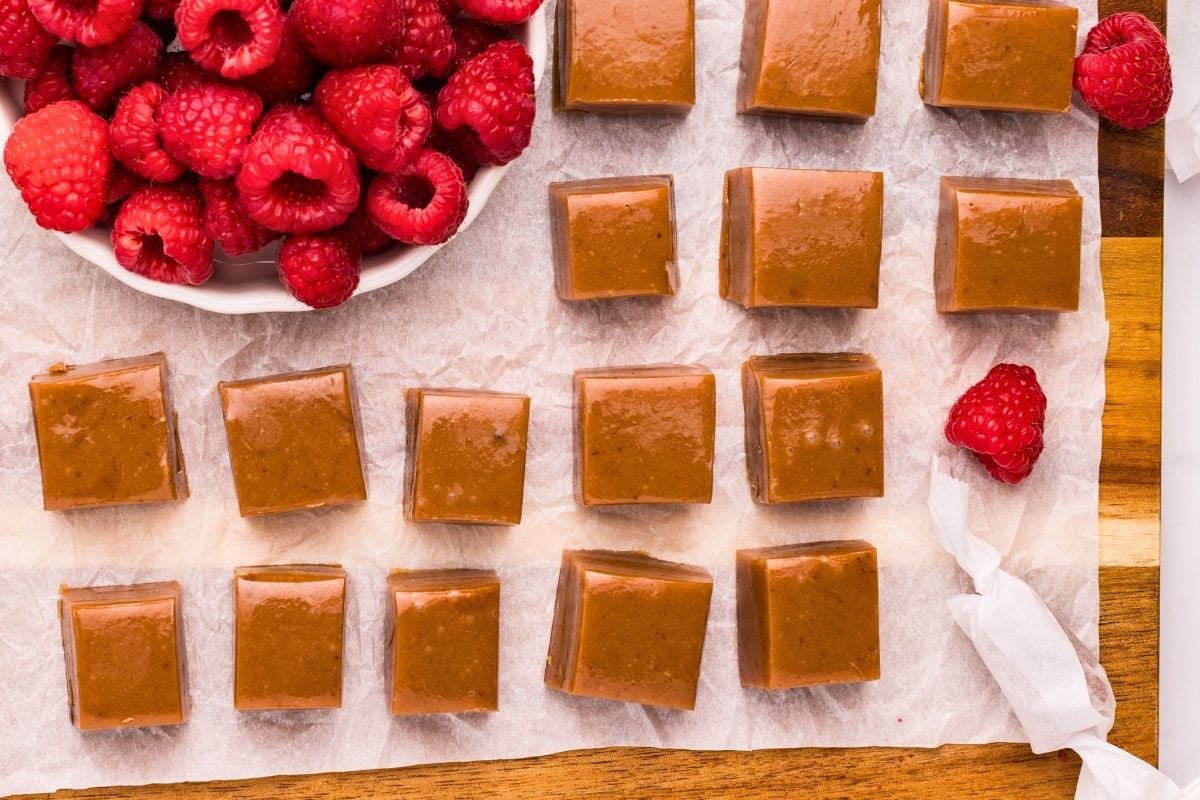
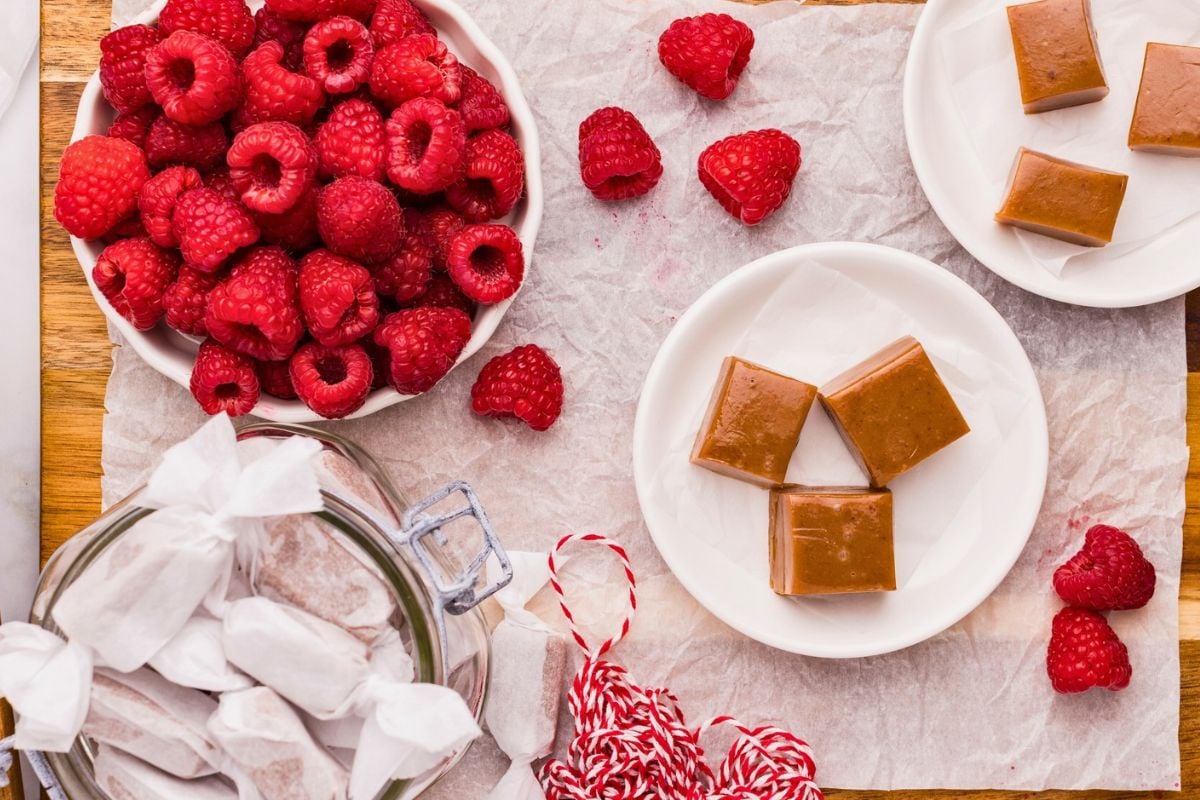
I like to put them in small decorative jars or boxes for gifting, or leave them on the counter for people to grab!
Storage Instructions
I highly recommend individually wrapping the caramels for gifting and storing. You can store them at room temperature like this for up to two weeks. Try to keep them in a cool, dry place…heat and humidity aren’t caramel’s friend!
If you need to keep them longer, say you’re doing a ton of Christmas prep in the next few weeks and won’t be gifting them for a while, you can freeze them. Keep them individually wrapped, put them in a freezer bag, and freeze them for up to 3 months. Just let them sit out for about an hour before eating.
Questions and Troubleshooting
In this case, frozen berries win. Frozen berries (once thawed) release much more liquid than fresh berries, making the puree easier to reduce. If you only have fresh berries, that’s fine, too. If you have the time, freeze the fresh berries overnight for the best results. The key is making sure you have the right amount of reduced puree (1/4 cup).
Yes! This is one of the key steps in this recipe, not only for the best flavor, but also for he best texture. Whether you’re using fresh or frozen berries, you’ll always want to end up with 1/4 cup of reduced puree. Think of it like a flavoring syrup: it removes a lot of the moisture, leaving a super-concentrated raspberry flavoring agent.
Nope, sorry! Jam has added sugar and other ingredients (like pectin) that can mess with the caramel’s texture and flavor
I’ve made a ton of caramel recipes. Mixing it lets all the air bubbles disappear and creates that smooth, chewy texture you want. Everything heats evenly, nothing burns, and the caramels come out great.
You don’t, and I get that it might be harder to find than vanilla extract. However, it does make a difference in the caramels’ taste. If you omit the extract, it will still taste like raspberry, just not as strongly. You don’t need much, and if you already have it on hand, I highly recommend using it.
You probably didn’t cool the caramels long enough. I know, 4 hours is a long time, but the caramels need to rest and cool as the mixture sets, which makes crisp square cuts easier. Cooling at room temperature is what works best — don’t try to shortcut it by putting them in the fridge. It will change the caramel’s texture.
More homemade candy recipes
- Old-Fashioned Soft Caramels
- Homemade Fireball Whiskey Caramels
- Classic Vanilla Fudge Recipe (From Scratch)
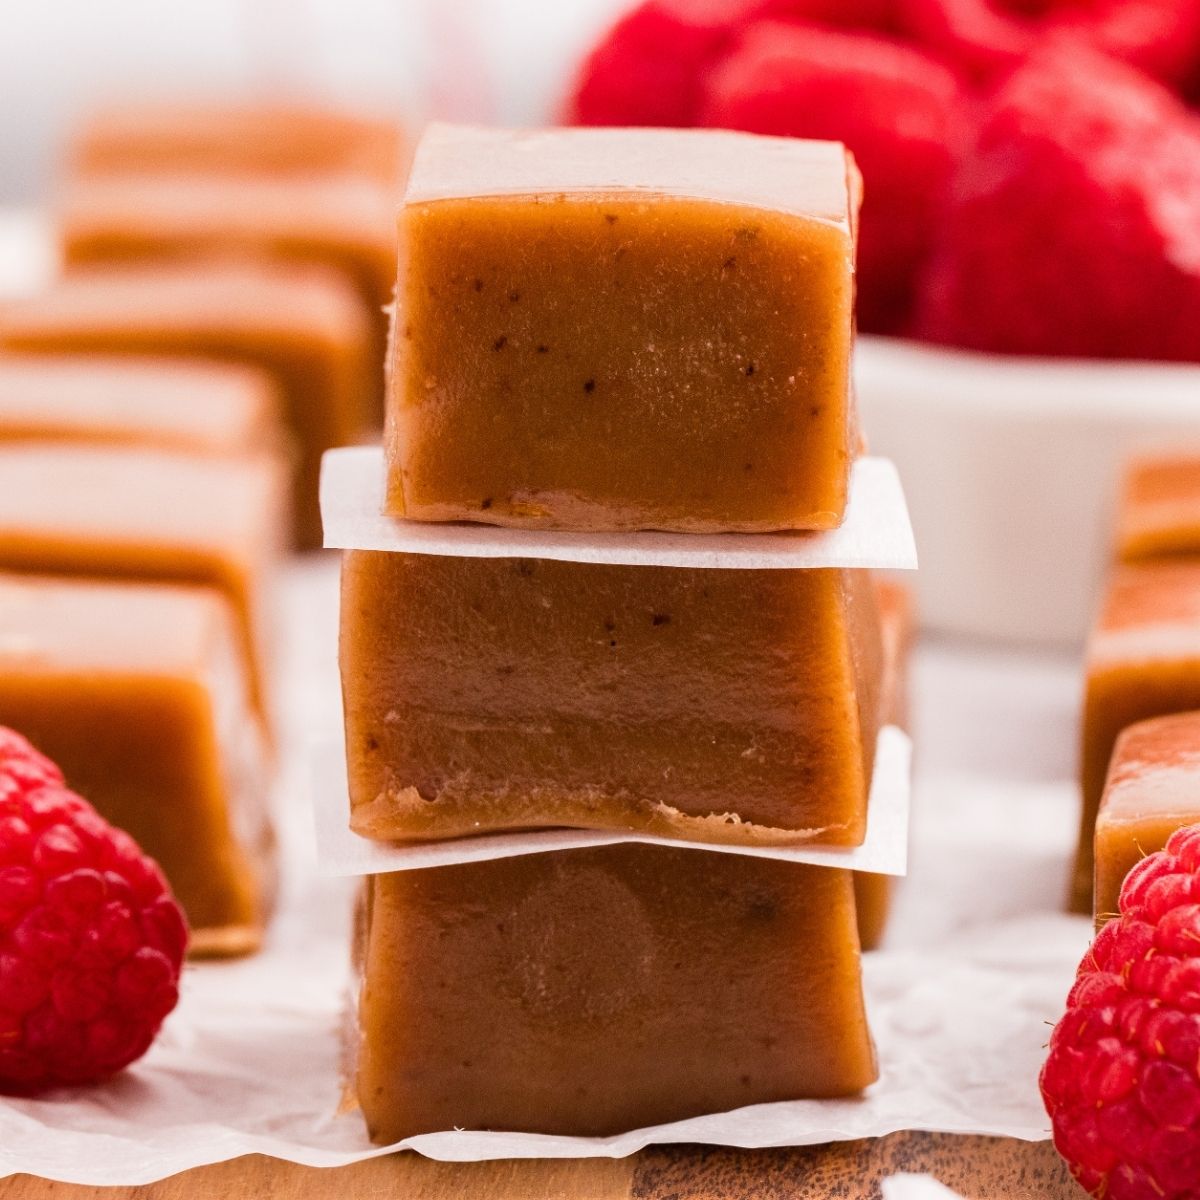
Raspberry Caramels
Equipment
- Blender or food processor
- fine mesh strainer
- Medium heavy-bottomed saucepan
- Candy thermometer
- 8×8-inch square baking pan
- Parchment paper
- Heat-resistant spatula or wooden spoon
- Sharp knife
Ingredients
Raspberry Puree Reduction
- 12 ounces frozen raspberries one bag, thawed, or 12 ounces fresh raspberries
Caramel
- 2 cups brown sugar packed
- 14 ounces sweetened condensed milk one can
- 1 cup light corn syrup
- 1 cup unsalted butter
- ½ teaspoon salt
- 1 teaspoon vanilla extract
- ½ teaspoon raspberry extract
- red gel food coloring optional
Instructions
Making the Raspberry Puree Reduction
- Puree the raspberries. Thaw the frozen raspberries completely if using frozen fruit, then puree in a blender or food processor until smooth.
- Strain out the seeds. Place a fine-mesh strainer over a bowl and press the puree through with a spatula, leaving the seeds behind. You should have approximately 1 to 1¼ cups of seedless puree.
- Reduce the puree. Simmer the puree in a saucepan over medium heat, stirring frequently, until reduced to ¼ cup, about 6 to 8 minutes.
- Set the reduction aside. Remove the saucepan from the heat and set the reduction aside.
Making the Caramel
- Prepare the pan. Line an 8×8-inch square pan with parchment paper and set aside.
- Combine the ingredients. In a medium saucepan, add the brown sugar, sweetened condensed milk, corn syrup, butter, and raspberry reduction.
- Melt everything together. Cook over medium heat, stirring constantly, until the butter melts and the ingredients come together.
- Cook to temperature. Once the mixture starts boiling, add a candy thermometer and cook, stirring constantly, until it reaches 240°F, about 15 to 18 minutes.
- Add the flavorings. Remove from the heat and stir in the salt, vanilla extract, and raspberry extract.
- Add coloring, if using. Stir in a tiny amount of red gel food coloring after the salt and extracts are incorporated — half a toothpick dip is plenty.
- Pour and cool. Pour the mixture into the prepared pan and let it cool completely at room temperature, 3 to 4 hours.
- Cut into squares. Transfer the caramel to a cutting board and cut into small squares with a lightly greased, sharp knife, wiping and regreasing the knife as needed.
- Wrap the caramels. Wrap each square in parchment or wax paper, twisting the ends to secure.
Notes
Nutrition

Related Articles
See ALL
Our Favorite Homemade Pizza Dough (Thin Crust)
Farmhouse Sugar Cookies
Old Fashioned Oatmeal Raisin Cookies {Super Soft}
Cozy Fall Dinner Recipes: Comfort Food For Chilly Nights
16 Beautiful Christmas Cakes For a Sweet Holiday
20 Cozy Bread Recipes You Can Make in a Dutch Oven
Salted Caramel Vanilla Ice Cream
Black Widow Spider Halloween Cocktail
Triple Berry Cobbler with Sugar Cookie Topping
American Flag Sheet Cake (From Scratch with Fresh Berries)
Old-Fashioned Peanut Brittle (Easy Recipe)
Super-Easy Pickle Juice Chicken Marinade
See all
Related Articles
Apple Pie On The Rocks
Peach Cobbler with Cinnamon and Brown Sugar
Deep-Fried Snickers Bars
Cast Iron Skillet Chicken Breast (Juicy + Lots of Flavor)
Black Forest Sheet Cake with Whipped Cream Frosting
Classic Lemon Meringue Pie
Easy Raspberry Peach Sweet Tea (Made with Real Fruit!)
Apple Crumble Pie
Chicken Artichoke Sliders