Old Fashioned Sour Cream Cookies (Melt-In-Your-Mouth)
While they’re great for Christmas, these sour cream cookies are a simple, classic treat you can enjoy anytime. This cookie recipe comes from McCall’s magazine in the ’80s, and I’ve made a few small tweaks. You can use the glaze recipe I’ve included or top them with your favorite buttercream. They’re delicious either way. 😊
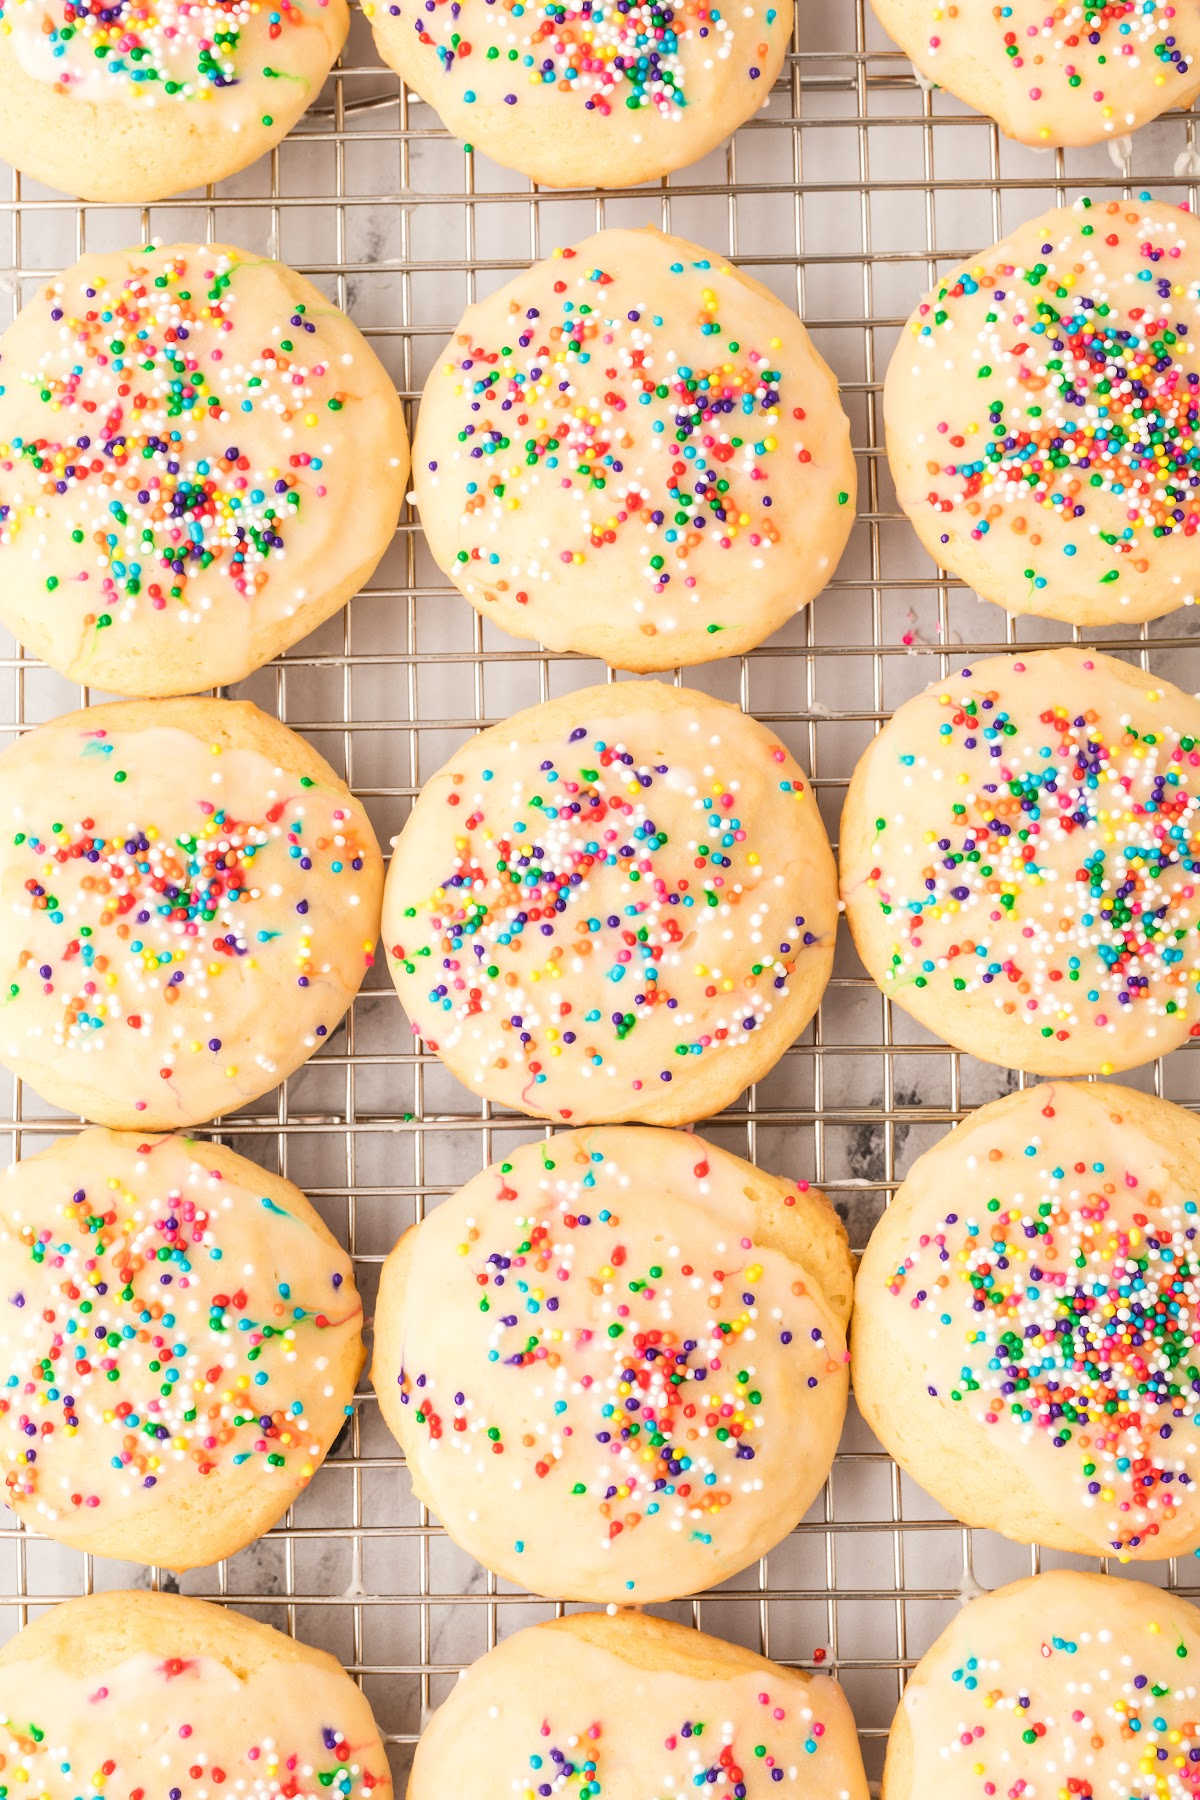
They don’t have a sour cream flavor but are different from regular sugar cookies. They are less sweet and have a light, melt-in-your-mouth texture.
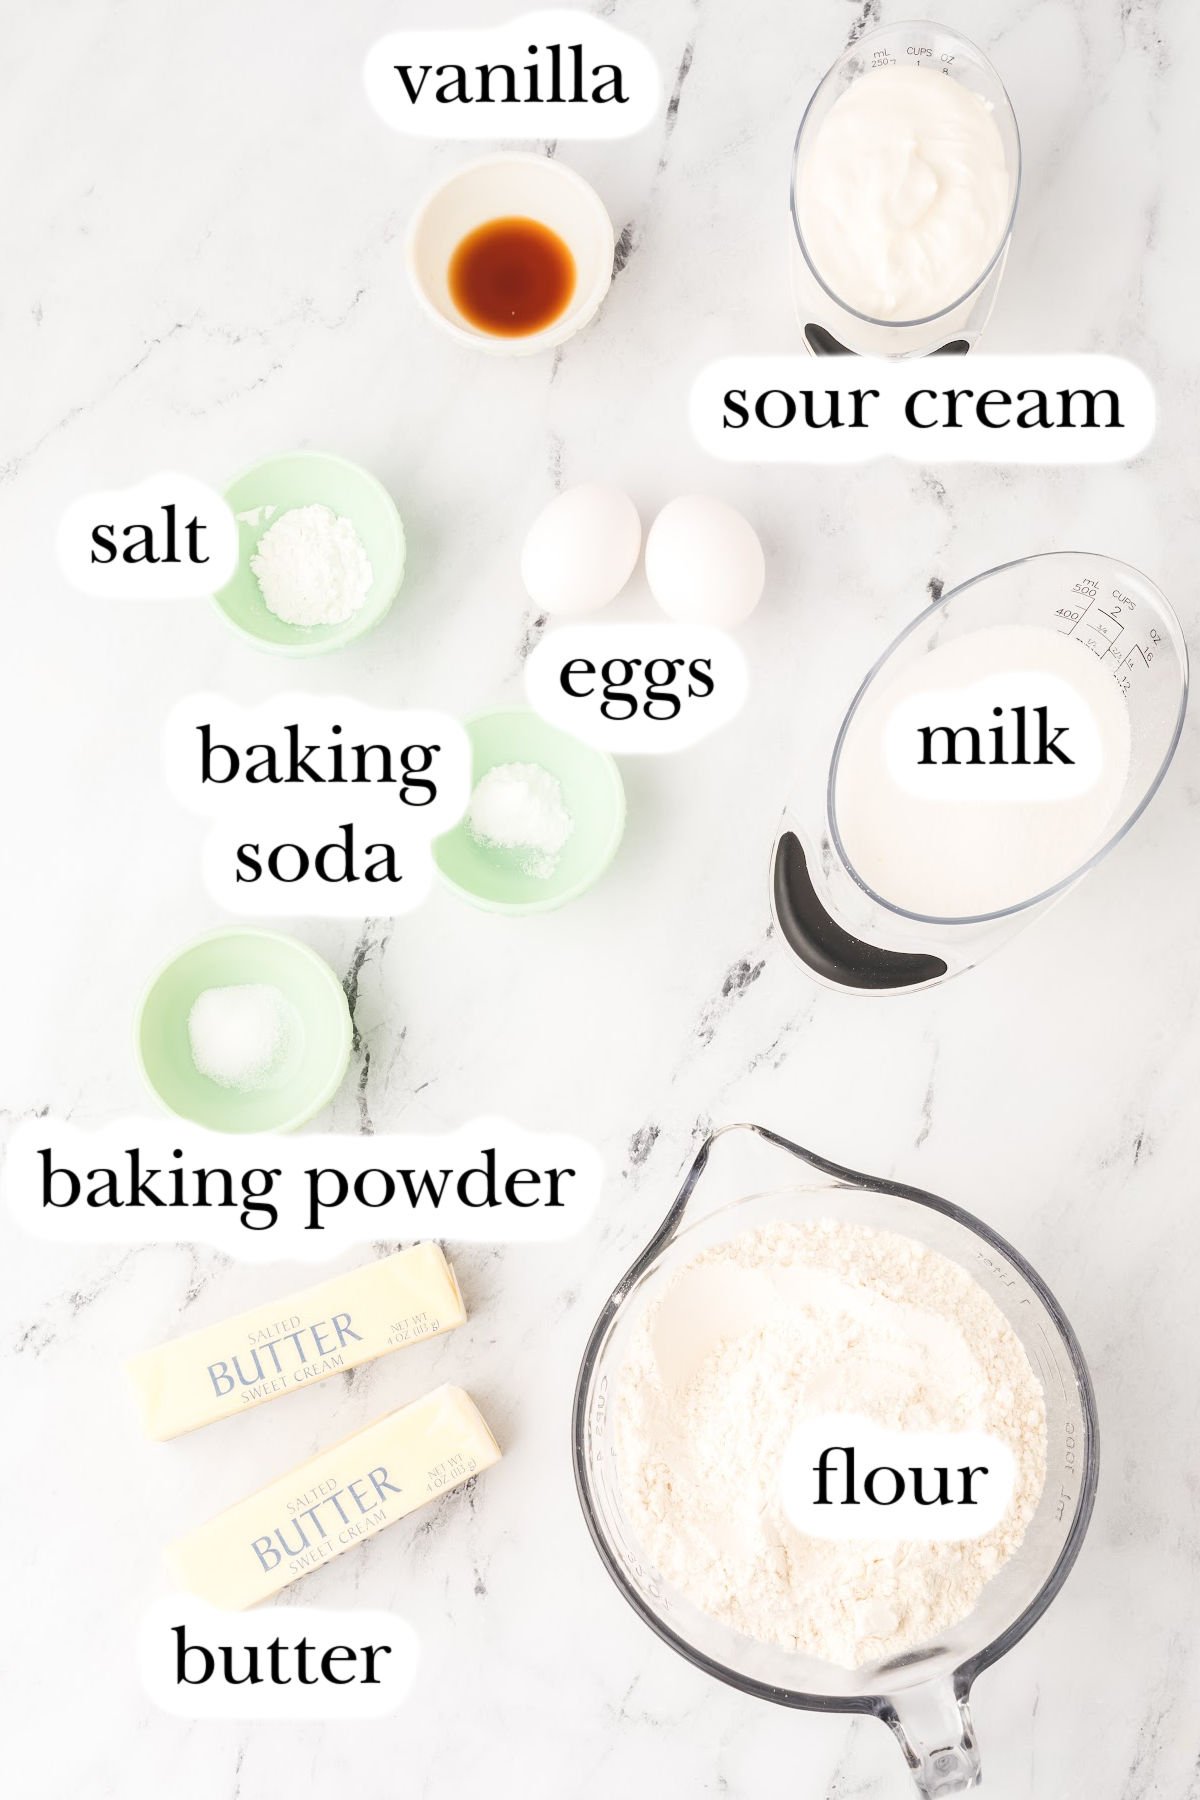
Ingredients and Tools You’ll Need
Sour cream gives these cookies a soft, cake-like texture. Full-fat sour cream is best. Avoid low-fat or fat-free, which can make the cookies less tender. Colored sprinkles are optional, but fun for decorating the cookies.
Heart’s Content Farmhouse is a participant in the Amazon Services LLC Associates Program, an affiliate advertising program designed to provide a means for sites to earn advertising fees by advertising and linking to Amazon.com. This means that when you click on certain links on this site and make a purchase, I may earn a small commission at no additional cost to you. I only recommend products I genuinely believe in and would use in my own kitchen. As an Amazon Associate, I earn from qualifying purchases.

Equipment
- Electric Mixer
- Baking sheets
- Parchment paper or cooking spray
- Mixing Bowls (large and medium)
- Rubber spatula or wooden spoons
- Whisk
- Wire rack
Ingredients
For the cookies:
- 3 cups all-purpose flour
- 1 teaspoon baking powder
- ½ teaspoon baking soda
- ½ teaspoon salt
- 1 cup butter (salted)
- 1 ½ cups granulated sugar
- 2 eggs
- 1 cup sour cream (room temperature)
- 1 teaspoon vanilla
For the glaze
- 1 tablespoon milk
- 1 cup powdered sugar
- dash vanilla
- colored sprinkles or sparkling sugar (optional)
How to Make Sour Cream Cookies
Step One: Mix Dry Ingredients
We begin by simply whisking together all the dry ingredients (flour, sugar, baking soda, baking powder, and salt in a large mixing bowl. Set aside the dry ingredients and place the sugar, butter, and eggs in a separate bowl.
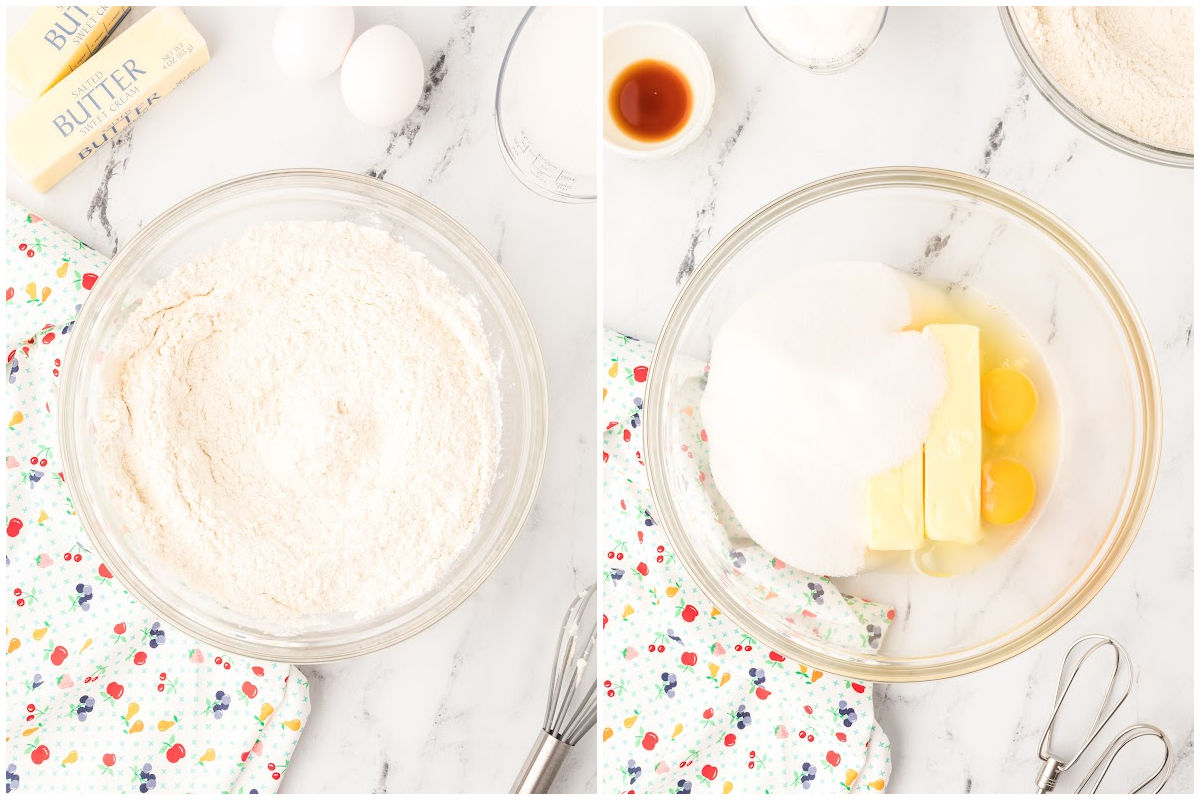
Step Two: Mix Wet Ingredients
Next, it’s time to beat the butter, sugar, and egg until they are light and fluffy. This takes about 3-5 minutes with an electric mixer on medium speed, so if you have a stand mixer than you can use, that would be very handy.
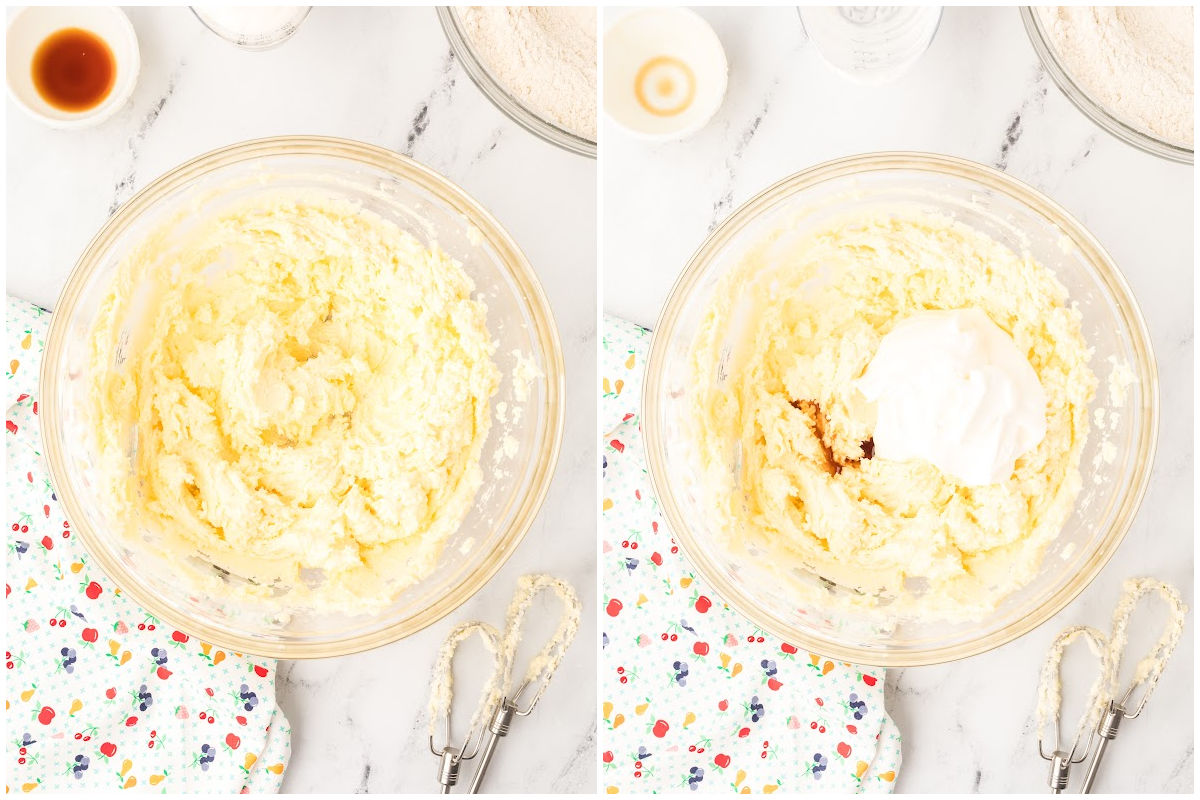
Add the sour cream and the vanilla to the butter mixture and mix on low for about a minute.
Step Three: Make And Chill Dough
Once that is thoroughly incorporated, add the flour mixture in, a cup at a time. The dough will be very soft, almost like a thick cake batter. Tightly cover it with plastic wrap, and chill the dough for at least an hour to make it easier to work with.

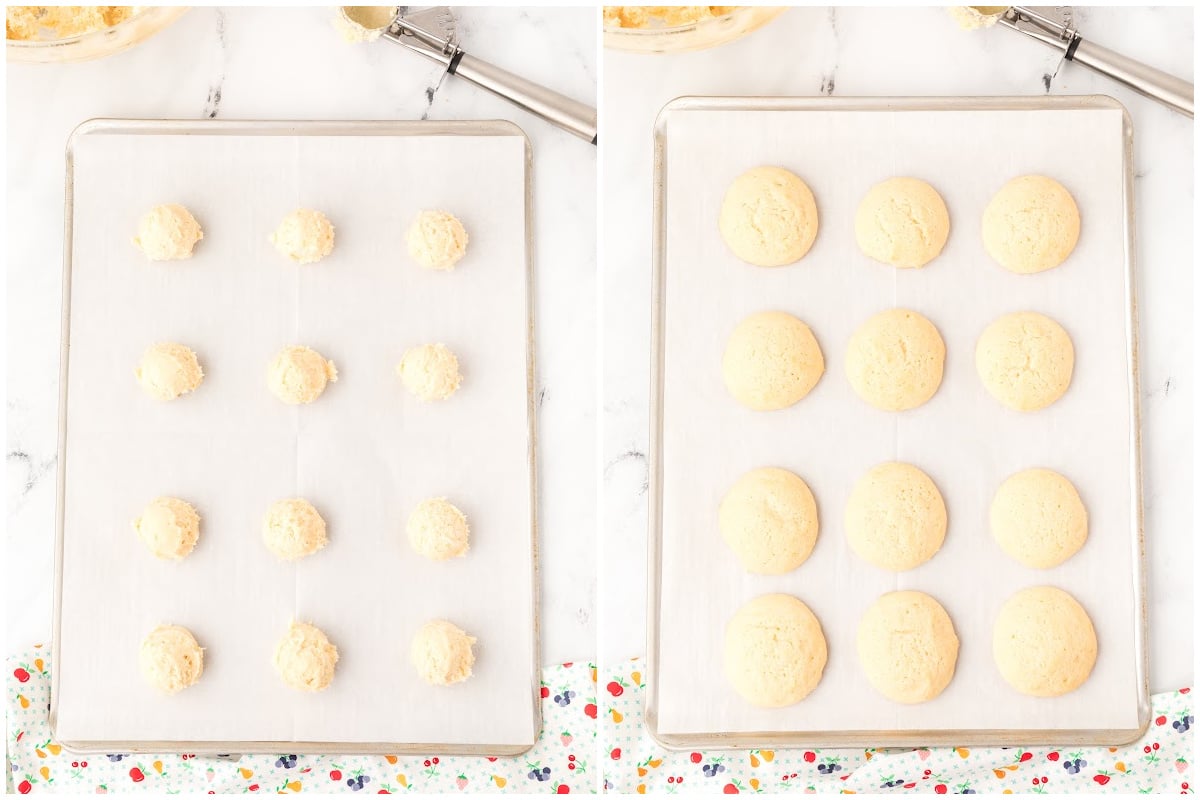
Step Four: Bake
When the hour is up, it’s time to get ready to bake. This recipe makes about 30 cookies and you can usually fit them on two baking sheets. Line baking sheets with parchment paper and scoop out the cookie dough in heaping tablespoons. The dough is so soft that a spoon works better than a cookie scoop. Space them about two inches apart and bake at 375 for 10-12 minutes, or until the edges and bottom are light golden brown.
Step Five: Make Glaze
Allow the cookies to cool completely before you make the glaze.
Mix the milk, powdered sugar, and vanilla together to form a thick icing. You’ll want to do a test cookie to make sure it’s the right consistency. The glaze should settle into a smooth coating but not drip off the sides too much.

Step Six: Add Sprinkles
Before the glaze dries, add sprinkles if you’re using any.
Storage Instructions
If you have leftover cookies, it is best to store them in an airtight container. This will help keep them fresh and tasting great for up to 3 days.
These cookies don’t need refrigeration, but you can store them in the fridge if your kitchen is very warm or humid.
You can also freeze them, but be sure to freeze them unglazed and decorate them after you defrost. To make ahead, scoop the dough into balls and place them on a baking sheet lined with parchment paper. Freeze until solid, then transfer to a freezer-safe bag or container. Bake directly from frozen, adding 1-2 minutes to the baking time.
What to Serve with Sour Cream Cookies
- Have these with a cup of tea, a mug of coffee, or a glass of milk for a lovely afternoon snack.
- Serve these with some homemade lemonade on a hot summer day.
- Have some berries on the side.
- If you serve these for Christmas, serve some slow-cooker spiked apple cider (you can also make it kid-friendly).
Questions and Troubleshooting
No, the sour cream flavor is subtle, and it just enhances the cookie’s flavor.
Of course! They’re still delicious without it. Use a classic buttercream, or for a simple alternative, sprinkle the cookies with cinnamon sugar before baking for a sweet, spiced finish.
This might be due to overbaking. Keep a close eye on them and take them out as soon as the edges are golden and the tops are set. Remember, they’ll continue cooking slightly on the hot baking sheet.
This could happen if the dough isn’t chilled enough or the butter was too soft when you started. Make sure the dough is well chilled, and your oven is fully preheated before baking.

More Cookie Recipes
- Molasses cookies are still number one in my heart.
- If you love the texture of these cookies, try my lemon sour cream cookies for a bright, citrusy variation.
- When you need a simple sugar cookie, try old-fashioned drop sugar cookies.
- And when you want to make cut-out sugar cookies, use a sugar cookie recipe that is actually tasty.
Printable Recipe

Old Fashioned Sour Cream Cookies
Equipment
- Electric Mixer
- Baking sheets
- Parchment paper or cooking spray
- Mixing Bowls (large and medium)
- Rubber spatula or wooden spoons
- Whisk
- Wire rack
Ingredients
For the cookies:
- 3 cups all-purpose flour
- 1 teaspoon baking powder
- ½ teaspoon baking soda
- ½ teaspoon salt
- 1 cup butter (salted)
- 1 ½ cups granulated sugar
- 2 eggs
- 1 cup sour cream (room temperature)
- 1 teaspoon vanilla
For the glaze
- 1 tablespoon milk
- 1 cup powdered sugar
- dash vanilla
- colored sprinkles or sparkling sugar (optional)
Save This Recipe
You'll join my email list which you will love. And if you don't, unsubscribe in one click. ❤️
Instructions
For the Cookies:
- Mix the dry ingredients. Whisk the flour, baking powder, baking soda, and salt in a large mixing bowl until evenly combined. Set aside.
- Cream the butter and sugar. In a separate bowl, beat the butter and sugar with an electric mixer on medium-high speed until light and fluffy, about 3-5 minutes. The mixture should appear pale and creamy. Then, add the eggs, one at a time, beating well after each addition. Next, mix the sour cream and vanilla extract, blending at medium to low speed until smooth.
- Combine the wet and dry ingredients. Slowly add the dry ingredients to the wet mixture, 1 cup at a time, mixing at low speed until combined. The dough will be very soft—this is normal.
- Chill the dough: Cover the bowl with plastic wrap or transfer the dough to an airtight container. Refrigerate for at least 1 hour or until firm enough to handle.
- Preheat the oven and prepare the baking sheets. Preheat your oven to 375°F (190°C). Then, line baking sheets with parchment paper or lightly grease them with cooking spray.
- Shape and bake. Using a tablespoon or small cookie scoop, drop rounded tablespoons of dough onto the prepared baking sheets, spacing them about 2 inches apart. For a smoother look, gently roll the dough balls in your hands. Bake for 10-12 minutes until the edges are lightly golden and the tops appear set. If baking multiple sheets at once, rotate them halfway through the baking time for even cooking.
- Cool the cookies. Remove cookies from the oven and let them cool on the baking sheet for 5 minutes. Then, transfer to a wire rack to cool completely before glazing.
For the Glaze:
- Prepare the glaze. Whisk together the powdered sugar, milk, and vanilla extract in a medium bowl until smooth. Adjust the consistency with a few drops of milk if needed; it should be thick but pourable.
- Glaze the cookies. Once the cookies are completely cooled, dip the tops of each cookie into the glaze or use a spoon to drizzle it on. Allow the glaze to set slightly, then decorate with colored sprinkles or sparkling sugar.
- Set and store: Place glazed cookies on a wire rack to dry completely. Store at room temperature in an airtight container for up to 3 days.
Video
Notes
Nutrition


I tried this recipe as written and the cookies came out wonderful! I had mixed them up the night before and baked this morning. I will definitely bake again. My husband thought they were great too. Thank you for sharing it.
thank you, jean, for letting me know!
These cookies were a hit at my physical therapy office! I made them as a thank you to all the good people who work there! I used lemon rind in the mix instead of vanilla and it was very nice. Still used cinnamon sugar on top and it was great! Thanks for such a tasty recipe!
looking forward to making these, my granny made these for me since I was a child. Now I make then for my family
Well, that was a lot of ingredients and work. My cookies look just like your picture, but I don’t think they’re very good. I won’t make this cookie recipe again. A waste of my afternoon…
hello corinne, sorry they were not your favorite!
These were good, and very pretty when decorated. More like little cakes than cookies.
Just a heads up: in the expanded “how to make sour cream cookies”, directions say to bake @ 350 F. But in the “printable recipe”, directions say to bake @ 375 F.
thank you Margaret I’ll fix that 🙂
which is it 350 or 375
350
The cookie turned out DELICIOUS!! I followed the recipe to the letter and everyone loved them!!
I’m so happy to hear that! Thank you for sharing—so glad everyone loved them!
This dough was very difficult for me to work with, very sticky even after chilling in the fridge. I ended up scooping them, then wetting my hands and rolling it into a ball so they weren’t so messy looking. But the taste and texture is outstanding, so I suppose it was worth it.
hi liz!!! did you use a cookie scoop? i actually had more trouble with mine this year than in the past. i asked a friend and she said that more water is in butter this year? not sure if that’s true. anyway i’m glad you liked them in the end. 🙂
Very good! I tried this recipe yesterday and was impressed how well they turned out. Our whole family loved them! We will certainly make these again!
The cookies were delicious! Our family really liked them and I highly recommend trying this recipe. We will certainly make these again!
thank you for letting me know katherine! i hope you enjoy them this christmas too 🙂
They are weird in a good way! Not too sweet!