
Sourdough Discard Hamburger Buns (Soft, Same Day)

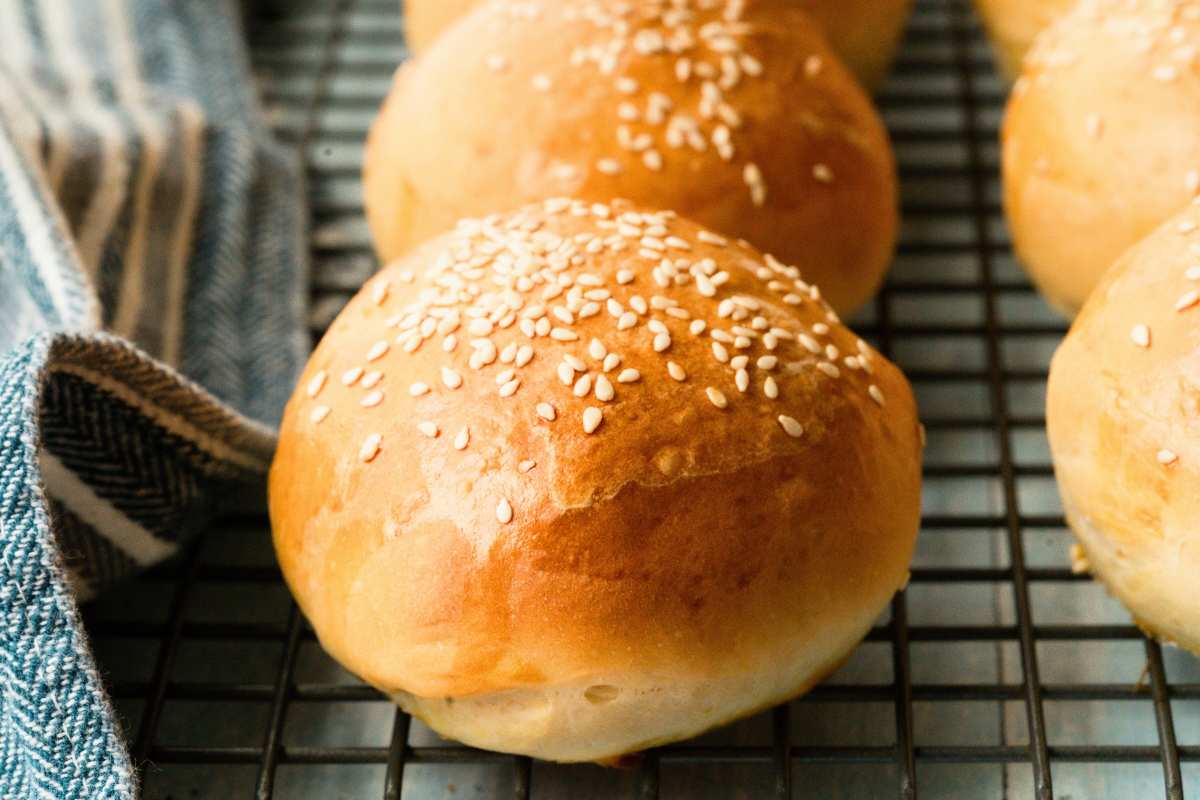
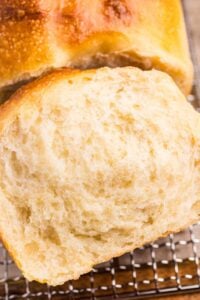
The perfect bun is hard to find: you don’t want it to be so soft that it falls apart, and you absolutely don’t want it to be dense. (Heaven forbid!) We bake these almost every week for burgers, grilled chicken sandwiches, and more.
Ingredients
- ½ cup sourdough discard, unfed, 100% hydration (straight from the fridge is fine!)
- ¾ cup warm water, about 100-110°F
- 2 tablespoons sugar
- 2 ¼ teaspoons instant yeast (1 packet)
- 3 cups all-purpose flour or bread flour (the amount will vary slightly depending on the humidity)
- 1 ½ teaspoons salt
- 1 egg
- 2 tablespoons butter, softened
Topping (Optional)
- 1 egg beaten (for egg wash)
- Sesame seeds
Instructions
Note: if you’d prefer a recipe without yeast, try my traditional sourdough hamburger buns (but be prepared to wait a day for them to be ready!)
Step One: Mix The Dough
Combine every single dough ingredient, yes, including the yeast, into a large mixing bowl and mix it with a wooden spoon until a shaggy dough forms.
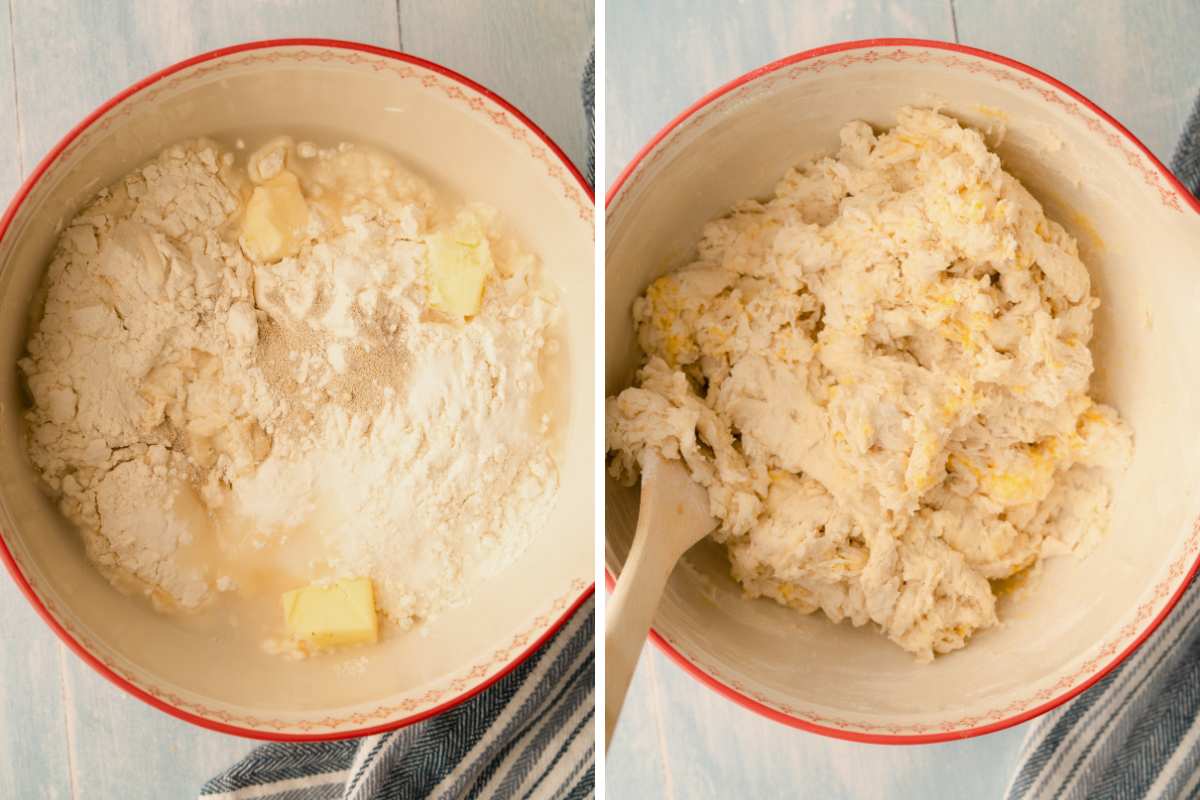
The butter won’t want to mix in at first, but that’s okay. We’re going to knead it next, and it will all be fixed.
Do make sure, however, that all of the dry ingredients are incorporated. If you have piles of dry flour that aren’t mixing in, add a little bit of water, a teaspoon or two at a time, until everything forms one shaggy ball.
Step Two: Knead The Dough
Next it’s time to knead. And we can do this by hand or machine if you’re kneading by hand. Sprinkle a little bit of flour onto your countertop and just keep folding and kneading until the dough is smooth. This will take about 8 to 10 minutes.
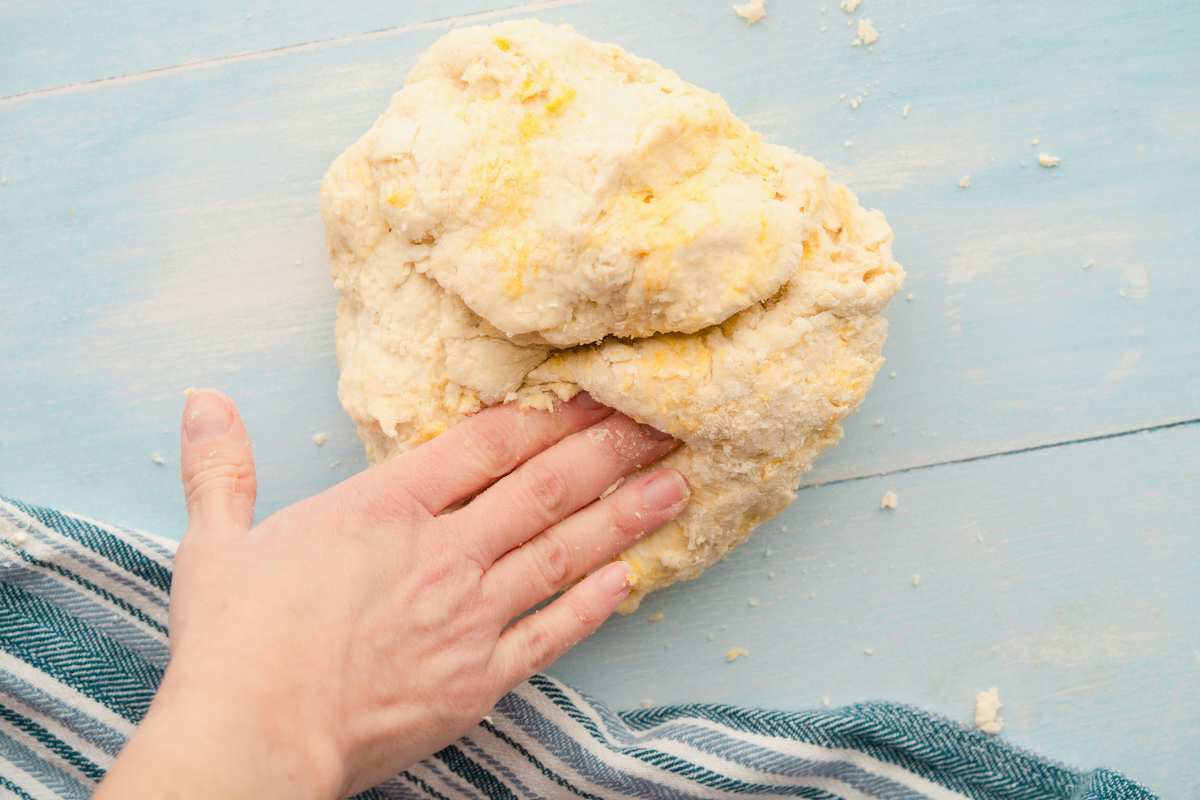
If you’re kneading by machine, same idea. Put it on the lowest setting of your stand mixer and knead for 8-10 minutes. If you can, take a three-minute pause in between to let your machine rest.
Either way the best way to know whether something is needed is something called the windowpane test. You take about a golf ball-sized piece of dough, stretch it out super thin, and hold it up to the light. What we’re looking for are translucent areas called windows where the light shines through. This can only happen when the gluten is developed and the dough is nice and stretchy. If you aren’t there yet, just keep kneading.
Step Three: First Rise
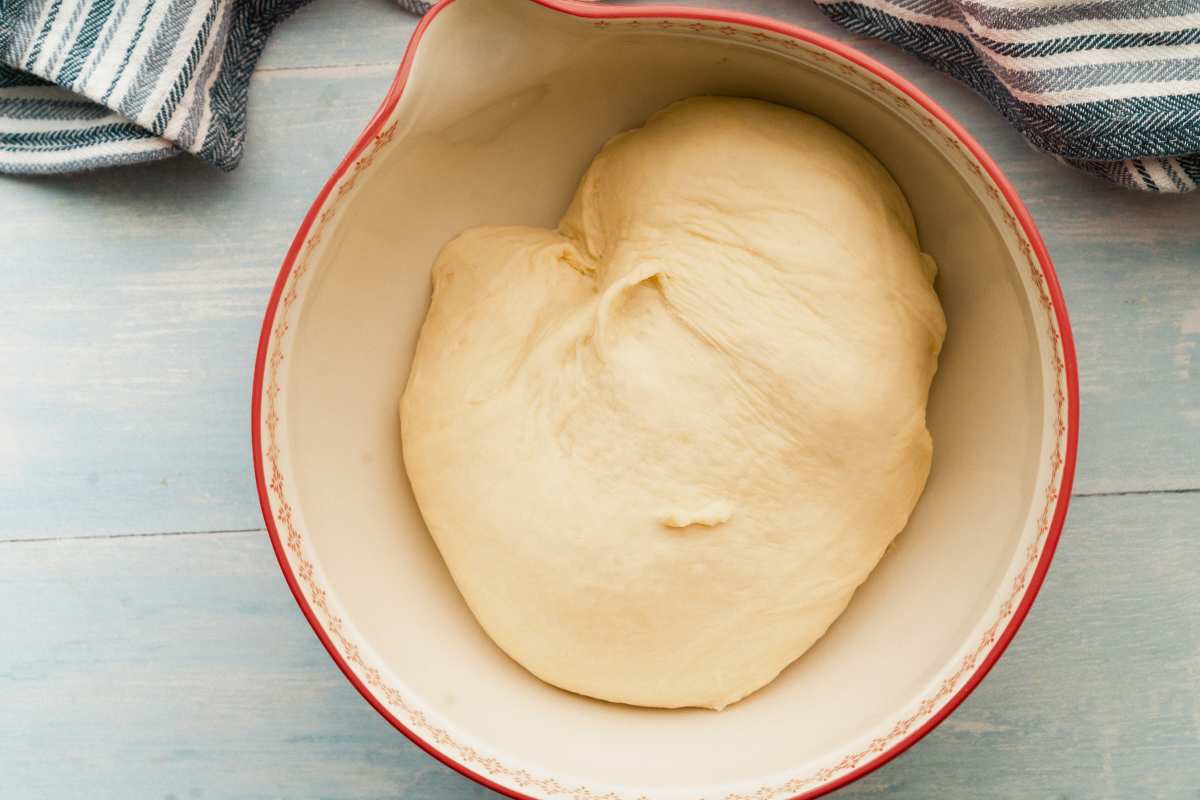
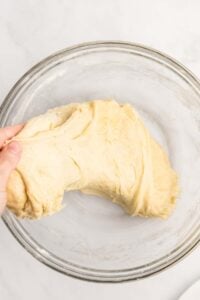
Once the dough has been kneaded, it’s time for the first rise. Put this in a clean, lightly greased bowl and cover it with either a clean, damp tea towel or plastic wrap and let it rise for about an hour in a warm place.
Save This Post
You'll join my email list which you will love. And if you don't, unsubscribe in one click. ❤️
My favorite place to have dough rise is a warm but turned-off oven. You’ll know it’s ready when it looks very puffy and has nearly doubled in size.
Step Four: Shape The Buns
Divide the dough into 8 or 10 equal pieces, depending on how big you’d like them. If you’re super particular about having equal sizes, the best thing to do is to weigh your full batch of dough. Divide that number by eight or ten and then measure out individual pieces. Otherwise, just roughly divide it in half, then quarters, et cetera.
If you want to make slider buns, divide into 12 or 15.
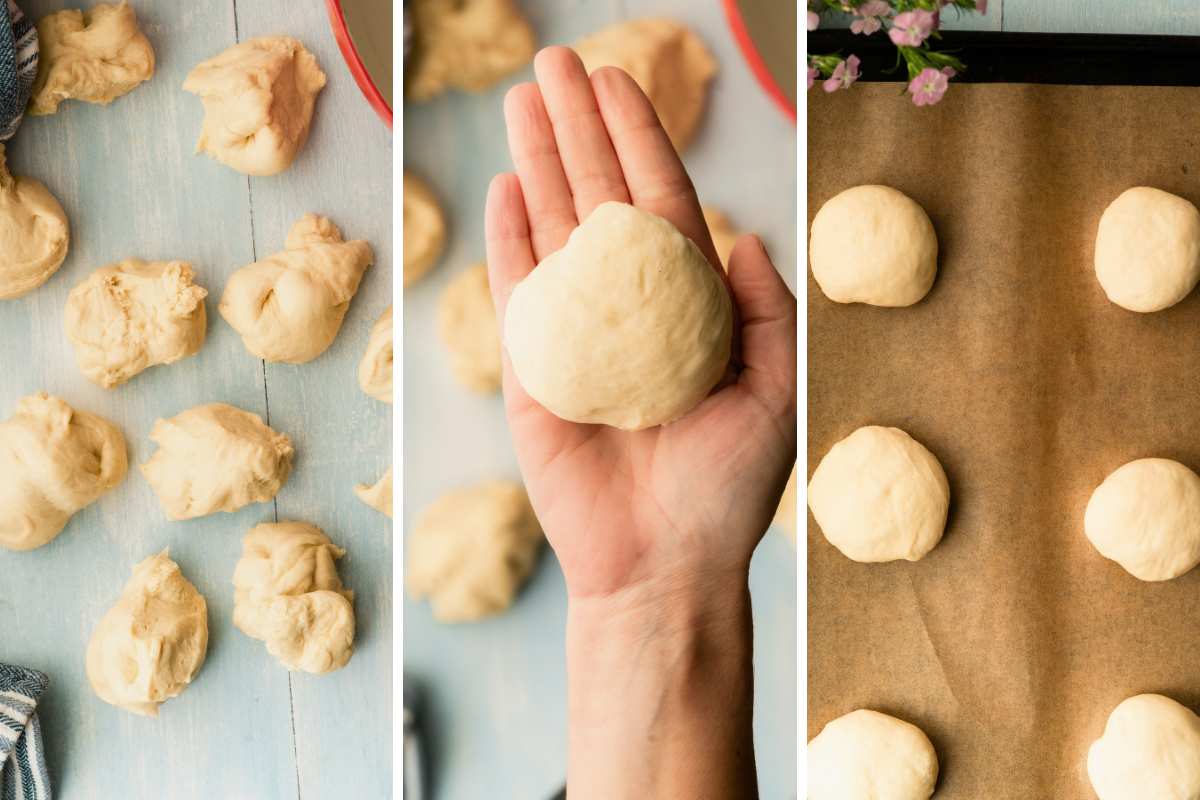
To shape into a ball, what you want to focus on is pulling down from the bottom. This will naturally smooth out the top and give you a pretty bun shape. Don’t mash it down from the top to smooth it out.
When you’re done, you do want to lightly flatten each of them with your palm.
Step Five: brush and rise again
Preheat your oven to 375. The preheating will take about as long as the second rise, so go ahead and do that now.
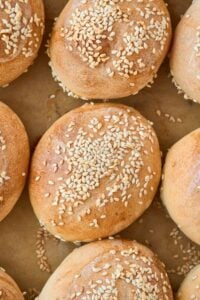
Brush them with an egg wash and sprinkle with sesame seeds if you’d like. This is just for looks, so you can skip this if you want.
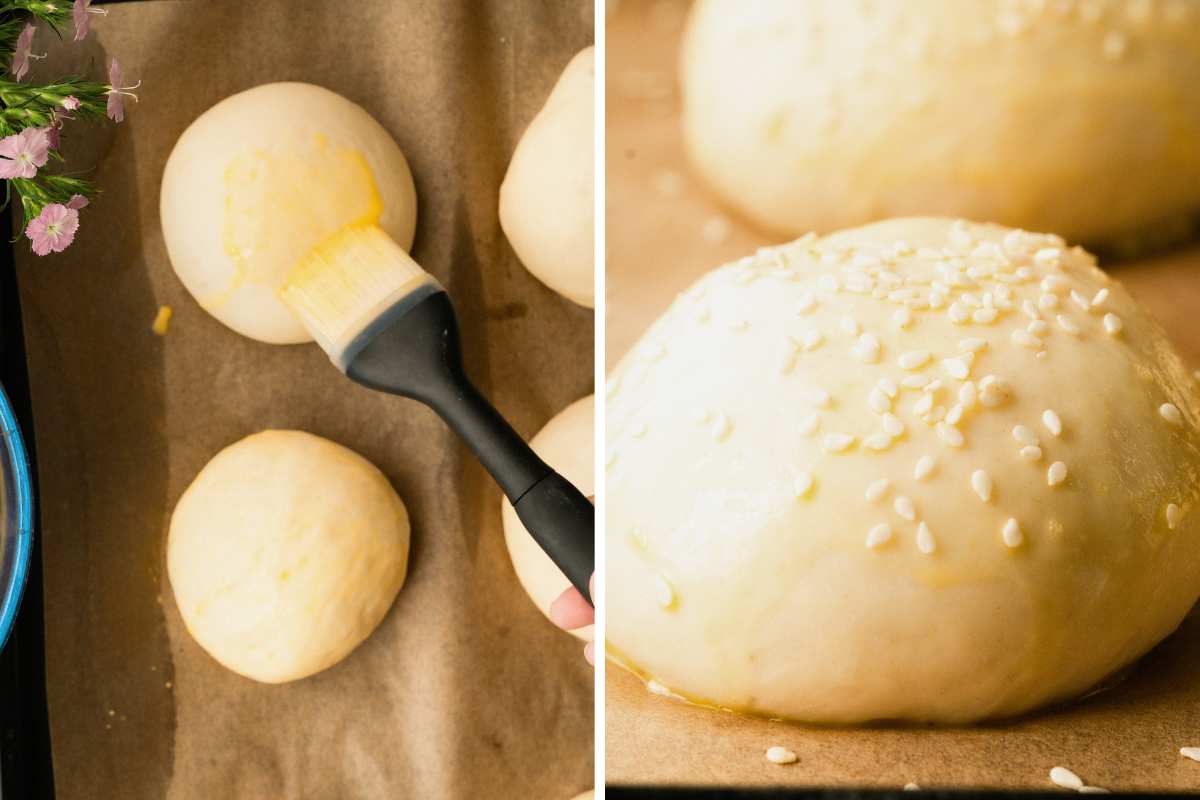
Now they rise again. Cover them with heavily greased plastic wrap; just sort of gently drape it on top. Put them back in that warm spot and allow them to rise one more time. Not a full hour this time, more like 30 to 45 minutes, so keep an eye on them. They should be puffy but not doubled in size.
Step Six: Bake
Bake for around 15 minutes if you have 10 buns, more like 18 if you have 8. They should be nice and deeply golden brown, not pale!
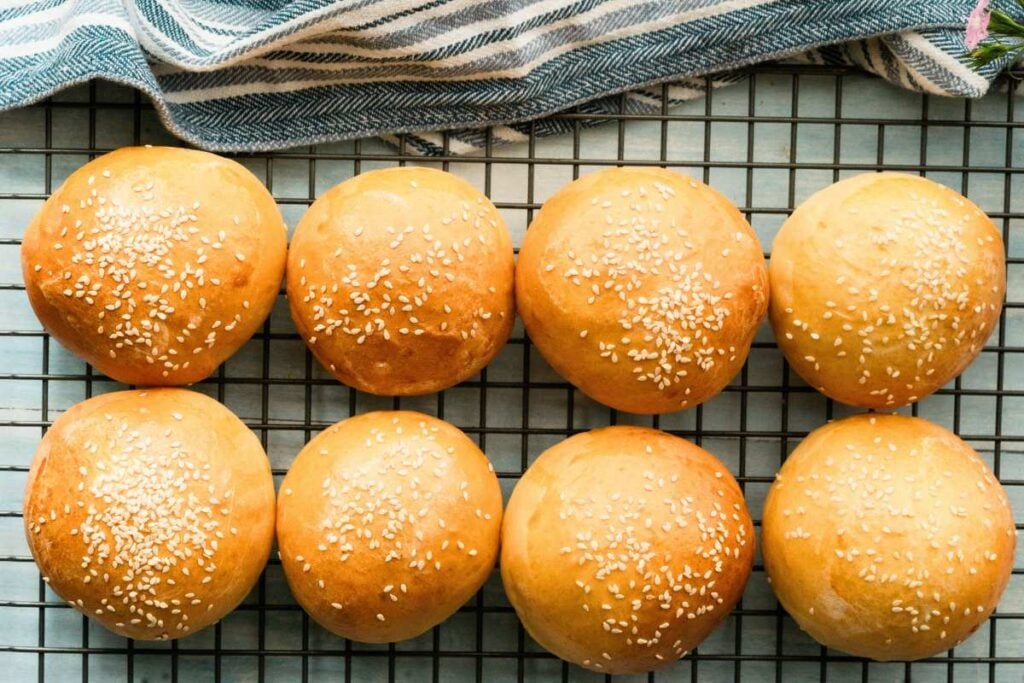
Allow them to cool completely before you slice them. They’ll stay fresh at room temperature for about two or three days.
After that, they’ll do best if you freeze them. Just pop them all in a zip-top bag, and they’ll stay fresh for about three months in the freezer
Printable Recipe
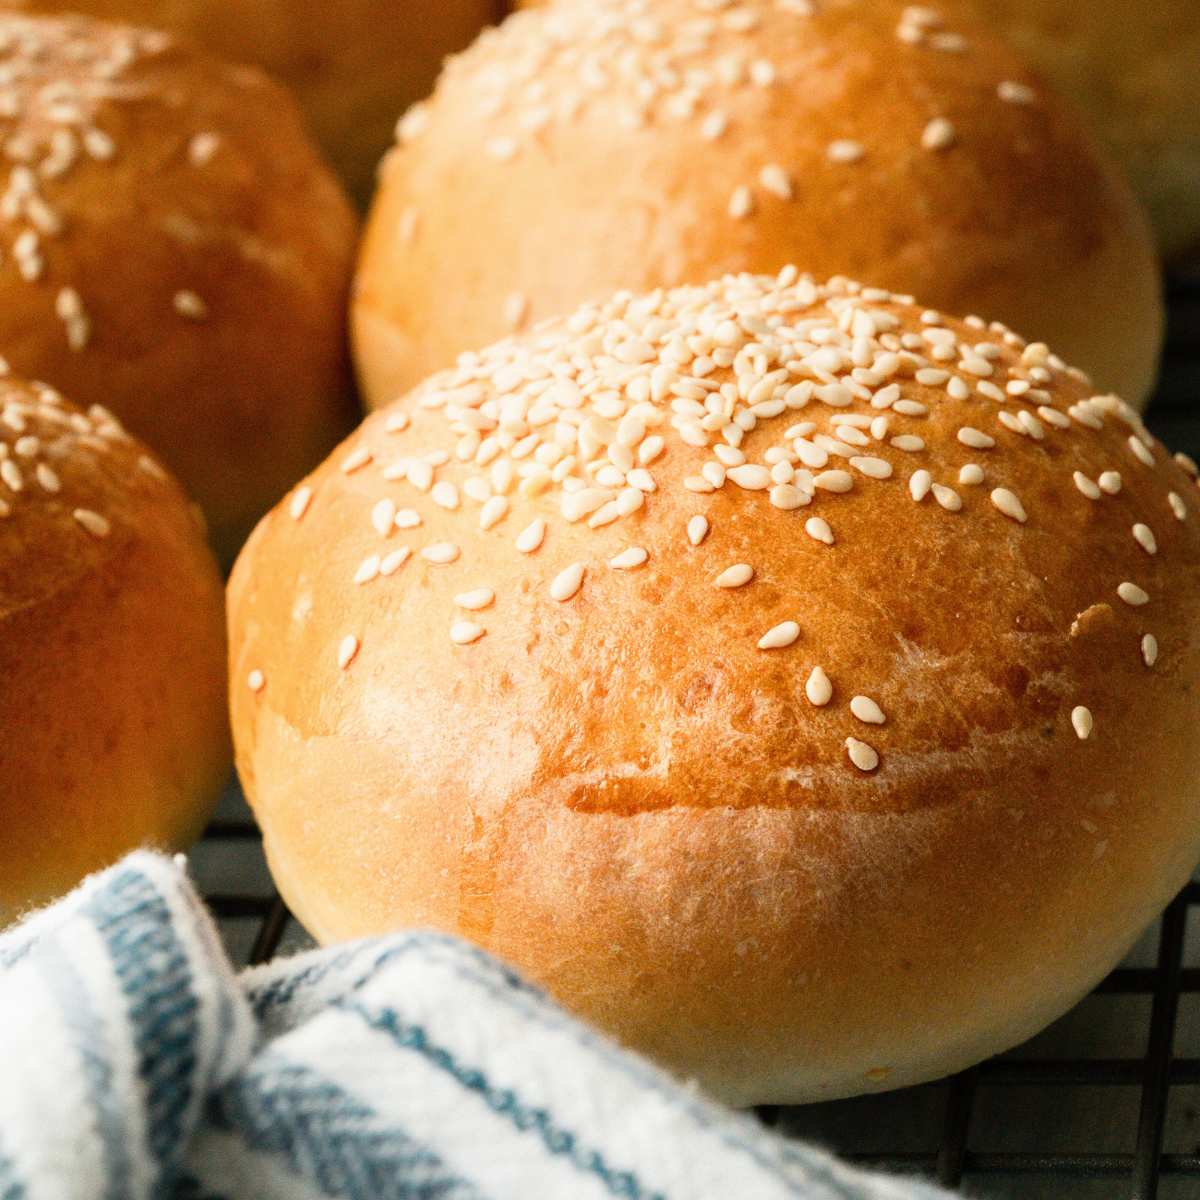
Sourdough Discard Burger Buns
Ingredients
- ½ cup sourdough discard unfed, 100% hydration
- ¾ cup warm water about 100-110°F
- 2 tablespoons sugar
- 2 ¼ teaspoons instant yeast 1 packet
- 3 cups all-purpose flour or bread flour
- 1 ½ teaspoons salt
- 1 egg
- 2 tablespoons butter softened
Topping (Optional)
- 1 egg beaten (for egg wash)
- Sesame seeds
Instructions
- Mix the dough. In a large mixing bowl (or the bowl of a stand mixer), combine all the dough ingredients. Stir with a wooden spoon (or use the dough hook on a stand mixer) until a shaggy dough forms.
- Knead the Dough.By hand: Turn onto a lightly floured surface and knead for 8–10 minutes until smooth and elastic.By stand mixer: Knead on low speed for about 5–7 minutes until the dough is smooth and pulls away from the bowl.
- First rise. Place the dough in a greased bowl, cover, and let rise in a warm place for 1–1.5 hours or until doubled.
- Shape the buns. Punch down the dough and divide it into 8 equal pieces (for standard-sized buns). Shape each piece into a smooth ball and place it on a parchment-lined baking sheet. Lightly flatten each bun with your palm.
- Second rise. Cover loosely and let rise for 30–45 minutes or until puffy.
- Bake. Preheat oven to 375°F. Brush buns with egg wash and sprinkle with sesame seeds if using. Bake for 15–18 minutes, or until golden brown.
- Cool and serve. Let buns cool on a wire rack before slicing.
Video
Notes
Nutrition







I’ve made these three times now. The flavor is always great , but my technique is still very beginner. This last batch is the best so far and I can hardly wait to make a sandwich.
Hey Judy! i’m so glad to hear it.:)
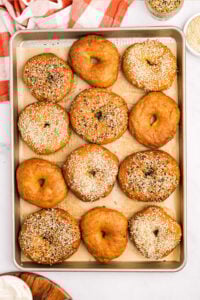
This recipe blew minds! I topped it with everything bagel seasoning and all the consumers raved! 🤤
thank you rachel!!! we love them too.