A simple method for capturing your own wild yeast. This sourdough starter recipes uses only flour and water and is ready in approximately seven days. You can do this.
So you’re ready to bake your own sourdough bread. Only one thing stands in your way… the sourdough starter. It seems very mysterious. It has to be fed. And what’s the discard? And how do you even go about making one?
Fear not. Let’s go over what you need, what you’ll do each day, and what your starter will look like at every stage.
Ingredients and Tools You’ll Need
This is just as simple as can be.
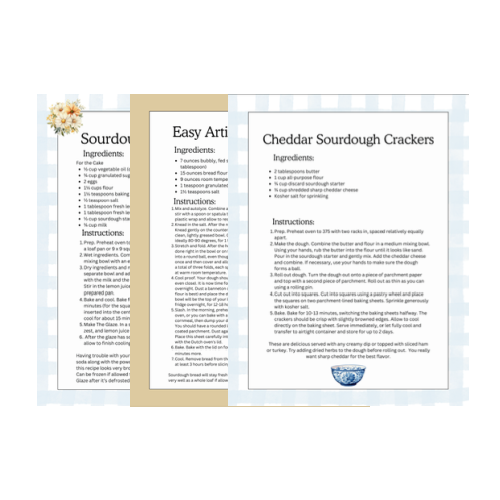
Get a Free + Pretty PDF Recipe Book
Sourdough Sunday Newsletter

Every Sunday evening I’ll send you a sourdough recipe to make that week, straight from my kitchen to your inbox.
And as a thank you for signing up, I’ll send you this e-book with beautiful printable recipes right away. Simple!
You will not be added to any other email lists or my daily newsletter. But if you’re already on my newsletter, you’re welcome to join and receive both.
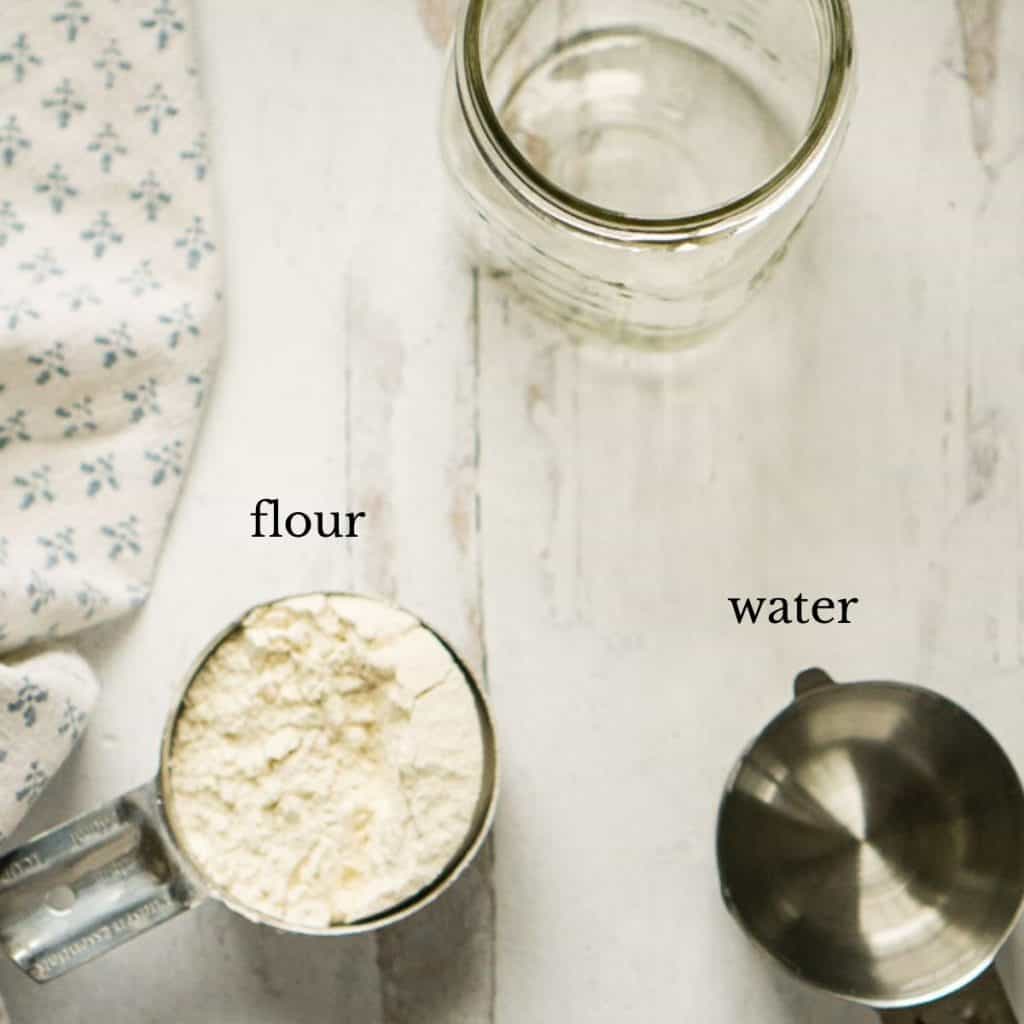
- All purpose flour
- Water
- A one quart or larger container
- A breathable piece of cloth, such as a tea towel
- A rubber band
How to Make Your Own Sourdough Starter
Day 1 and Day 2
Day 1 and day 2 are all about getting the flour and water mixture to start fermenting.
The first step is simply to mix flour and water together. We are going to start with 1/2 cup of flour and 1/3 cup of water.
Ideally, for this step you will use rye flour or whole wheat, because they will start to ferment faster. But it’s absolutely not necessary, and I wouldn’t go buying that flour if you don’t see yourself baking with it regularly. I used regular all purpose flour for my starter that is now many years old, as well as for this one that I made as an example.
As far as the type of water, tap is water is fine. If you have heavily treated tap water, you may want to try bottled water.
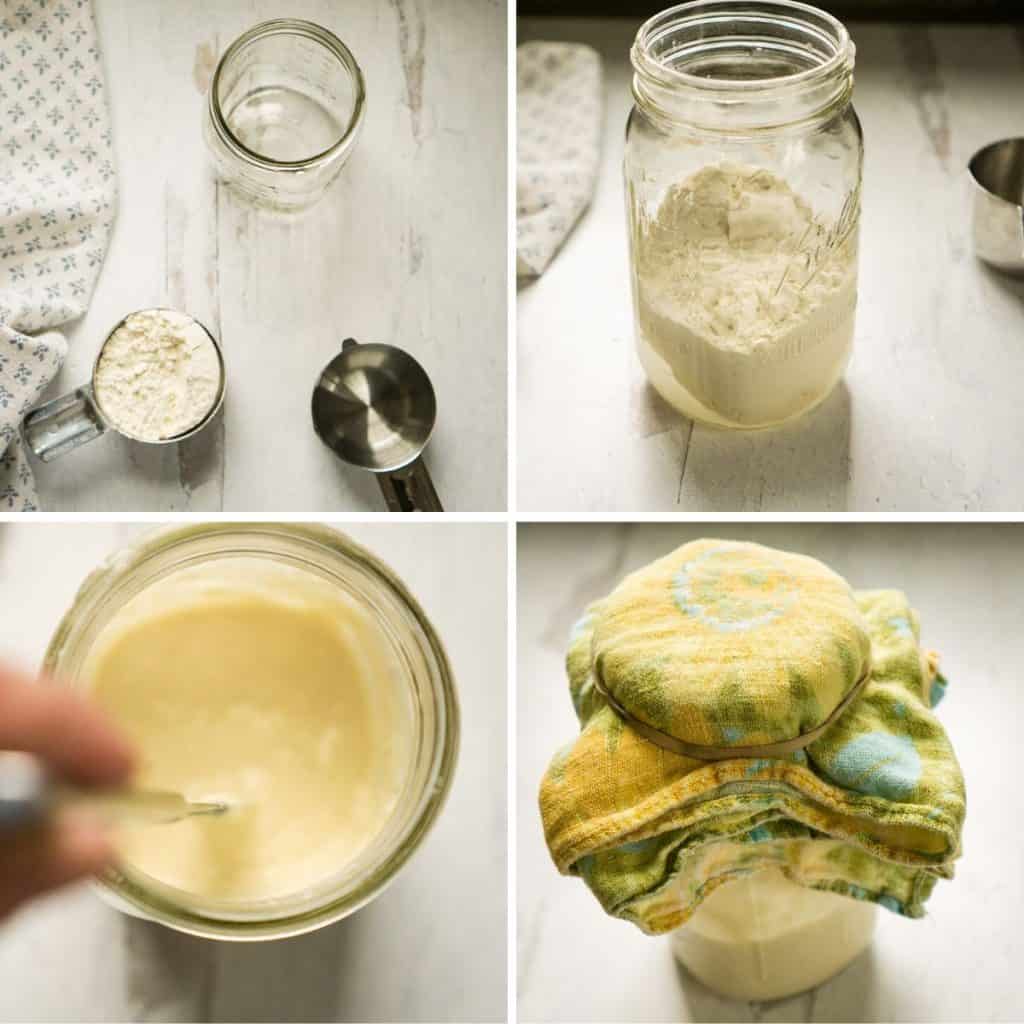
Mix the flour (1/2 cup) and water (1/3 cup) and stir them thoroughly. I use a butter knife.
Cover the jar with a breathable fabric such as a cotton or linen tea towel and fasten it around the jar with a rubber band. Set the new, baby starter somewhere cozy where it can start to ferment. It still needs air circulation, so I would not recommend the oven or microwave. Right on the counter is best.
Leave the jar alone for 24 hours and come back the next day. It might not look much different. That’s fine. Mix it up, and feed it with another 1/2 cup of flour and 1/3 cup of water. Stir, cover with the cloth, and leave the jar alone. The fermentation will happen soon.
Day 3
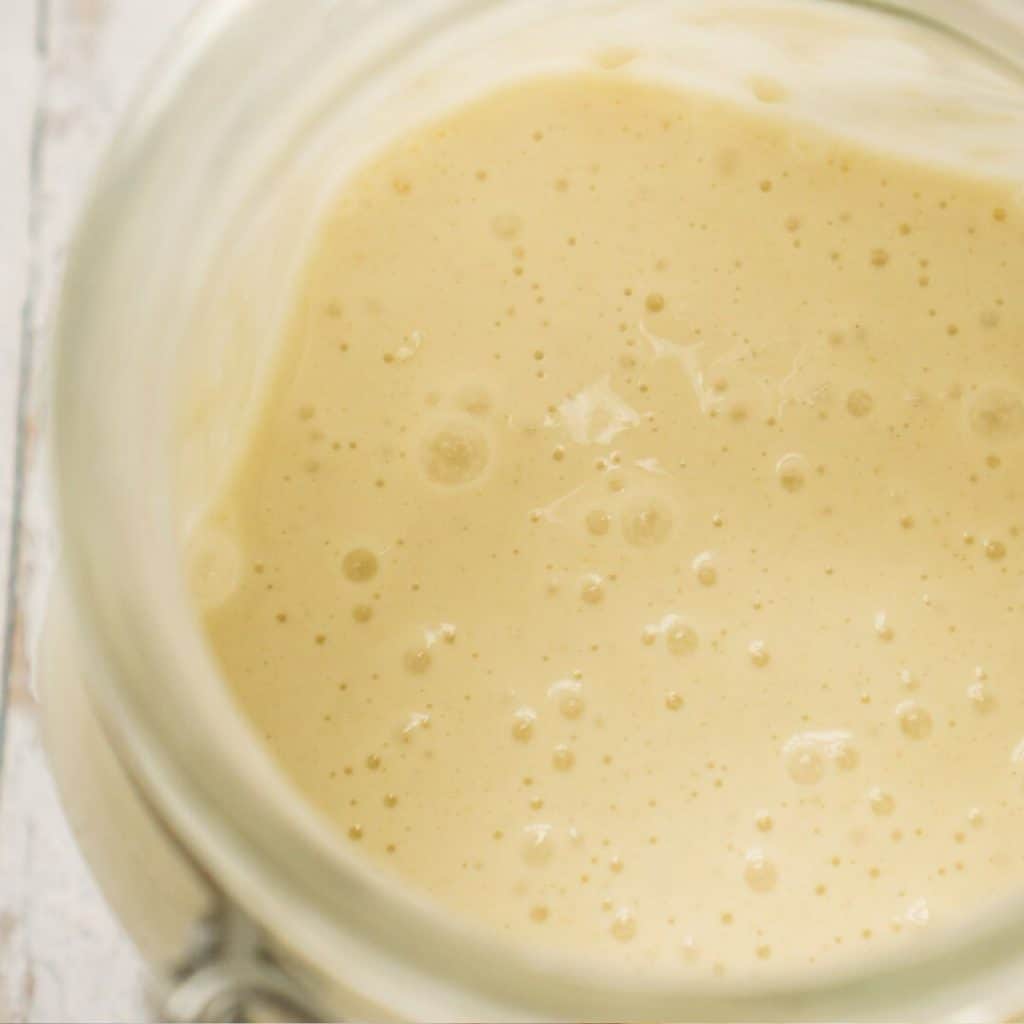
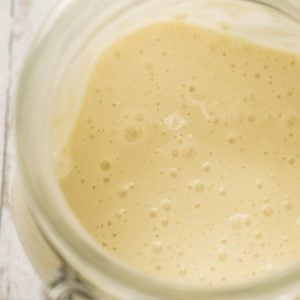
On Day 3, things start to get crazy. Your starter has come to life! It will look gross, separated into layers, and might not smell so great either. That’s good! It means its alive.
Stir it up until all the layers are combined. Now that we have this active bubbly creature, we are going to move on to the next phase. We are going to start with a fresh jar and fresh flour and water, and use this fermented flour to make our starter.
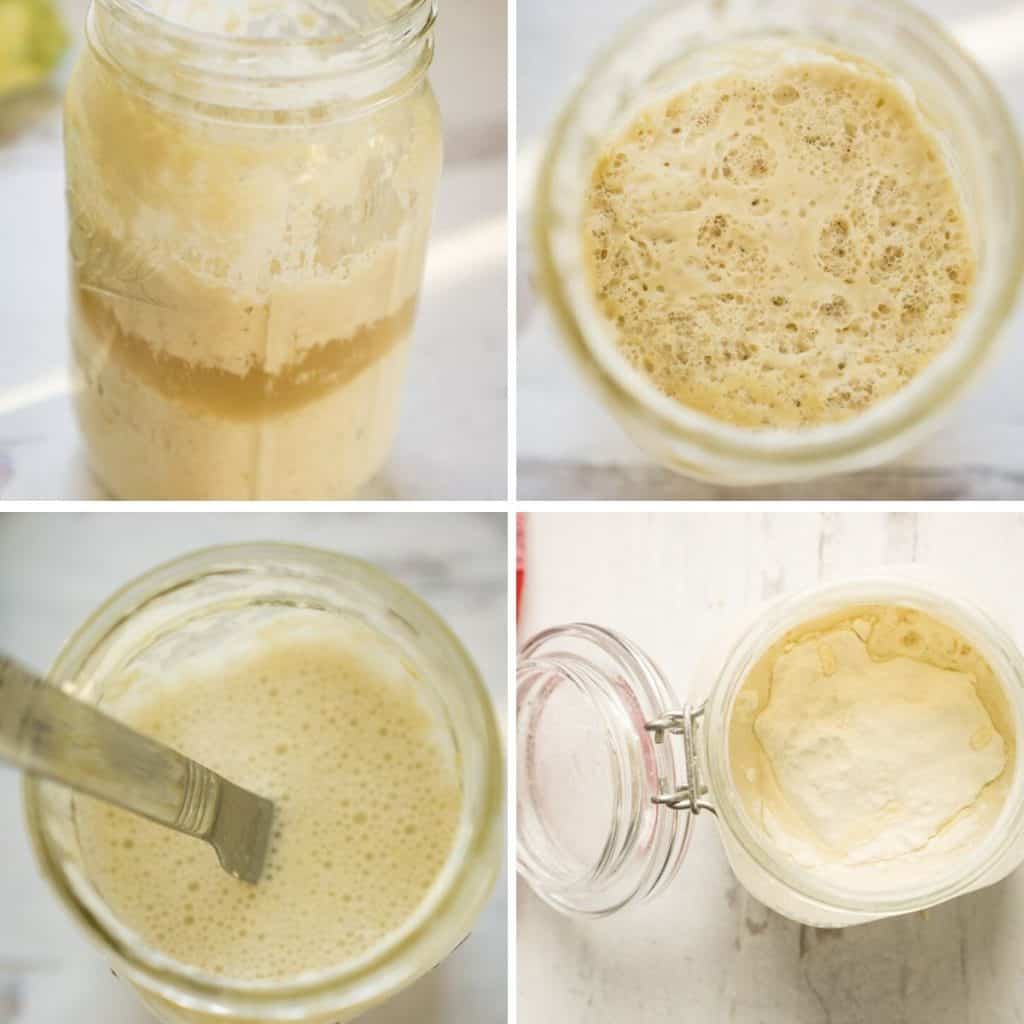
Pour out 1/2 cup of the starter, and pour it into clean jar. Add 1/3 cup of water and 1/2 cup of flour and stir it well. Cover it with the tea towel, just like before, and set it aside.
Unfortunately, the rest of the old jar is not good for much. Just toss it in the trash.
Strengthening the starter
Days 4-7
Okay! The rest of the process is easy. This jar is your starter. In the next few days we are building up its strength. Right now it might be stinky, but in a few days it will start to be sour and the bubbling activity will increase by the day.
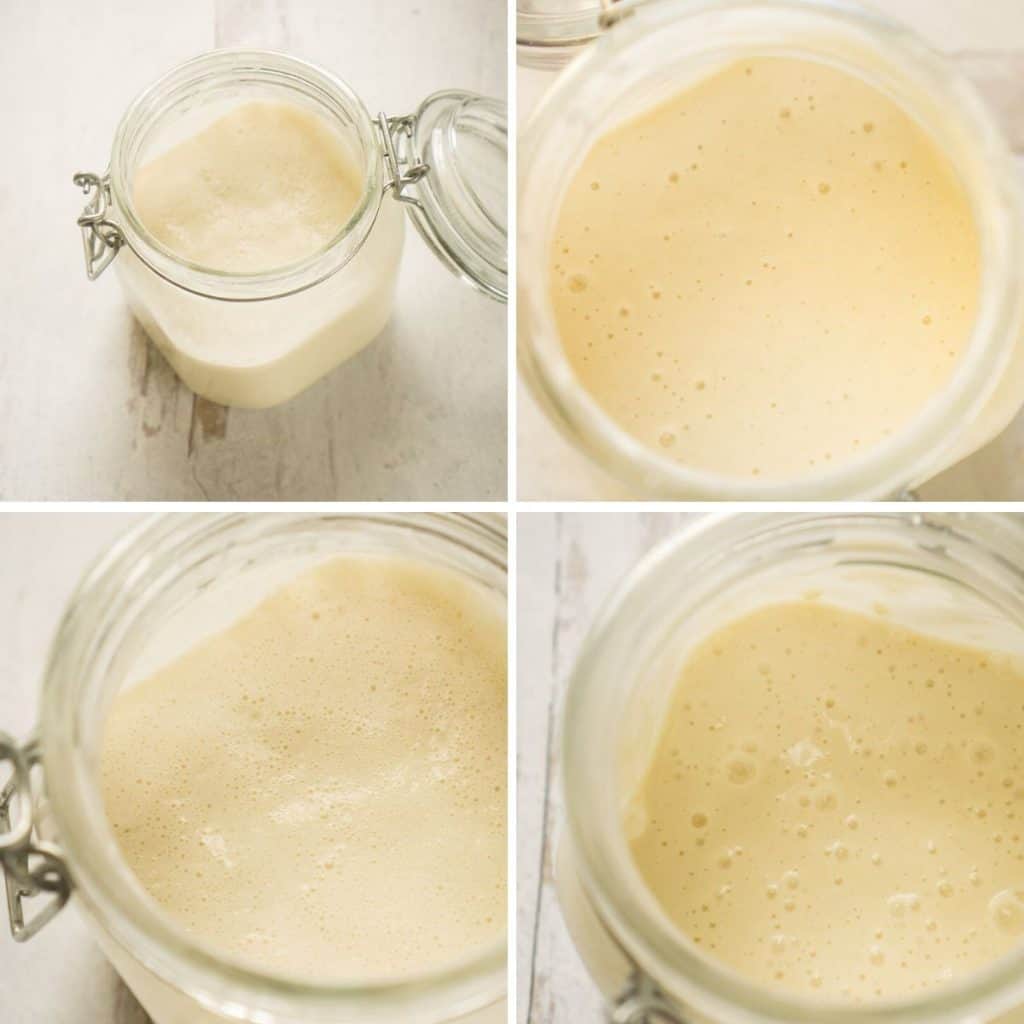
On day 4, we increase the feedings to twice per day. So in the morning, feed your starter 1/4 cup of water and 1/2 cup of flour.
Then do that again in the evening.
Now of course we can’t just keeping feeding it flour and expect it to fit in the container. So we have to discard some every day. Before you feed in the morning, mix it up and discard 1/2 cup of starter. If your jar is small you may need to discard more. It can either go in the trash or you can use it in one of these recipes.
As each day passes, it should become more bubbly, more sour smelling, and stronger. After day 7, it should be mature!
How to see if it’s ready
There are two methods you can use to see if your homemade sourdough starter is ready to bake with.
The first is the float test. Just scoop a few tablespoons of starter out and see if they float when dropped in a glass of water.
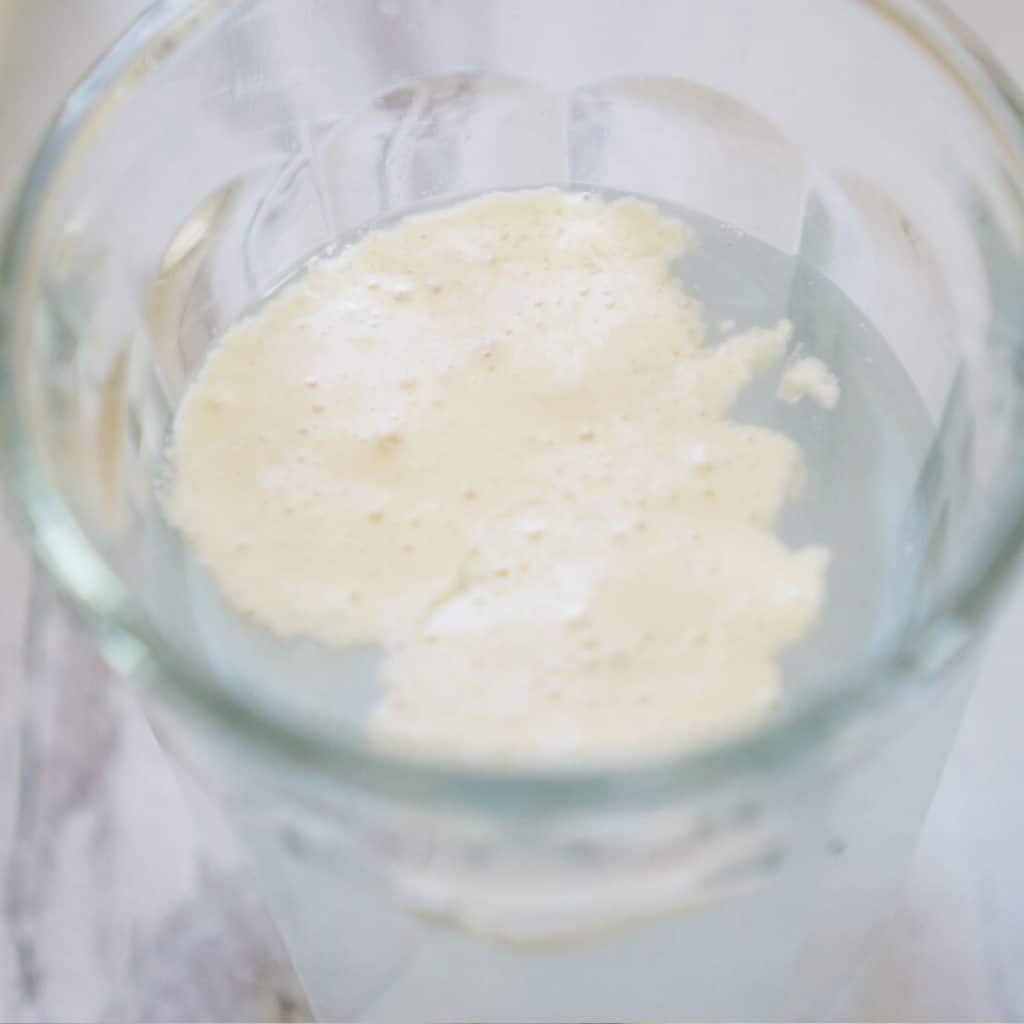
The second test is to see if it doubles in volume 8 hours after a feeding. To check this, put a rubber band on the jar to mark the level its at after a feeding, Check back after 8 hours to see if it doubles.
It fails these tests after seven days, that’s perfectly normal. Keep feeding twice a day and keep testing. It won’t be much longer.
What’s Next For Your Starter
Well, first of all, you can start tapering down the amount of flour you feed your starter now that you are maintaining your starter, not creating it. If you notice that is starting to separate by its next feeding, that just means you’ve tapered down too much and it needs more flour.
I know you’re going to want to start baking artisan breads right away. But I urge you not to. Even though your starter may pass the float test, a more mature starter (at least 30 days old) will give you much, much better results.
Right away, you can start baking with your sourdough discard, using one of these delicious recipes that use unfed sourdough.
You can also start baking “hybrid sourdoughs” that use a tiny pinch of yeast to help leaven the bread, like these crusty rolls or these easy baguettes.
When the starter is a few weeks old, branch out into recipes that rely on your starter entirely. You can bake everything from tender sourdough sandwich bread to sourdough burger buns to sweet cinnamon sourdough to bread to yes, the complicated artisan sourdough boules.
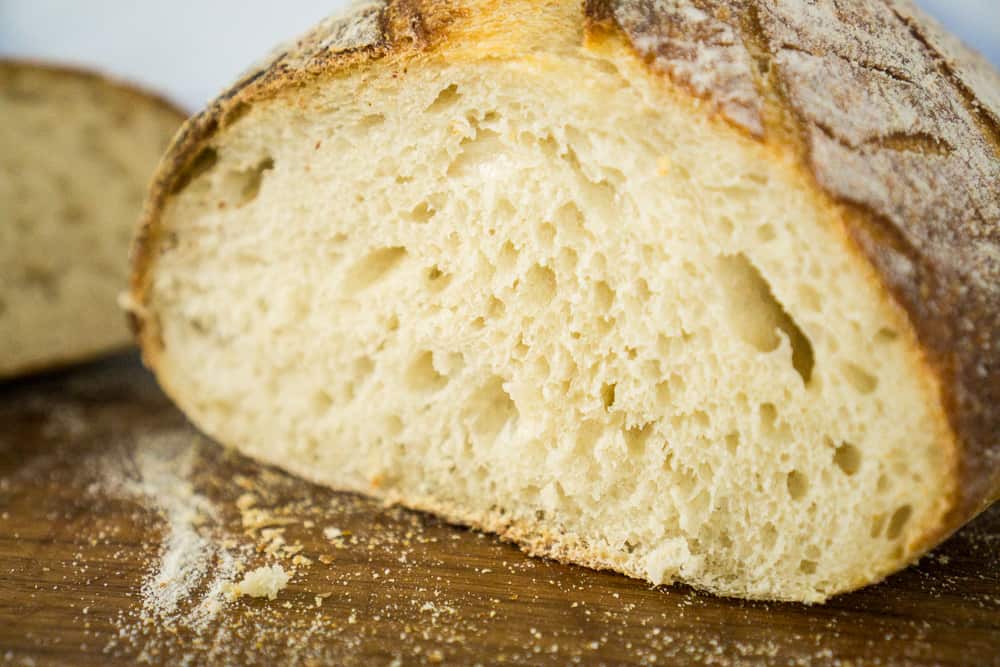
But if you want the easiest way to get a beautiful loaf of sourdough bread, try this ultra simple sourdough recipe first (pictured below!). It’s my favorite.
Questions and Troubleshooting
Nope. If you want to start with one of those for day one and day two, it can help the starter get off to a faster start. But it’s not necessary.
Nope nope nope. Don’t need them.
This is a storage issue and happens when too much moisture is introduced to the powder. Break up the clumps with a fork or butter knife. You can also reblend it in your spice grinder.
Anything at least 1 quart large, with a lid that is easily removed, and make sure its clear so you can keep an eye on it. My favorite is a plain old wide mouth 1 quart mason jar.
It’s hungry! Give it an extra feeding or two. This should correct itself after a little more food.
No big deal, just keep feeding.
Two reasons. If you don’t, the starter will become uncontrollably huge and it won’t fit in the jar. Second, it will need MORE flour to feed it, the bigger it gets. Think of it like a child. Little baby needs a little meal. A big teenager needs a big meal. Keep it a manageable size and it eats a manageable amount of flour.
I don’t know, but this happens to EVERYONE and it’s GROSS. It will go away by day 6 and become more of a sour smell. Don’t worry!
Printable Instructions
Homemade Sourdough Starter Recipe
Ingredients
- 5 cups of all purpose flour divided
- 5 cups of filtered water divided
Save This Recipe
You'll join my email list which you will love. And if you don't, unsubscribe in one click. ❤️
Instructions
- Combine 1/2 cup flour and 1/3 cup of water in a one quart jar and mix thoroughly. Cover with a breathable fabric such as a cotton tea towel and secure with a rubber band. Set in a draft free place.
- The next day, stir the starter and add another 1/2 cup flour and 1/3 cups water. Stir to mix. Re-cover and set aside again.
- On the third day, the starter should look bubbly and may have separated into layers. Stir everything back together, then pour 1/2 cup of the starter into a new, clean jar. To this new jar, add 1/4 cup of water and 1/2 cup of flour and stir well. Cover with the same breathable fabric and set aside.
- On day 4, increase the feedings to twice a day. Feed 1/4 cup of water and 1/2 cup of flour morning and night, stirring well each time. Once a day, you will need to discard 1/2 cup of starter, maybe a bit more, depending on the size of your container.
- Repeat step 4 on day 5, day 6, and day 7.
- At the end of day 7, check to see if the starter is ready for baking. It should be visibly bubbly and have a sour smell. A few tablespoons should float in a glass of water, and/ or you should be the volume of the starter double 8 hours after a feeding.
Notes


On your instructions for the 3rd day, it say to take 1/2 cup of the flour/water mixture and add 1/2 cup flour and 1/4 cup water. And then each day after that. It is very thick and is not rising. Is that correct or is it always add 1/2 cup flour and 1/3 cup water? This is the third recipe I have used to make starter. The other two time did not work. I liked your starter and bread recipe but I want to make sure I’m following the direction so I don’t have to start the fourth time. Thank you very much for a response.
hi susan! add a TAD more water, with flour. brands varying and humidity levels and all the other things it’s sometimes better to go by the look/ feel vs the measurements. we’re going for a pancake batter consistency. make sure it’s in a warmish spot, that will help the most!
I’ve tried making a starter several times but can’t seem to get it to double in size! I’ve used whole wheat or unbleached AP. Any suggestions?
You make it look and sound so simple and I feel inspired to try again!
hey Stacy, first of all I’d try again when it’s a little warmer. I always like to say it just hasn’t doubled YET. it might need a few more days of feeding, it might need a few more hours in a slightly warmer spot. and you can always just try to make a loaf with it. think of it as practice. sometimes it’s not a problem that it hasn’t doubled, it’s still working.
Thank you for the recipe! When can I put my starter in the fridge?
hi dani, id wait until it’s really active and bubbly and you’ve successfully baked a loaf with it. the fridge sort of maintains it so you want it at full “power” (for lack of a better word) until you move there 🙂
I appreciate the easy step by step instructions,my first time making starter.
Hey Sandra, thank you so much for your comment! I’m happy to hear that the step-by-step instructions were helpful. Happy baking!
Nice! Simplicity of instructions I appreciate!
thanks Kim I appreciate that!
THANK YOU for your easy to follow Sour dough start. Now I need to know how to take 3/4 of a cup of my start for a recipe. If I have 1/2 cup left, how much flour & water do I add to keep up the volume of my start??
you feed it at a 1:1 ratio, so 1/2 cup each flour and water. You can feed it MORE tha that, but not less.
I love this so much. The instructions are actually EASY to understand! I’m on day 9 with my starter (using this method) and today I used it to make my first loaf of sourdough bread. I’m so happy, because it turned out! God is good. Thank you for the wonderful recipe and easy-to-read instructions!
hi faith! so happy you’ve found sourdough success! thanks for much for letting me know 🙂