
English Muffin Bread

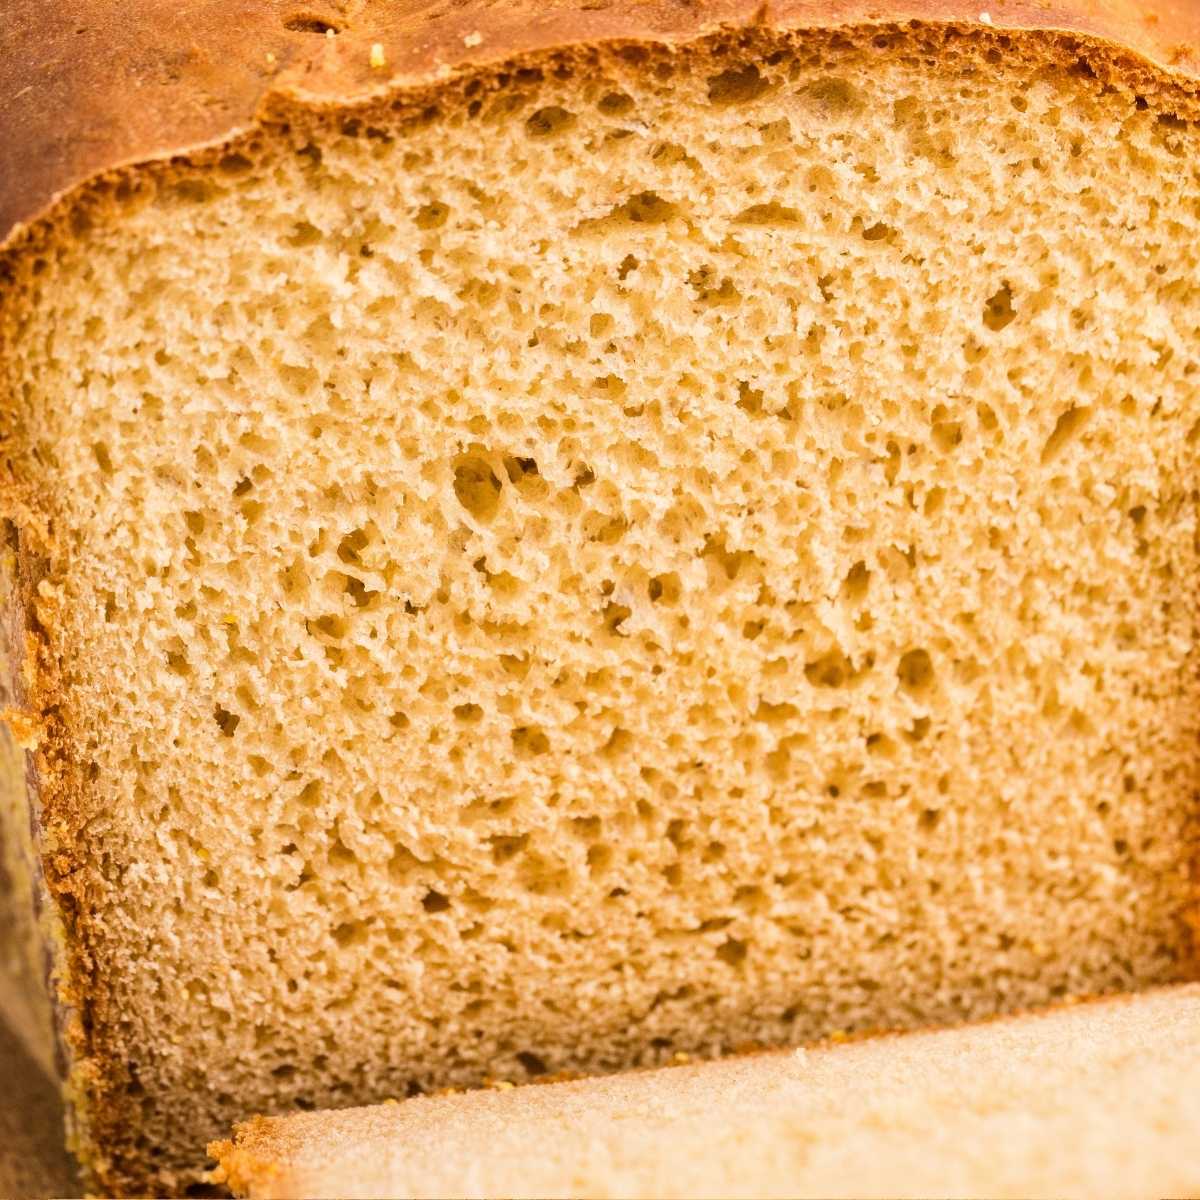
All the tang, chew, and craggy nooks of a real English muffin in a loaf pan. Slice it thick, toast it, and load it up with butter and jam.
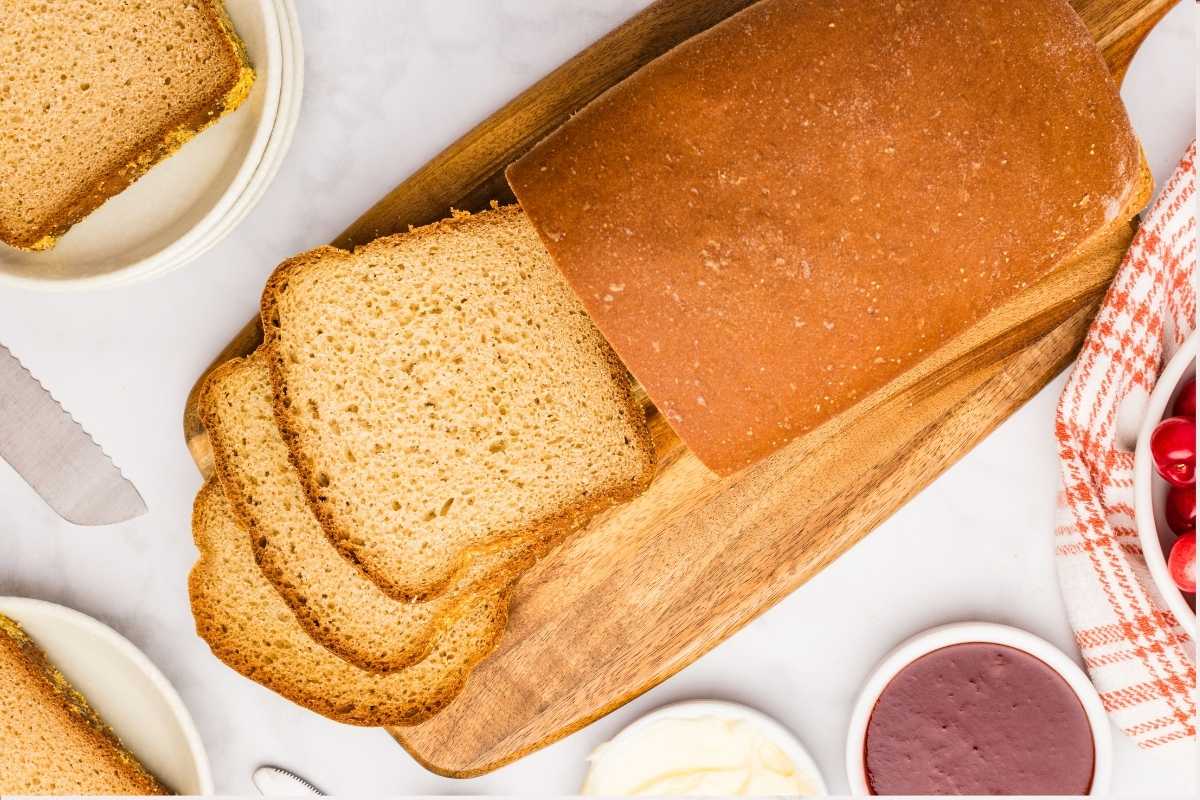
What You’ll Need
- ¼ cup warm water
- 2 ¼ teaspoons active dry yeast. The recipe has you activate it, but honestly, you can dump it in with the dry ingredients and skip the wait.
- 1 tablespoon granulated sugar
- 1 cup milk
- 2 tablespoons neutral-flavored oil
- 3 ½ cups all-purpose flour. Fluff, spoon, and level. Don’t scoop from the bag, or you’ll pack in an extra ½ cup and end up with a dense loaf.
- 1 ½ teaspoons salt. Table salt is cheaper and dissolves better.
- ¼ teaspoon baking soda. This isn’t optional. It’s what gives the bread that unmistakable English muffin tang.
- 1 tablespoon cornmeal. For coating the pan. You can skip it, but you’ll lose the classic look and that little bit of crunch on the crust.
Equipment You’ll Need
- 9×5 loaf pan. A slightly smaller pan is fine. The loaf will just dome higher.
- Stand mixer with dough hook. You can knead by hand, but plan on 8-10 minutes and don’t quit early.
- Instant-read thermometer. For warming the milk and checking doneness (190-200°F in the center).
Instructions
Wake up the yeast
Combine the warm water, yeast, and sugar in the bowl of your stand mixer and give it a quick stir. Let it sit for 3-5 minutes while you deal with the milk. You’ll see it get foamy on top, which is how you know the yeast is alive.
I know I usually tell people not to proof yeast, but here we’re just dissolving it while the milk warms up…it’s not a separate step that slows you down.
Warm the milk
Pour the milk and oil into a small saucepan and warm it over low heat until it hits 90°F. Use a thermometer here. 90°F feels barely warm to the touch, cooler than you’d guess.
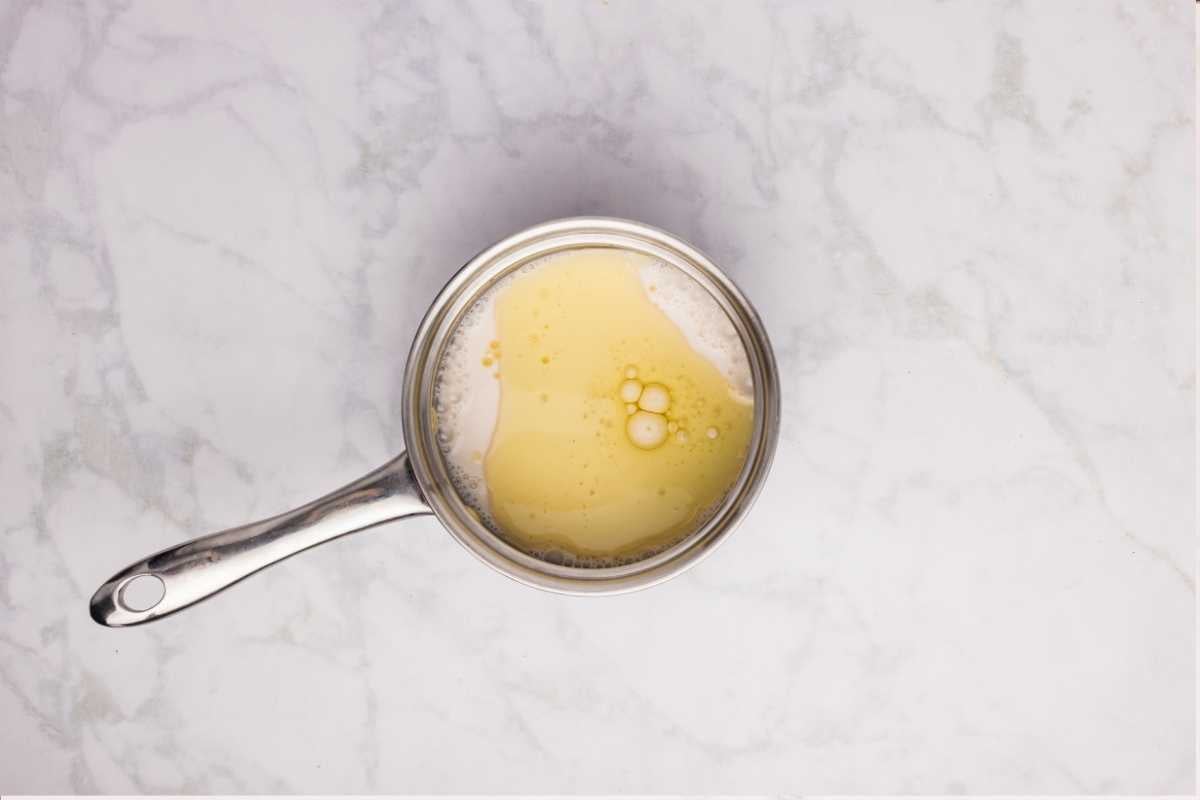
Anything hotter than about 110°F starts killing the yeast, and there’s no coming back from that. If you overshoot, just let it cool for a few minutes before adding it to the yeast mixture.
Mix and knead
Pour the warm milk mixture into the yeast, then add the flour, salt, and baking soda. Attach your dough hook and mix on low until it comes together, then bump it up to medium and knead for 3-5 minutes.
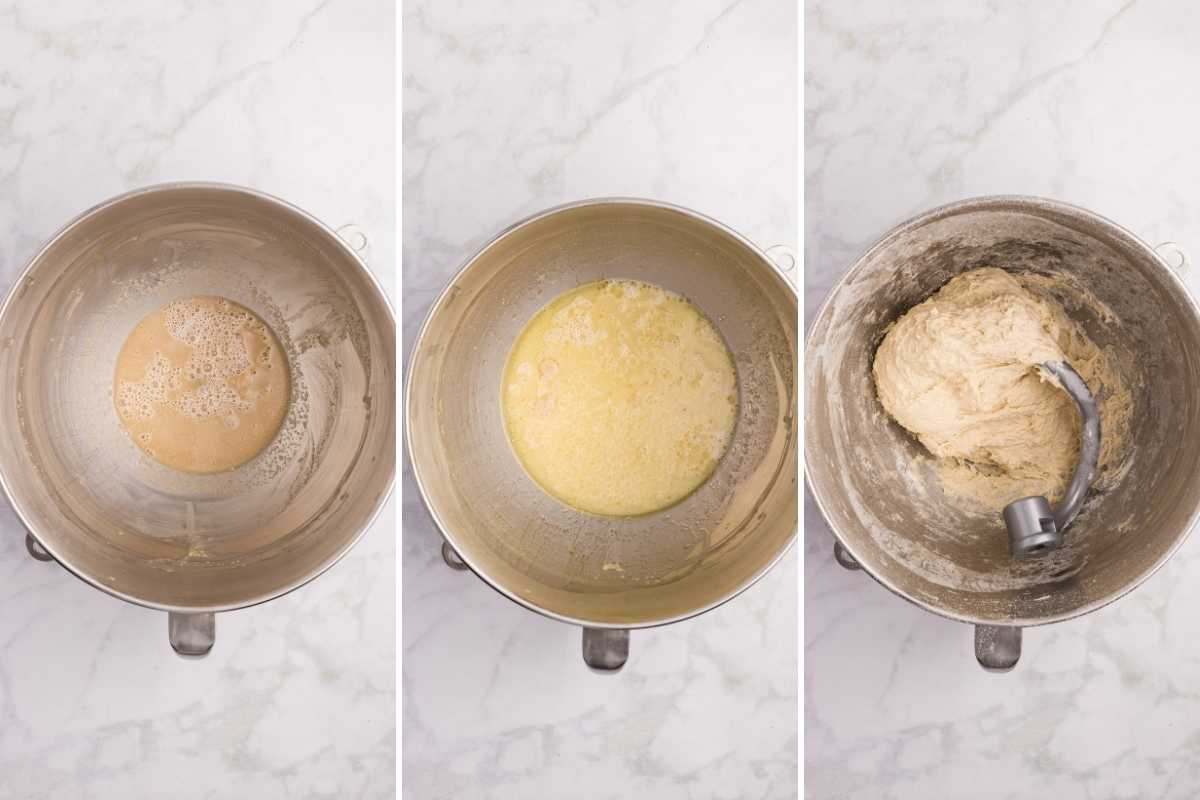
This dough is wetter than a typical bread dough, and it’s supposed to be. You want it to pull away from the sides of the bowl while it kneads, but still feel tacky when you touch it. Don’t panic and start adding flour. A dry dough here gives you a dense loaf.
If you’re kneading by hand, plan on 8-10 minutes and don’t quit early. Under-kneading is the #1 reason homemade bread turns out dense. The dough should feel smooth and stretchy when you’re done.
Prep the pan and shape the loaf
Spray a 9×5-inch loaf pan with baking spray, then sprinkle the cornmeal inside and tilt the pan to coat the bottom and sides. This is what gives you that classic English muffin crust.
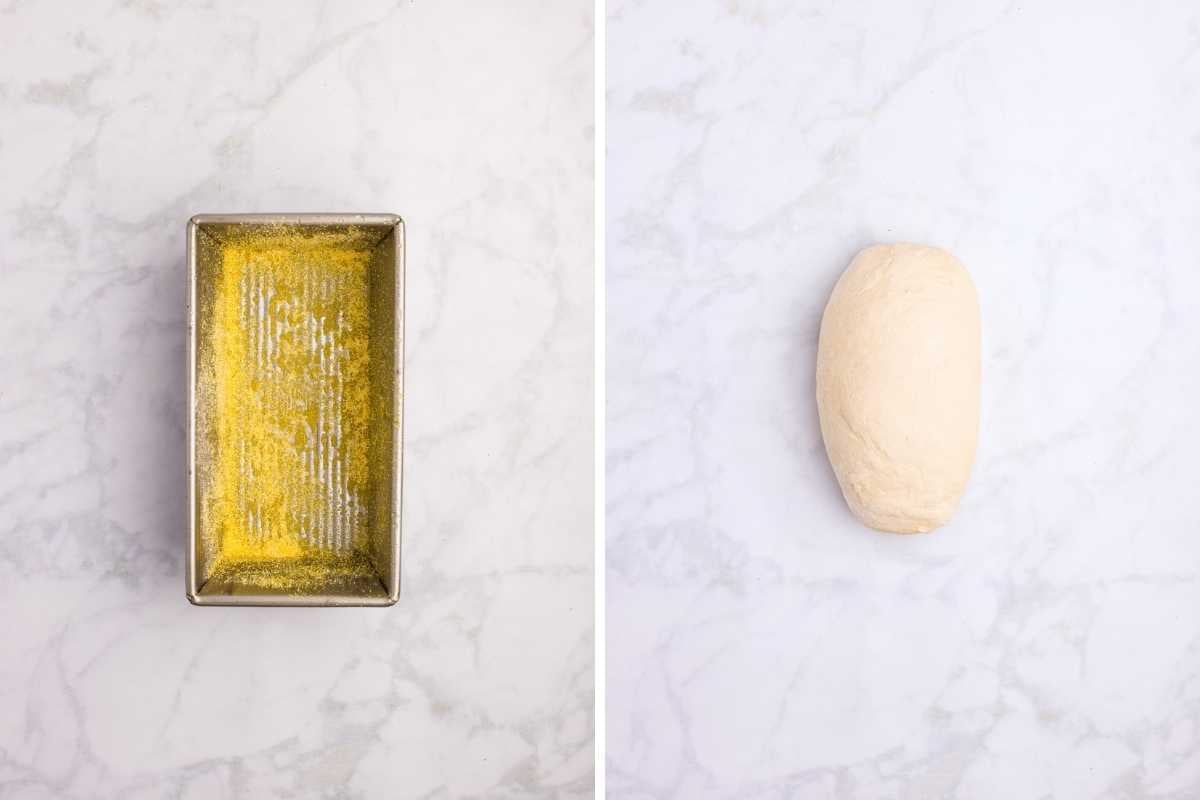
Scrape the dough out, shape it roughly into a log, and drop it into the pan. Don’t overthink the shaping. This dough is too wet to hold a pretty shape anyway, and it’ll figure itself out as it rises.
Let it rise
Cover the pan with plastic wrap or a tea towel and let the dough rise until it reaches the rim of the pan. This usually takes 45-60 minutes, but watch the dough, not the clock. A warm kitchen speeds things up; a cool one drags it out.
Save This Post
You'll join my email list which you will love. And if you don't, unsubscribe in one click. ❤️
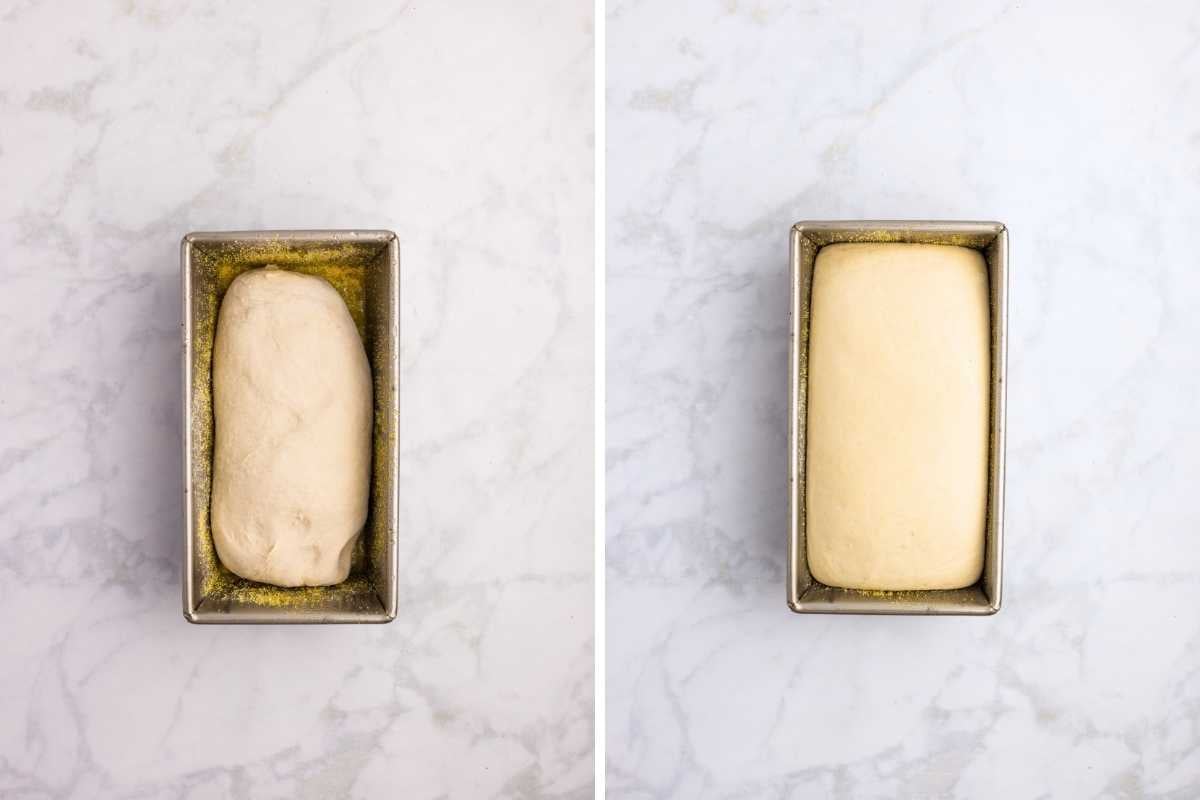
When the dough is about 10 minutes from the top of the pan, turn your oven on to 400°F so it’s ready when the dough is.
Bake until deeply golden
Uncover the pan and bake for 35-40 minutes. You’re looking for a deep golden brown crust. If you have an instant-read thermometer, the middle of the loaf should register 190-200°F.
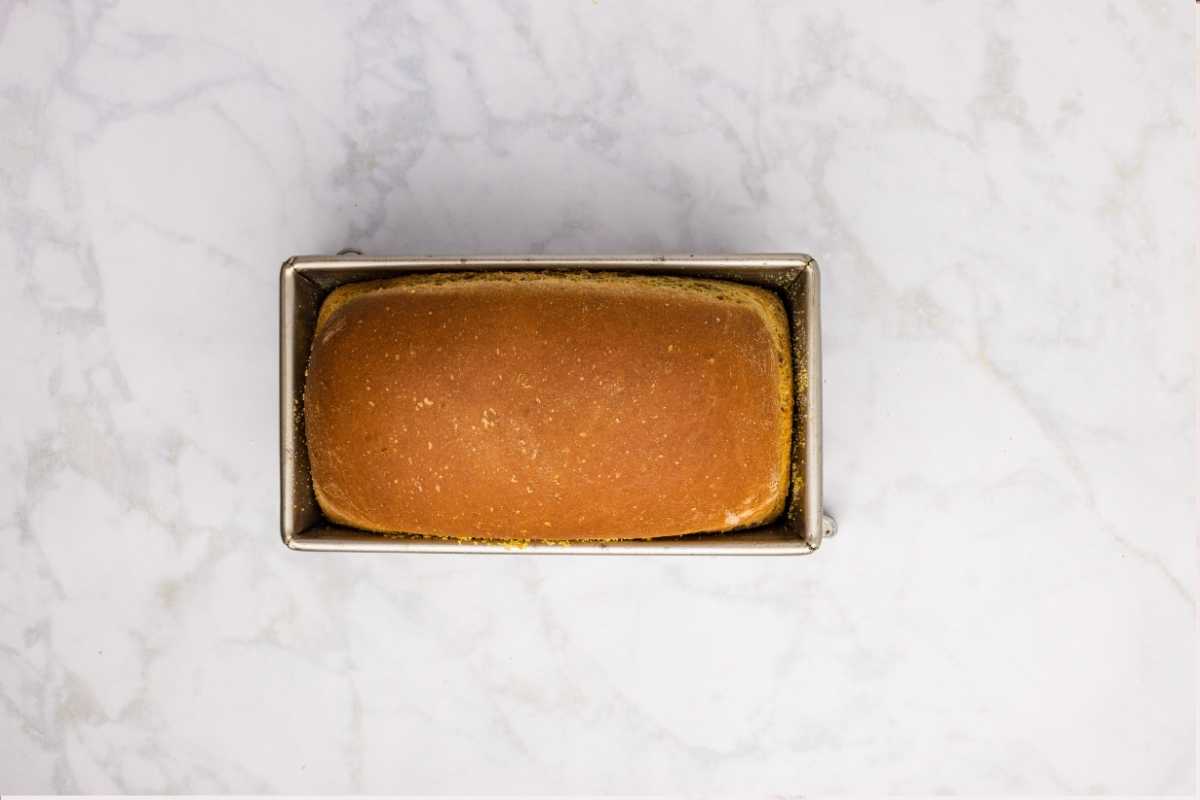
If the top is browning too fast, tent it loosely with foil for the last 10 minutes. Pull the loaf out of the pan and let it cool completely on a rack before you slice it. I know, waiting is the worst, but slicing a hot loaf gives you gummy bread, and this one is really worth the patience.
Storage Instructions
Once the loaf has cooled completely, keep it in an airtight container or bread bag at room temperature for up to 3 days. I don’t refrigerate this one. It goes stale faster in the fridge than it does on the counter.
For longer storage, slice the whole loaf first, then freeze the slices flat on a lined baking sheet for about an hour so they don’t stick together. Transfer to a freezer bag or container and freeze up to 3 months. Pull out slices as you need them and toast straight from frozen, or warm in a 350°F oven for a few minutes to thaw.
How We Eat This Bread
- Toast a thick slice and slather with salted butter and honey.
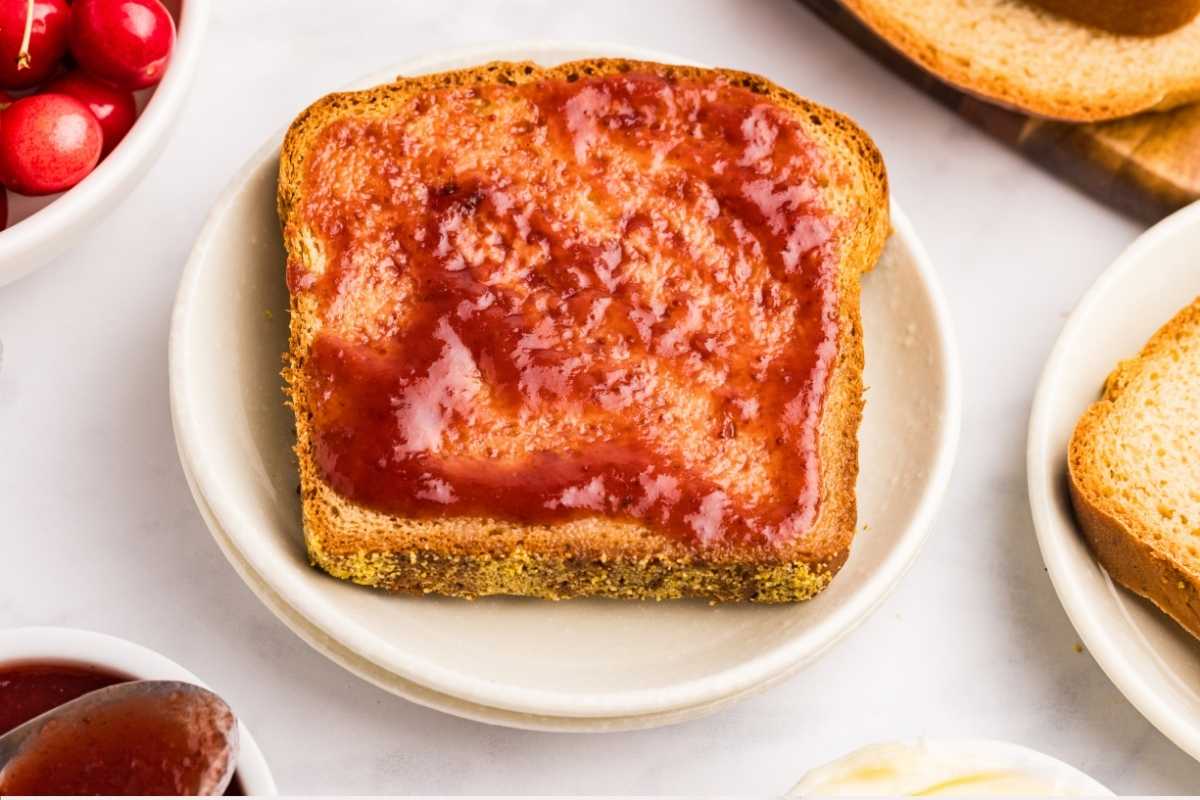
- Top toasted slices with butter and a spoonful of homemade jam.
- Make breakfast sandwiches with a fried egg, cheddar, and bacon or sausage.
- Use it for cinnamon toast: butter, cinnamon sugar, and broil for a minute.
- Toast and top with smashed avocado and flaky salt.
- Turn thick slices into French toast. The nooks soak up the custard beautifully.
- Toast, butter, and dunk into a bowl of tomato soup.
- Make a grilled cheese with sharp cheddar. The craggy interior gets extra crispy.
Questions and Troubleshooting
Can I use instant yeast instead of active dry?
Yes, and honestly, I’d prefer it. Skip the water/sugar activation step and just dump the instant yeast in with the flour. Really! My favorite brand is SAF-Instant.
My dough is sticky. Did I mess up?
Nope. This dough is supposed to be on the wet side. That’s what gives you the nooks and crannies. It should pull away from the sides of the bowl but still feel a little tacky.
Can I skip the cornmeal?
You can, but don’t. It’s what makes the loaf actually look and taste like an English muffin.
Can I substitute bread flour for the all-purpose?
Yes. You’ll get a slightly chewier loaf, which some people love. Bread flour absorbs a little more water, so if the dough seems dry, add a splash of milk.
Why is my top browning way faster than the inside is baking?
Tent it loosely with foil for the last 10 minutes. Every oven runs a little differently, and this bread bakes at a fairly high temperature.
More easy homemade bread recipes
- Budget Bread Recipe: A $0.60 Loaf (Beginner Friendly)
- Buttermilk Sourdough Bread
- Easy Bread Machine Sourdough (Truly Foolproof)
- Homemade Italian Sandwich Bread
English Muffin Bread
Equipment
- stand mixer with dough hook
- Small saucepan
- Instant-read thermometer
- 9×5 inch loaf pan
- cooling rack
Ingredients
- ¼ cup warm water
- 2¼ teaspoons active dry yeast
- 1 tablespoon granulated sugar
- 1 cup milk
- 2 tablespoons neutral-flavored oil such as avocado or vegetable
- 3½ cups all-purpose flour fluffed, spooned, and leveled
- 1½ teaspoons salt
- ¼ teaspoon baking soda
- 1 tablespoon cornmeal
Instructions
- Combine the yeast mixture. In the bowl of a stand mixer, stir together the warm water, yeast, and sugar. Let it sit for 3 to 5 minutes to activate.
- Warm the milk. While the yeast activates, heat the milk and oil in a small saucepan until the mixture reaches 90°F.
- Mix the wet ingredients. Pour the warmed milk mixture into the yeast mixture and stir to combine.
- Add the dry ingredients. Add the flour, salt, and baking soda. With the dough hook attached, stir until the dough comes together.
- Knead the dough. Increase the mixer speed to medium and knead for 3 to 5 minutes. The dough should pull away from the sides of the bowl but stay slightly tacky.
- Prepare the pan. Spray a 9×5-inch loaf pan with a small amount of baking spray, then sprinkle the cornmeal inside and turn the pan to coat.
- Shape the loaf. Shape the dough into a loaf and transfer it to the prepared pan.
- Let it rise. Cover and let rise for 45 to 60 minutes, until the dough reaches the rim of the pan. Watch the dough, not the clock.
- Preheat the oven. While the dough is rising, preheat the oven to 400°F.
- Bake the bread. Remove the cover and bake for 35 to 40 minutes, until the loaf is deeply golden brown and registers 190°F to 200°F internally. If the top browns too quickly, tent loosely with foil for the last 10 minutes.
- Cool before slicing. Turn the loaf out onto a rack and let it cool completely before slicing, or the interior will be gummy.
Notes
Nutrition

Related Articles
See ALL
Cold + Creamy Shrimp Pasta Salad with Old Bay
Apple Spice Cake with Boiled Caramel Frosting
Slow Cooker Cheesy Bacon Ranch Potatoes
Blackberry Bundt Cake: A Simple Summer Favorite
Chewy Italian Sesame Rolls
Blackberry Raspberry Pie (A Favorite Summer Dessert)
Slow Cooker Pork Chops with Cinnamon Apples
Crockpot Ranch Chicken and Potatoes
Use-What-You-Have Skillet Fried Rice
Classic Yellow Cake with Chocolate Icing
Easy Maple Nut Fudge Recipe
Super-Easy Pickle Juice Chicken Marinade
See all
Related Articles
Homemade Chocolate Chip Ice Cream
Strawberry Old-Fashioned Cocktail
Cheesy Ground Beef and Tomato Pasta Skillet
Rigatoni Al Forno
Blueberry Lavender Lemonade (Gorgeous & Easy)
Moist Banana Muffins with Caramel Drizzle Icing
36 Recipes That Help You Save Money
Easy Triple Berry Sangria
Slow Cooker Spiked Apple Cider