
Homemade Honeycomb Candy

This is an old-fashioned favorite that I bet your great-grandma made. It’s one of those recipes that turns the simplest of ingredients into something super impressive. I’ll walk you through each step.
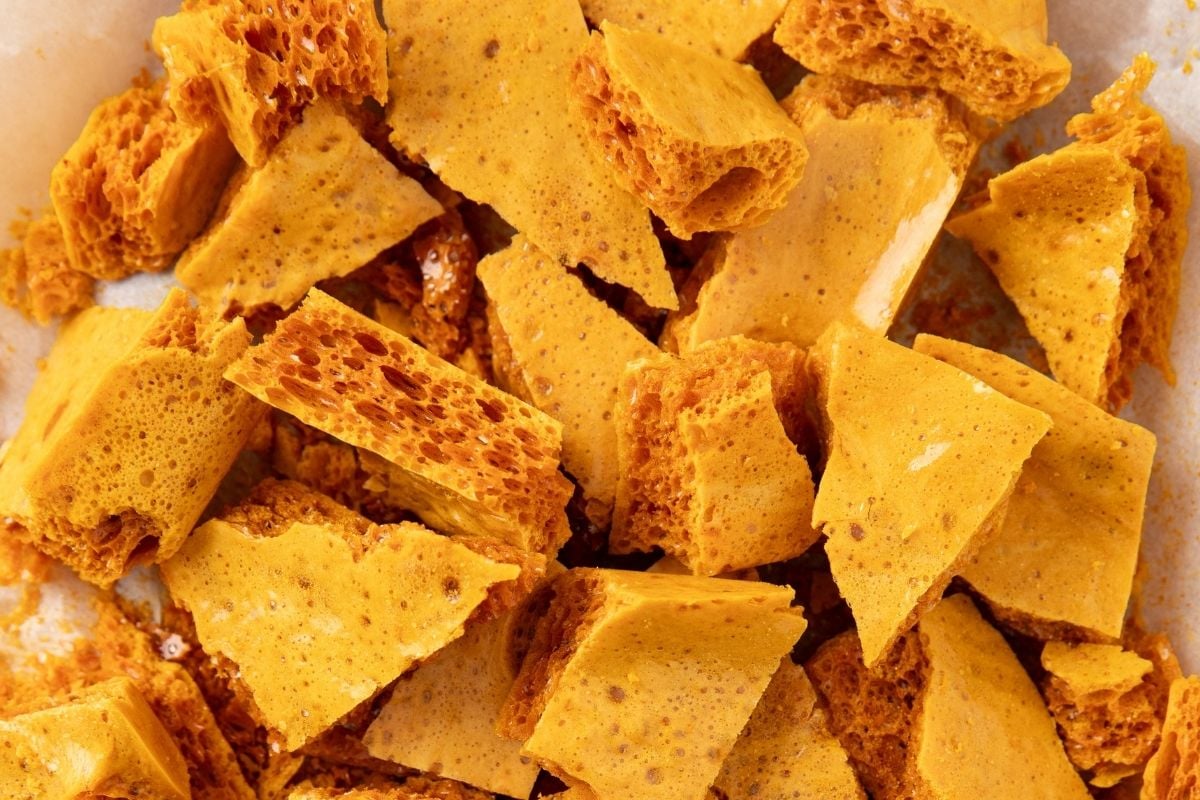
What You’ll Need
- Nonstick cooking spray, for the pan
- 1 cup (200g) granulated sugar – white sugar only here; don’t try to substitute brown sugar because it has too much moisture
- 1/4 cup (85g) light corn syrup – can also substitute golden corn syrup
- 1/4 cup (60g) water
- 2 tablespoons (40g) honey
- 1/4 teaspoon salt
- 1/8 teaspoon cream of tartar – this tiny amount helps the baking soda foam evenly; if you don’t have any, you can use a splash of white vinegar
- 2 teaspoons baking soda, sifted – use fresh baking soda (less than 6 months old); older baking soda will result in dense and flat candy
Equipment You’ll Need
You’ll need a few simple things to make this recipe easy (and many other candy recipes).
A candy thermometer is a MUST. I will show you what to do if you don’t have one. But they’re pretty inexpensive, and they’re the ultimate tool for keeping your recipe on track.
You’ll want a deep, heavy-bottomed pan. The mixture will nearly triple in size when it starts to boil, so grab a 4-quart pot to keep it from boiling over.
Use a 9×9 metal pan for setting the candy, not a glass pan. This candy gets pretty hot, and a glass pan could crack. Also, use only parchment paper. Wax paper will melt.
Lastly, while this recipe is simple, keep in mind you’re handling very hot ingredients and tools. Grab an oven mitt and a long-handled whisk to keep yourself safe and burn-free.
Instructions
Prepare the pan
Line your metal baking pan with parchment paper. Leave a little paper sticking out along the sides so you can remove the candy later. Then coat the paper lightly with non-stick cooking spray. Set the pan aside on something heat-proof so it’s ready when you’re ready to pour.
Set up your station
Set yourself up for success here, because things will move pretty quickly at the end and you don’t want to be running all over the kitchen. Keep things within arm’s reach. Put your baking soda right next to the stove with your whisk.
Combine the syrup ingredients
Add the sugar, corn syrup, water, honey, salt, and cream of tartar to the 4-quart saucepan. Turn the burner to medium heat, and stir together until it begins to boil.
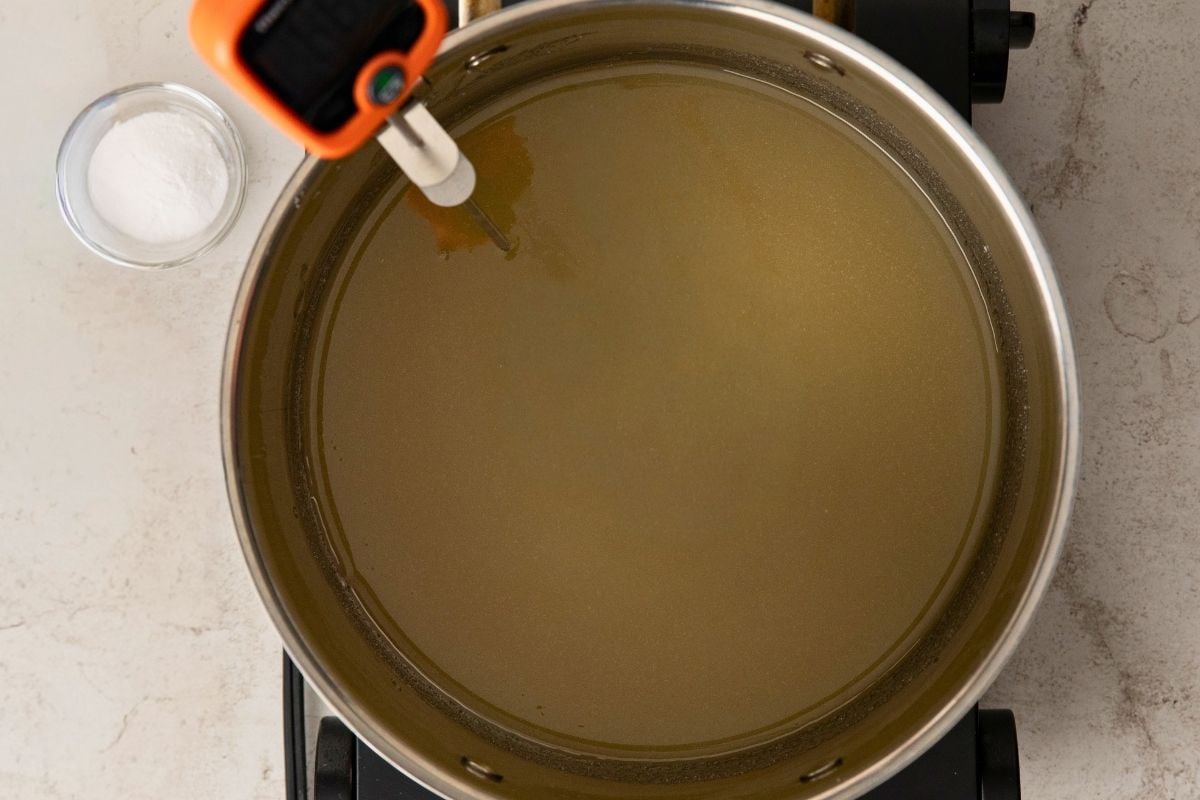
Clip the candy thermometer to the edge of the pot, making sure the tip is in the mixture and not touching the bottom of the pan.
Cook to 300°F
Stop stirring and let the syrup boil on medium heat for about 15 minutes. It’s going to take about that long for the thermometer to read 300°F. You’ll notice the temperature rise quickly, then slow down around 240-250°F. Then at the end, it’s going to keep boiling. So stay close by, and don’t worry if the speed goes up and down.
If you get a little nervous about it going over 300°F, pull the pot off the stove around 295°F, since the mixture will continue to cook a little longer after you take it off.
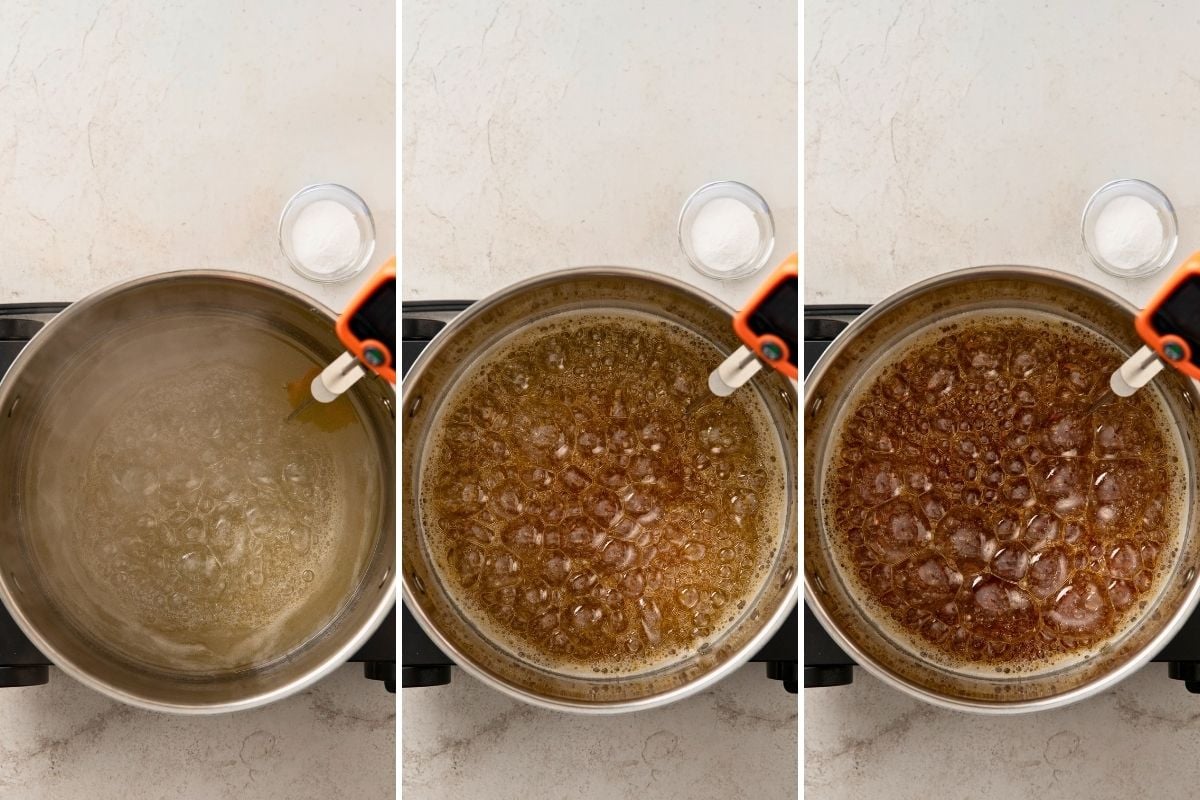
If any sugar crystals start to form on the side of the pot during this, push them back down so they don’t burn. You can do this carefully with a wet pastry brush.
If you don’t have a candy thermometer, you’ll need to do the “cold water test”. Grab a bowl and fill it with ice-cold water. Once the mixture is that deep amber color, use a spoon to scoop out a small amount and pour it into the bowl. If it hardens and snaps in half, it’s ready. If it’s still chewy and soft, boil it a little longer. Do this in 30-second increments (use fresh water each time) until it’s ready.
Whisk in the baking soda
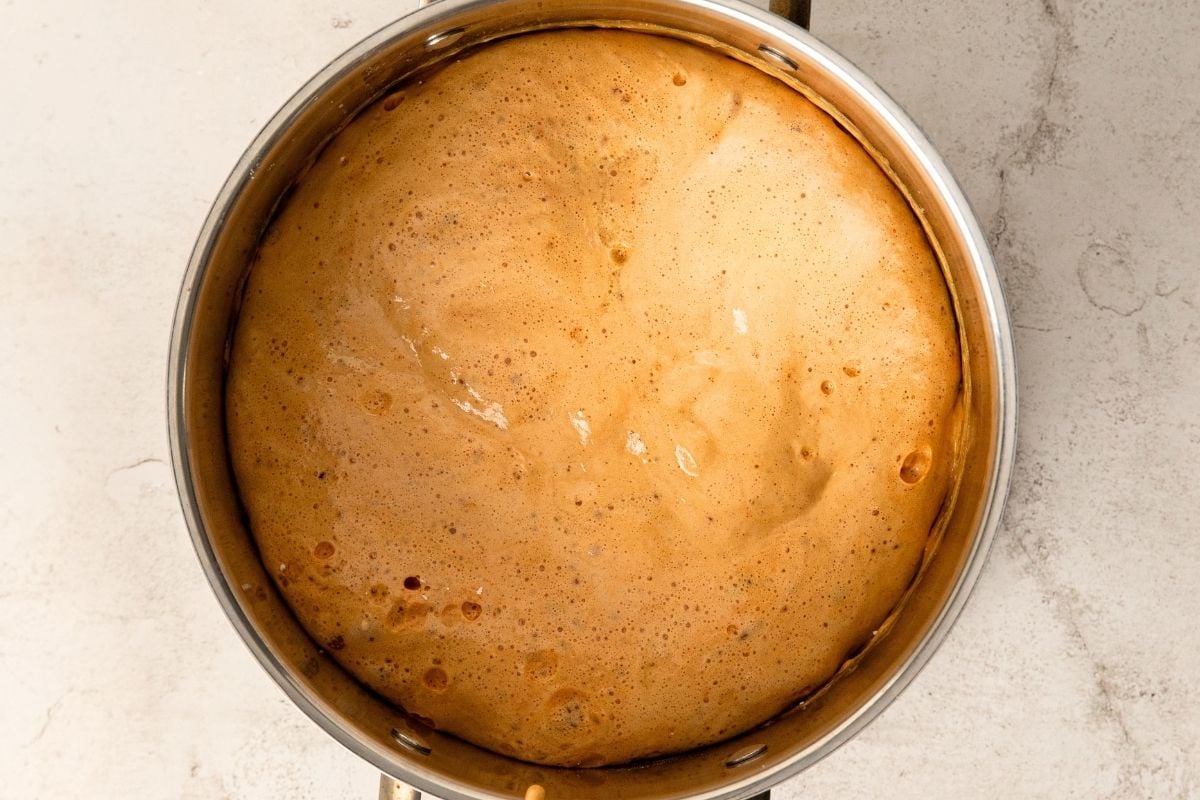
This is the really cool part! Take the pot off the heat and sprinkle in the baking soda. Whisk for about 5 seconds (you don’t want to break any more bubbles than you need to) until the baking soda dissolves. The mixture should be a dark golden color and look light and fluffy.
Save This Post
You'll join my email list which you will love. And if you don't, unsubscribe in one click. ❤️
Be extra careful here; the foam is very hot and could burn your face. So make sure you’re holding your head back while whisking.
Pour immediately
You have to work fast now (while still being super careful, so grab the oven mitts!). Pour the foam into your pan immediately and don’t worry about scraping out the pot or spreading it in the pan. If you do, you’ll disturb all those air pockets we want.
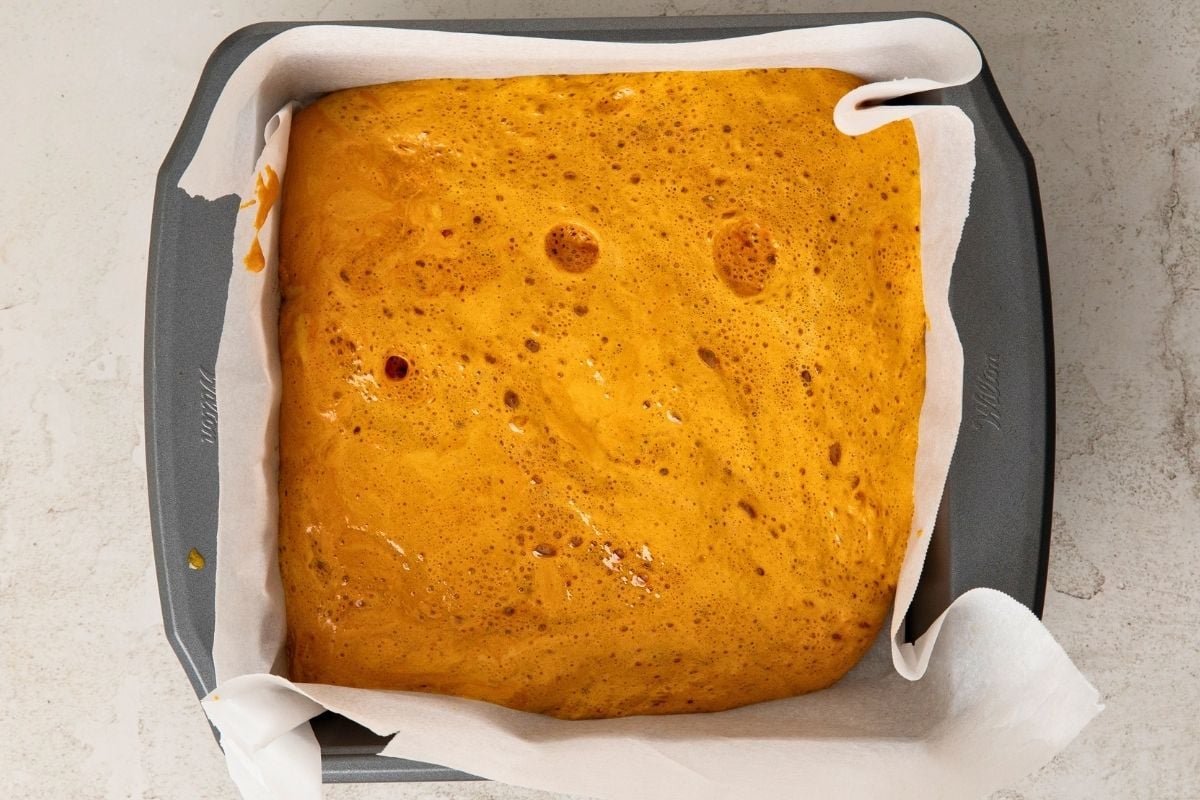
Let the candy cool for about an hour, until it’s completely hard. Keep the kids away from it while it’s cooling. I either keep them out of the kitchen entirely or set the pan far back on the countertop so no little fingers can reach.
Break into pieces
Once the candy is hardened and cooled, take it out of the pan by lifting the parchment paper. You can break the candy by hand or use the back of a spoon.
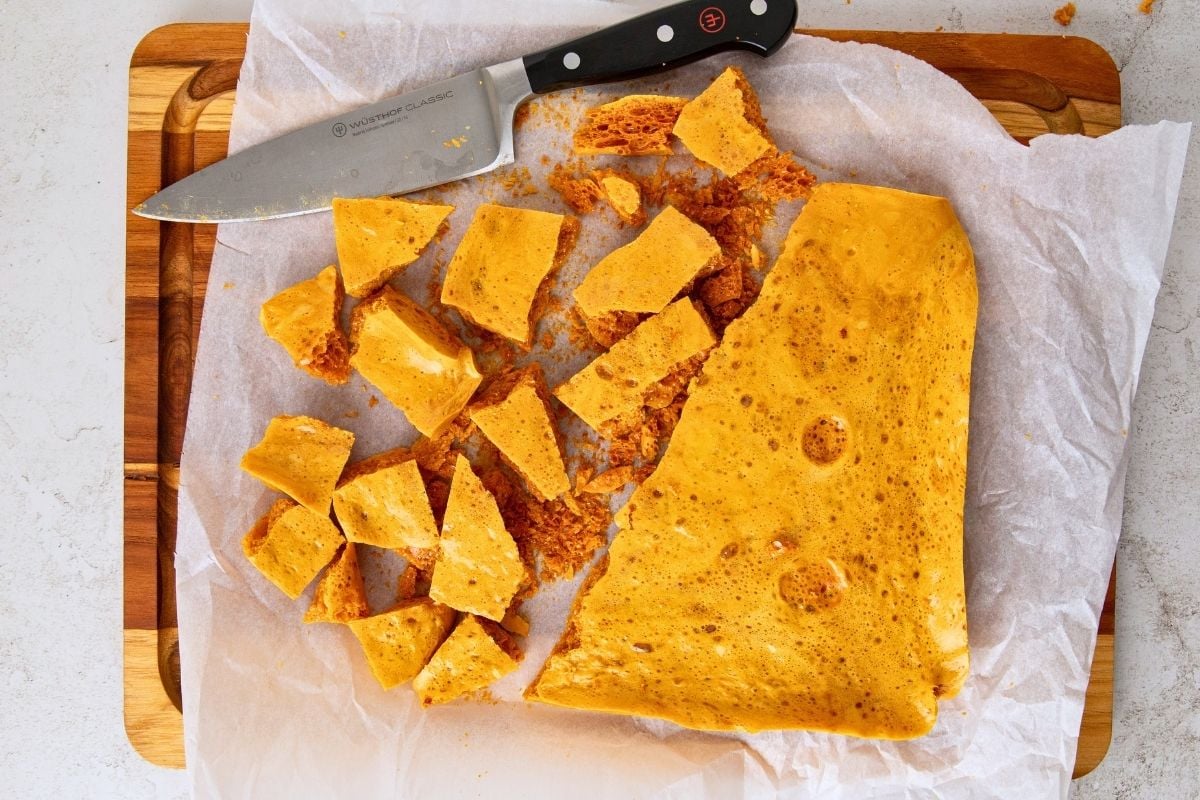
I like the rustic, random pieces. But if you want evenly cut pieces, you can use a serrated knife.
And don’t forget about your pot, because there’s probably a little bit of candy residue left in it. Wait until it’s cooled, then fill it with water and gently boil it to loosen it back up. You can even put your whisk and thermometer in the boiling water to get those hardened pieces off. Scrape off the sugar and then wash as usual.
Storage Instructions
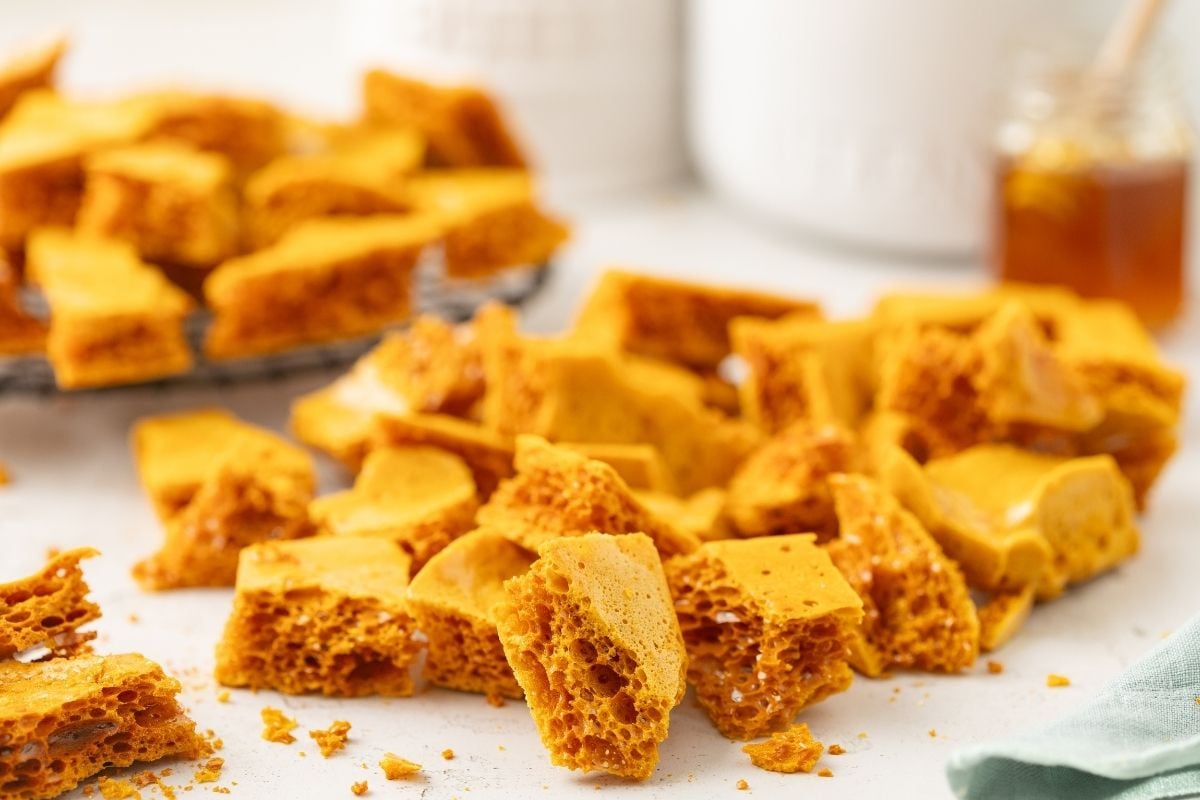
The key to properly storing this candy is to keep it dry. Put it in an airtight container and keep it at room temperature (not the fridge—too much moisture) for up to a week. Separate layers with parchment paper so the pieces don’t stick.
If they get a little sticky and soft, lay the candy out on a cookie sheet and dry in a 200°F oven for 8-10 minutes.
You can also freeze the candy, but be really mindful not to let any moisture in. The candy can be stored in the freezer for up to a month. Use a freezer-friendly, airtight container. Then, when you’re ready, let it thaw at room temperature (still sealed) for about 30 minutes.
Questions and Troubleshooting
This recipe is simple, but finicky with volumes and temperatures, so I don’t recommend doubling it. I would just make a 1x batch again.
Even if you follow the instructions perfectly, your environment can still affect the results. With a candy like this, because moisture is the enemy, you’ll need to make it on a dry day. So this recipe probably isn’t best made on a rainy summer day, but it’s better for crisp winter days with a fire going.
Being gentle and fast is the trick here to keep those crunchy bubbles intact. So, whisk only long enough for the baking soda to dissolve, then pour the mixture quickly into the pan to harden. Don’t spread it if it doesn’t cover the bottom of the pan. You can gently tilt the pan so that it spreads that way.
I have tried this before, and it’s a great idea if you’ve already made the classic version and want to mix it up a bit. My favorite is adding some sea salt flakes right after it’s poured into the pan. I also add 1 teaspoon of vanilla (right when you take it off the heat, before you add baking soda). Adding cinnamon is also a fun option; just sift 1/2 teaspoon in when you prep the baking soda.
This is why I love this recipe. It’s old-fashioned, rustic, and highlights how amazing a few simple ingredients can be! Yep, you can eat them as-is. You can also dip them in chocolate. We love to sprinkle small pieces on top of ice cream at home. Other ways I’ve seen them used are in frosting, as a brownie topping, and as a milkshake garnish.
I know, right?! It’s one of my favorite ways to gift this candy. After the honeycomb cools, melt about 8oz of semi-sweet chocolate with 1 teaspoon of coconut oil. Then dip each piece into the chocolate, coating it halfway or fully. Lay them on a sheet of parchment paper to harden. If you coat the pieces entirely, it helps the honeycomb stay dry and crispy.
I suggest making this with your older kids at your side, as it is a really cool recipe (almost like a science experiment!), but it can get dangerous when handling the hot ingredients. I would not make this with little ones (or pets, for that matter) in the kitchen. You need to work fast and carefully, and that added chaos is unsafe. Definitely share the science behind it with them—it’s really cool! The baking soda reacts with the acid (the honey and cream of tartar) and releases carbon dioxide. And when the mixture gets super hot, it thickens enough to trap those pockets of air and create a bubbly, crunchy texture that’s really fun to eat.
More homemade candy recipes
- Old-Fashioned Divinity Candy Recipe
- Old-Fashioned Soft Caramels
- Cinnamon Rock Candy (aka Hard Tack)
- Crockpot Christmas Candy
- 55 Old-Fashioned Christmas Candies
Honeycomb Candy
Equipment
- Heavy-bottomed 4-quart saucepan
- Candy thermometer
- 9×9-inch metal baking pan
- Parchment paper
- Long-handled whisk
Ingredients
- nonstick cooking spray for the pan
- 1 cup granulated sugar 200g
- ¼ cup light corn syrup 85g
- ¼ cup water 60g
- 2 tablespoons honey 40g
- ¼ teaspoon salt
- ⅛ teaspoon cream of tartar
- 2 teaspoons baking soda sifted
Instructions
- Prepare the pan. Line a 9×9-inch metal baking pan with parchment paper, leaving extra paper standing up along the sides, and lightly coat the parchment with nonstick cooking spray. Set the pan on a heatproof surface near the stove.
- Set up your station. Sift the baking soda into a small bowl and set it next to the stove with a long-handled whisk. Candy moves fast at the end, so everything needs to be within arm’s reach before you turn on the burner.
- Combine the syrup ingredients. In a heavy-bottomed 4-quart saucepan over medium heat, stir together the sugar, corn syrup, water, honey, salt, and cream of tartar just until the sugar looks like wet sand, about 30 seconds. Clip a candy thermometer to the pot so the tip sits in the syrup without touching the bottom.
- Cook to 300°F. Let the syrup boil without stirring over medium heat for about 15 minutes, until the thermometer reads 300°F and the syrup is deep amber; brush down any sugar crystals on the pot sides with a wet pastry brush. Watch closely during the last 2 minutes — the heavy pot keeps cooking the syrup, so you can pull it as early as 297°F, and never let it pass 310°F.
- Whisk in the baking soda. Off the heat, sprinkle the baking soda over the top all at once and whisk for just 5 seconds, until it disappears and the mixture foams up light golden. Stop whisking immediately and keep your face back, because the foam is very hot.
- Pour immediately. Pour the foam into the prepared pan without spreading it or scraping the pot, gently tilting the pan to even it out if needed. Let the candy cool undisturbed until completely hard, about 45 to 60 minutes.
- Break into pieces. Lift the candy out using the parchment overhang and break it into bite-size pieces with your hands, or use a serrated knife with a gentle sawing motion for neater pieces. Fill the empty pot with water right away so the hardened candy starts to dissolve.
Notes
Nutrition

Related Articles
See ALL
How to Make the Perfect Blackberry Old Fashioned – Your New Favorite Drink!
Classic Vanilla Fudge Recipe (From Scratch)
This Huli Huli Chicken Makes Weeknight Dinners Feel Special
Old Fashioned Peanut Butter Balls with Rice Krispies
Vanilla-Honey Ice Cream
Southwest Barbecue Chicken Salad with Creamy Cilantro Ranch
Candy Cane Ice Cream Recipe
Old-Fashioned Penuche Fudge
Buttery English Toffee
Flaky Homemade Toaster Pastries
Easy Cast Iron Skillet Nachos
Spring Farmhouse Desserts
See all
Related Articles
Italian Easter Bread
Slow Cooker Baked Ziti
Triple Berry Cobbler with Sugar Cookie Topping
Multigrain Sandwich Bread
Soft Bread Machine Dinner Rolls
57 Old-Fashioned Christmas Candies
Blackberry Raspberry Pie (A Favorite Summer Dessert)
Amish Chocolate Chip Cookies
49 Cozy Fall Recipes From a Farmhouse Kitchen