
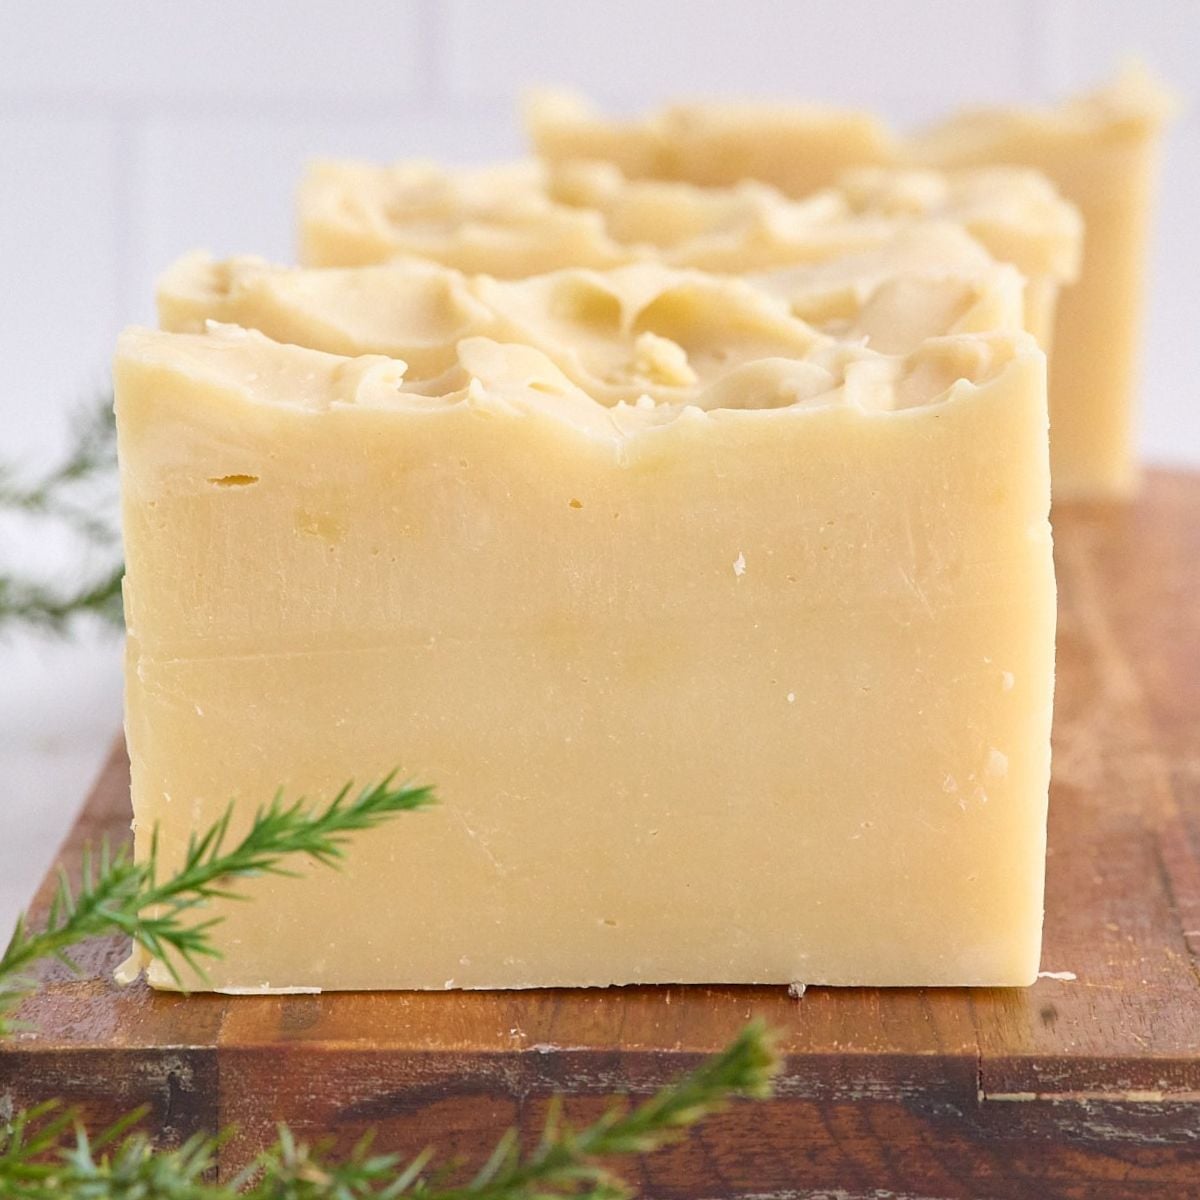
Winter Forest Cold Process Soap

The best way I can describe it is like walking through the woods, a.k.a. the perfect holiday scent! This soap has a little pine, cedar wood, citrus, cinnamon, patchouli, and thyme. It’s great for gifting and keeping at the kitchen sink for when you want to scrub up and escape to the woods.
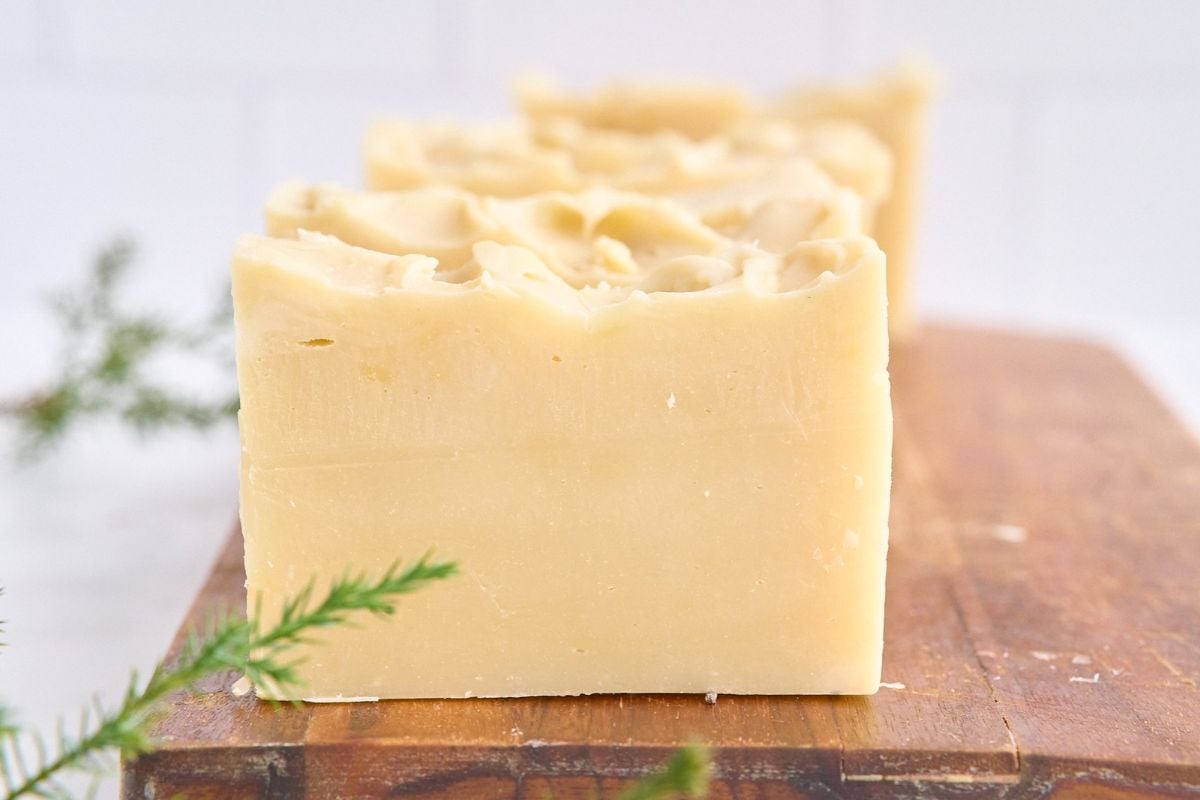
What You’ll Need
Oils (907 g / 32 oz)
- Olive oil — 318 g / 11.2 oz (35%)
- Coconut oil, 76° — 272 g / 9.6 oz (30%)
- Shea butter — 136 g / 4.8 oz (15%)
- Sweet almond oil — 136 g / 4.8 oz (15%)
- Castor oil — 45 g / 1.6 oz (5%)
Lye solution
- Sodium hydroxide — 128 g / 4.5 oz
- Distilled water — 284 g / 10 oz
Add-ins
- Kaolin clay — 2 tsp (anchors scent, silky lather)
Fragrance — 45 g / 1.6 oz total (5% of oils)
Option A, essential oils (closest to the real thing):
- Fir needle (Siberian or balsam) — 16 g
- Scotch pine — 10 g
- Cedarwood, Virginia — 9 g
- Sweet orange 5-fold (or litsea cubeba) — 5 g
- Patchouli — 3 g – don’t skip this if you dislike patchouli; it’s an important addition to get that “forest floor”/earthy scent
- Cinnamon leaf — 1 g
- Thyme — 1 g
Option B, fragrance oil (strongest, longest-lasting)
- “Fraser Fir,” “Christmas Tree,” or “Balsam & Cedar” fragrance oil from a soap supplier – 40 g look for brands like Bramble Berry, Nurture Soap, Wholesale Supplies Plus, and Nature’s Garden
- Patchouli — 5 g – to deepen the scent
Note: Always check the supplier’s info, like max usage rate. I also like to read the reviews on acceleration before I commit to a scent.
Equipment You’ll Need
Safety comes first when it comes to making soap. You’ll want to make sure you have pants and long sleeves on to protect your skin. Gloves and goggles are also really important. A mask isn’t necessary, but it’s a good idea to avoid the fumes from the lye.
For tools, you’ll need an emulsion blender, a pot, and a soap mold. I like to keep these things (like the blender and the pot) specifically for soap making. Same goes for any basic utensils I use, like a whisk and a spoon.
Instructions
Gear up
First, you’re going to want to make sure that you’re safely set up. Put on your goggles, gloves, and long sleeves. Whenever you’re making soap, you’re going to want to open a window to let some fresh air in.
Weigh everything
When you have everything in place, things will move much more smoothly. You don’t want any distractions or last-minute grabs because you need to stay focused.
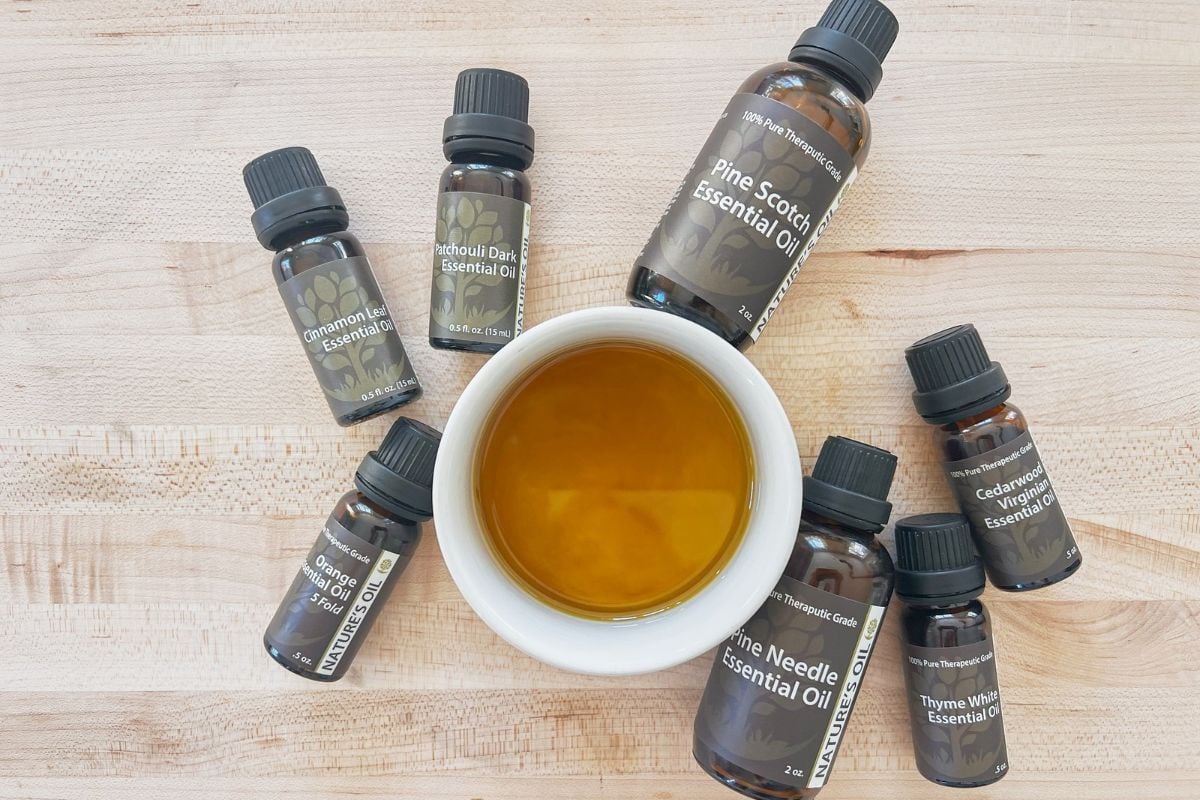
Weigh everything ahead of time (including the fragrance in a separate cup) and lay it out so it’s ready to go.
Make the lye solution
First, you’re going to add the sodium hydroxide to the distilled water. You’ll never do this in the reverse order. Give it a stir until it’s dissolved, and then set it aside to cool to 90-100°F.
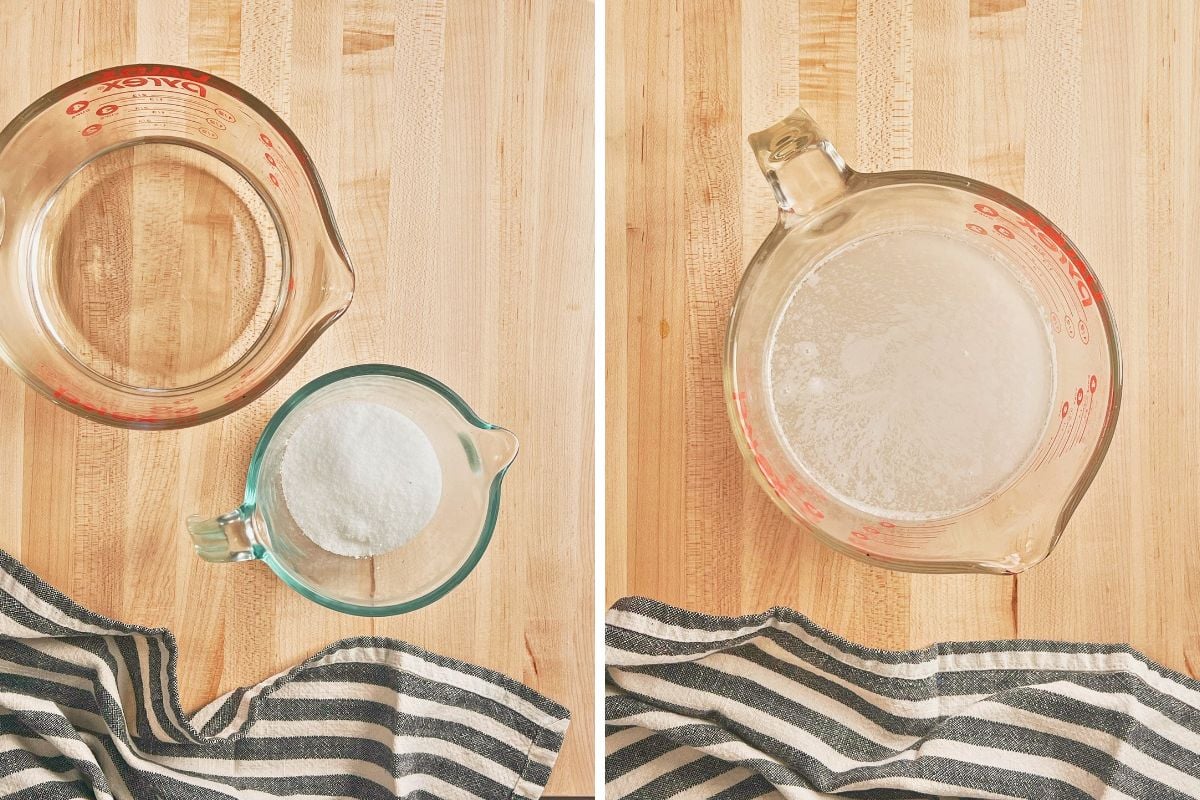
You can put the solution right next to an open window.
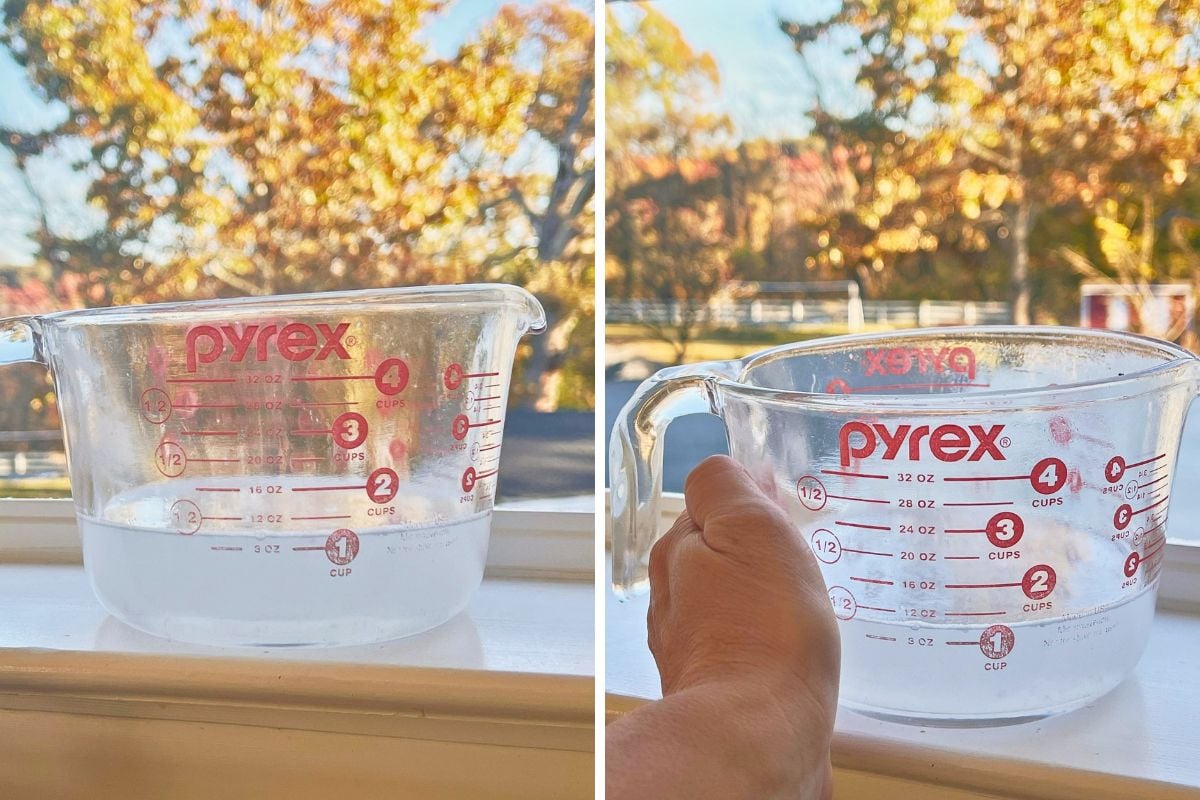
Why does it need to cool? Because when you add the sodium hydroxide to the water, it is going to create a reaction that will generate heat, so you need to bring the temperature back down before you continue.
Melt the hard oils
Now you need to melt the oils before you blend everything.
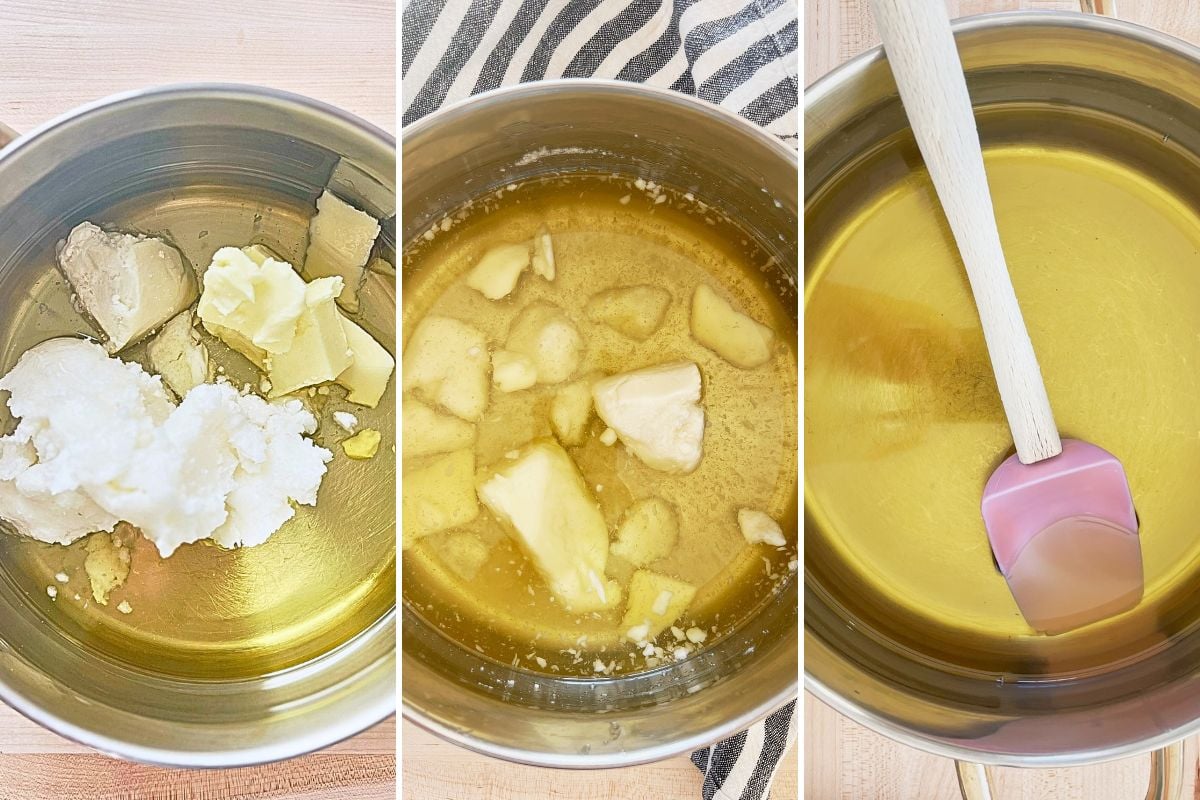
I like to melt the hard oils first and then add in the liquid oils (olive, almond, and castor oil). Not the fragrance oils, yet. We’ll do that after.
Whisk in the clay
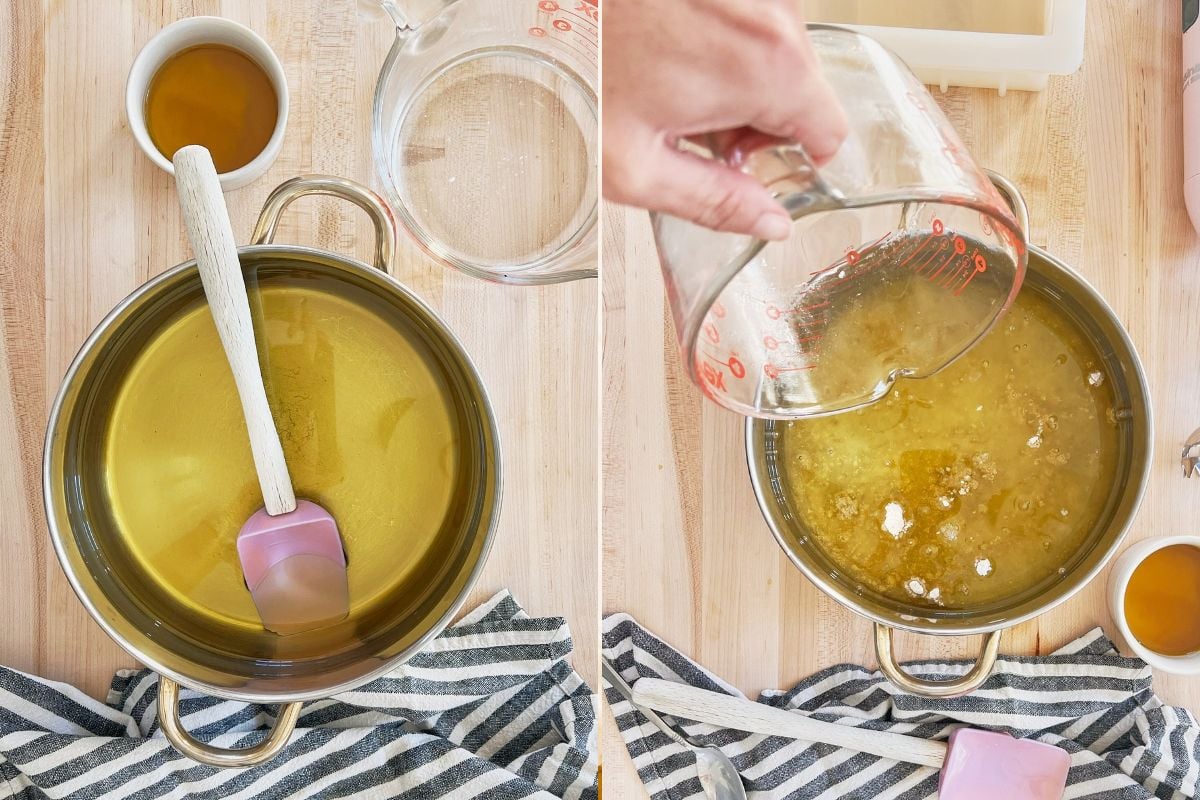
Once the oils are melted, you’ll whisk in the kaolin clay.
Save This Post
You'll join my email list which you will love. And if you don't, unsubscribe in one click. ❤️
Bring the temperature of the melted oil to 90-100°F. Keeping the temperature lower will help you with the next step.
Blend to emulsion
Now pour the lye solution into the oils and use your immersion blender to blend. You’ll do this by using short bursts of power on the blender until everything is emulsified (creamed together).
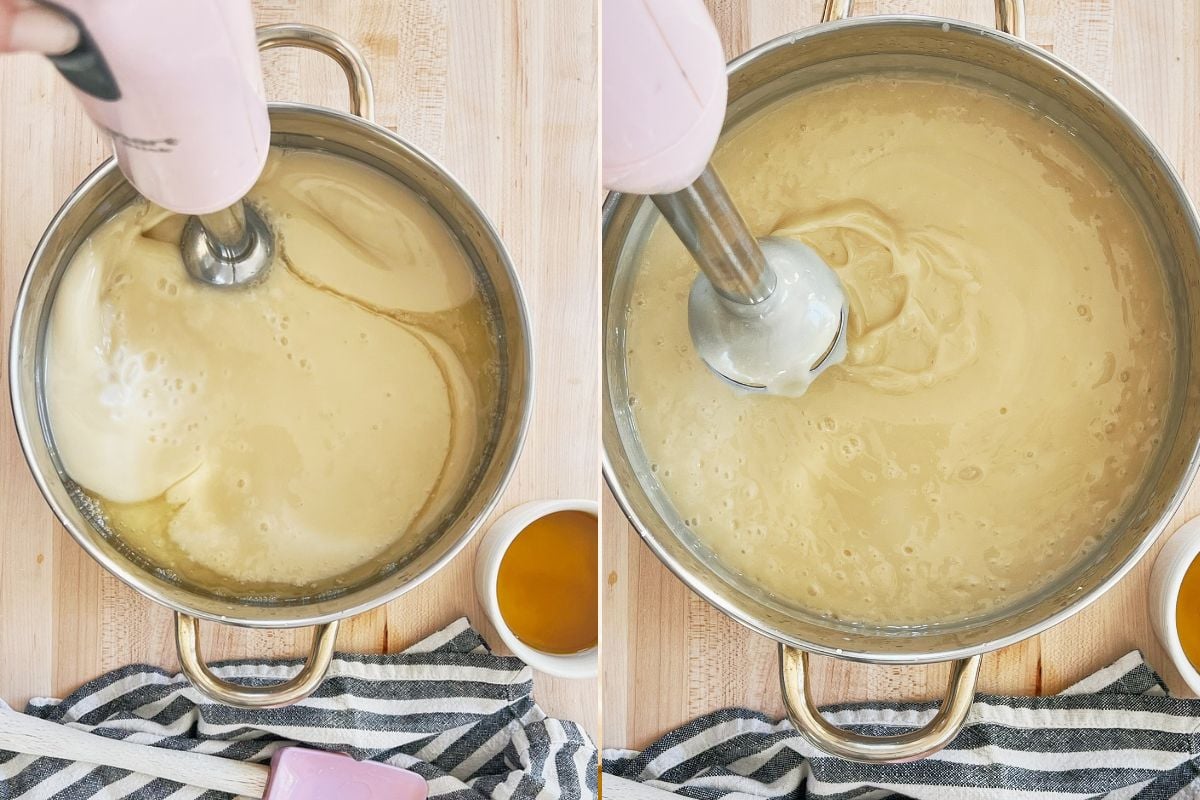
You want it to be on the thin side. If you go too far, you’ll push it to thick trace, and you don’t want that. Trace is the point of soap making when things blend together and become a “soap batter”. Generally, you want it light trace for easier management and pouring.
Add the fragrance
It’s time to add the fragrance oils. Whisk these in by hand, not with the blender.
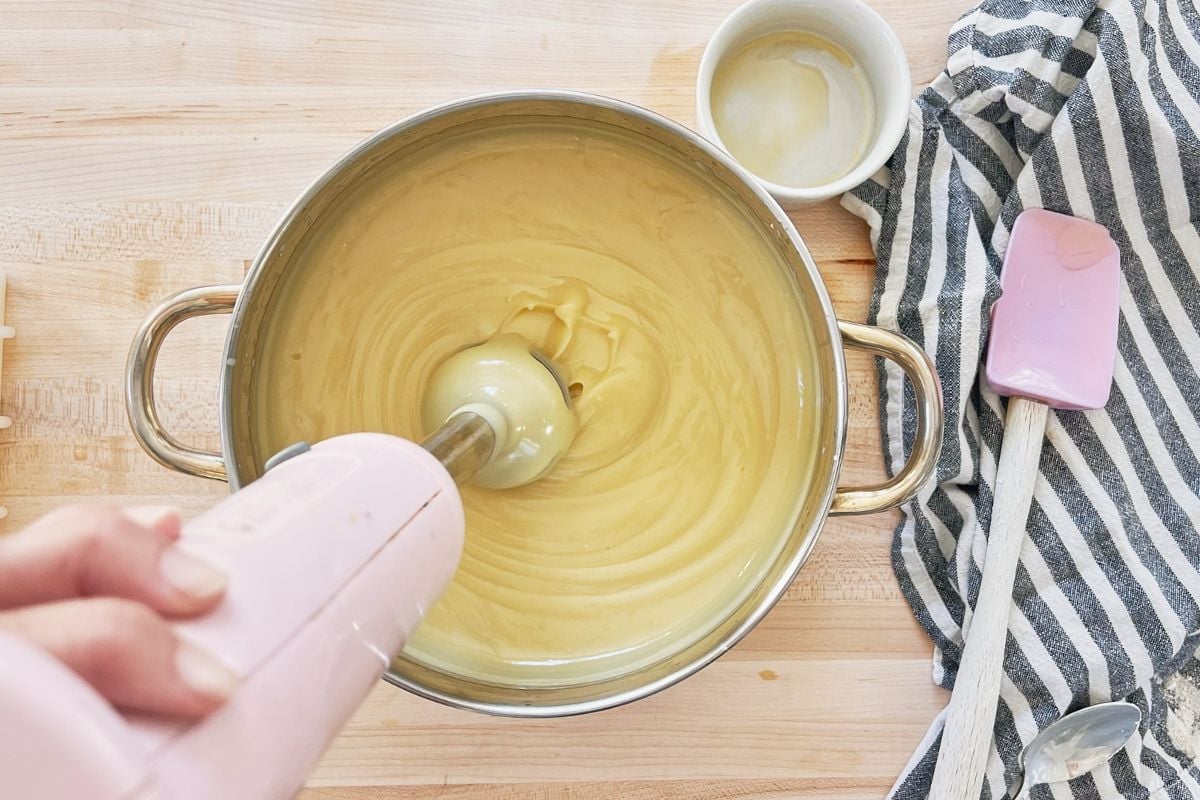
If you’re feeling festive and fancy, you can add green colorant. But first, you must take a cup of the batter out before you add the scents. Add a green colorant of your choice, and just follow the manufacturer’s instructions for doing this part.
Mold the soap
Next, you’re going to pour the soap into the mold…remember to be careful!
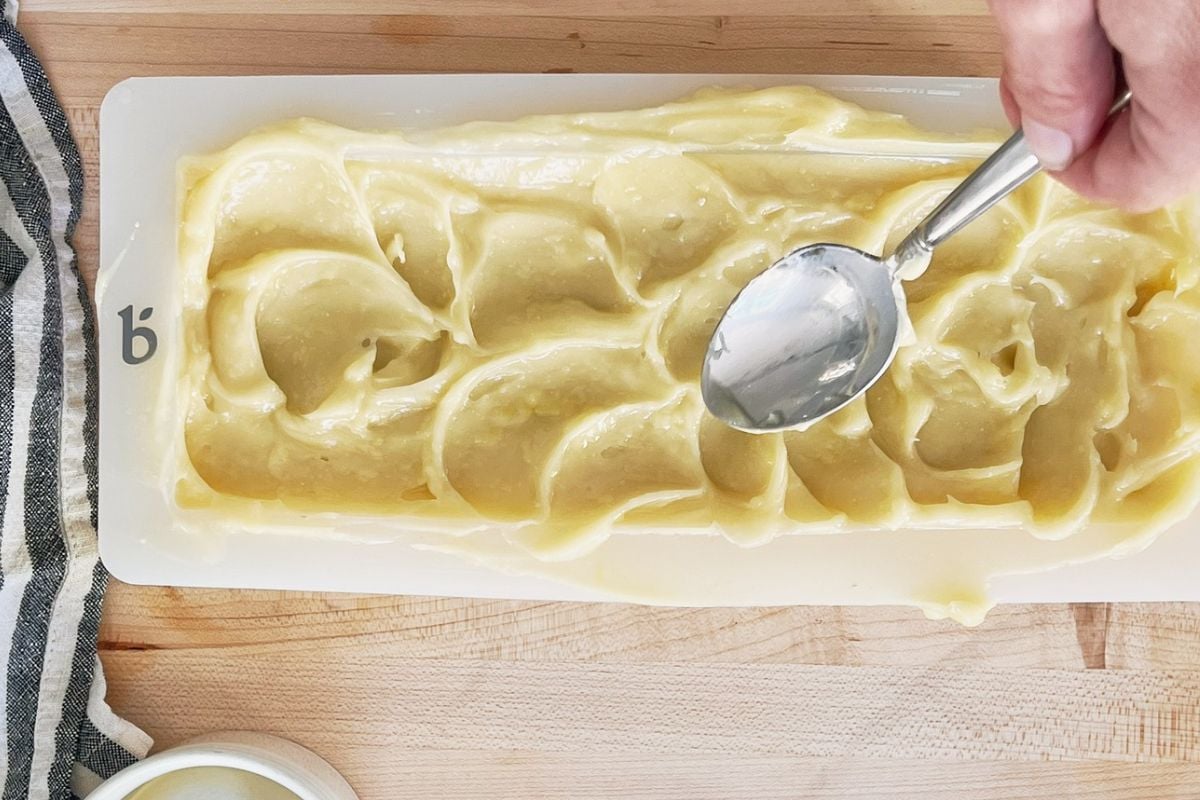
Use the back of a spoon to create a wavy texture on top.
Cover and rest
Cover the mold with some cardboard (nothing too fancy here) and just leave it undisturbed for a day or two.
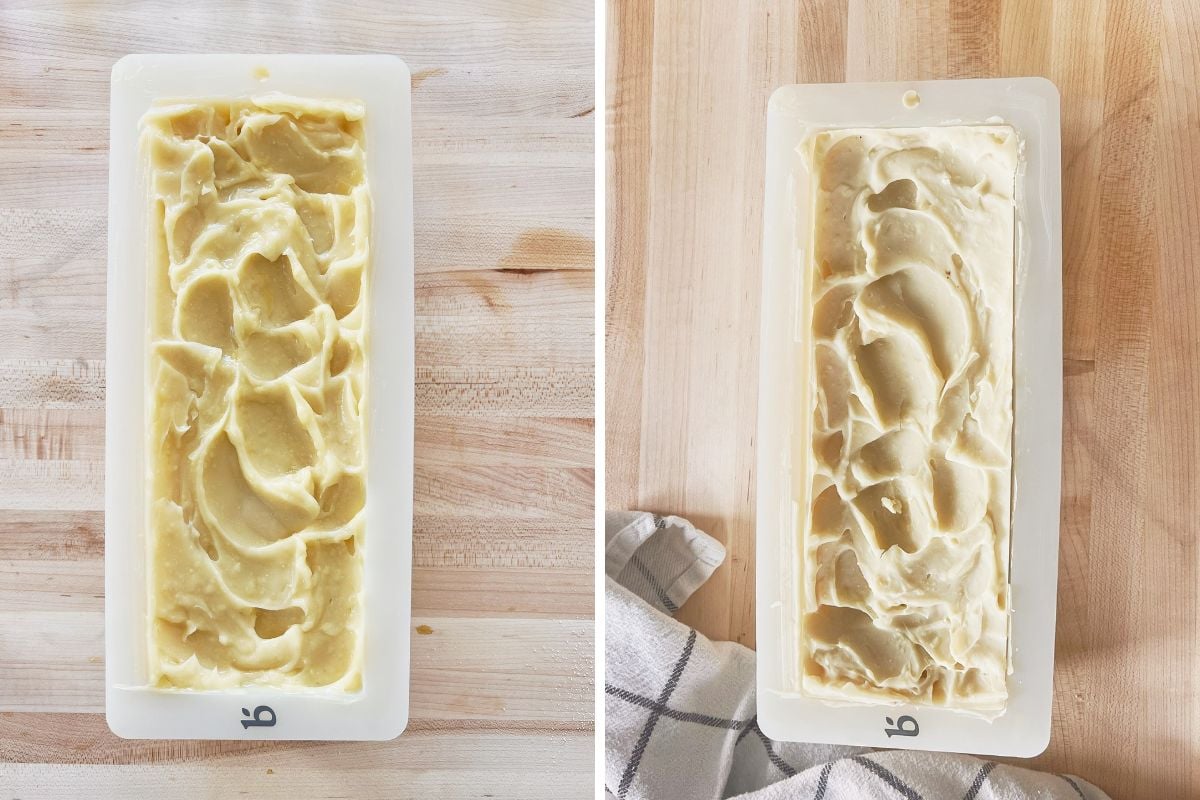
Keep it out of the reach of kids and pets…back off the countertops, top of the fridge, wherever it can go untouched.
Cut the bars
After a day or two, you’ll take the soap out of the mold and then cut into 1-inch bars.
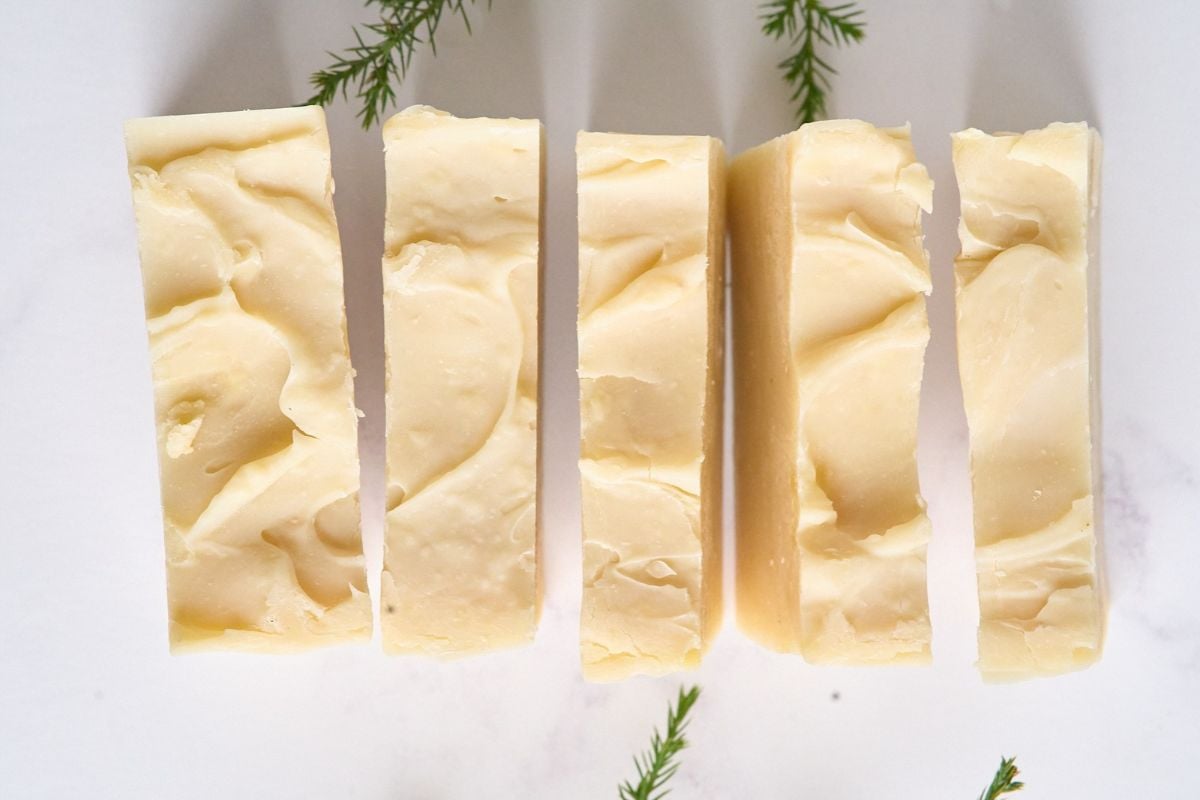
You can do this with a soap loaf cutter with a wire, or you can also do it with a sharp, stainless steel knife. Whichever you have and you like to use.
Cure the bars
Now the waiting part! Cure the soap bars for 4-6 weeks. You’ll do this on a rack, in a cool, dry, and well-ventilated space. Don’t forget to turn them weekly. The longer the soap cures, the harder it will be.
Store them covered
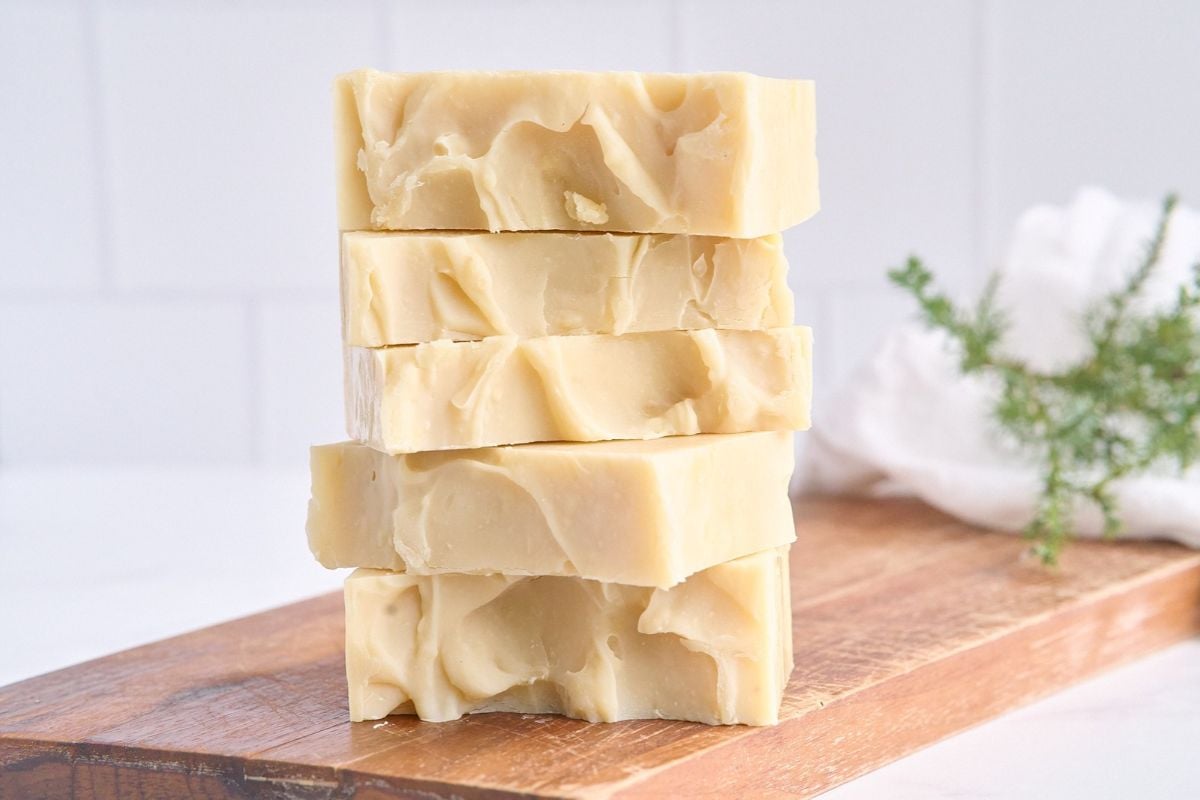
After they’re cured, you can store the bars in a cardboard box or paper bags until you’re ready to use or use as gifts.
Storage Instructions
Keeping the bars closed in a cardboard box or paper bags is going to preserve the scent. If you want to give them as gifts, you can wrap them in kraft paper or wax baggies. Keeping them in a cool, dry place is going to extend the life of the soap. Try to avoid airtight containers, especially if they haven’t cured all the way.
Questions and Troubleshooting
Some fragrances, like conifer in this case, will make the soap batter thicken quickly. To slow things down, consider bringing the temps of the oil down even more next time.
A few things could have happened here. Oftentimes, measuring incorrectly will result in a soft bar of soap. Always (and I mean always!) use a food scale…also make sure that it’s working correctly, first! Also, check your trace next time and make sure it’s very creamy, on the thin side, and not pasty.
I love using silicone molds. They are easy to maneuver and really easy to clean.
Yes! The waiting is hard, but the longer a soap cures, the better (think more firm, easy-to-use) it’s going to be.
More scented cold process soap recipes
- Vanilla Cold-Process Soap Recipe
- Apple Cider Soap
- Lemon Soap Recipe (Cold Process)
- Pink Grapefruit Soap Recipe (Cold Process)
Winter Forest Cold Process Soap
Equipment
- digital scale
- Stick blender
- 10-inch loaf mold
- safety goggles and gloves
- Whisk
- curing rack
Ingredients
Oils
- 318 grams olive oil 11.2 ounces (35%)
- 272 grams coconut oil, 76° 9.6 ounces (30%)
- 136 grams shea butter 4.8 ounces (15%)
- 136 grams sweet almond oil 4.8 ounces (15%)
- 45 grams castor oil 1.6 ounces (5%)
Lye solution
- 128 grams sodium hydroxide 4.5 ounces
- 284 grams distilled water 10 ounces
Add-ins
- 2 teaspoons kaolin clay anchors scent, silky lather
Fragrance Option A — essential oil blend
- 16 grams fir needle essential oil Siberian or balsam
- 10 grams Scotch pine essential oil
- 9 grams cedarwood essential oil, Virginia
- 5 grams sweet orange 5-fold essential oil or litsea cubeba
- 3 grams patchouli essential oil don’t skip it — at this ratio it reads as forest floor and acts as the fixative
- 1 gram cinnamon leaf essential oil
- 1 gram thyme essential oil
Fragrance Option B — fragrance oil
- 40 grams CP-tested “Fraser Fir,” “Christmas Tree,” or “Balsam & Cedar” fragrance oil from a soap supplier; cedar-forward blends are closest — check the max usage rate and acceleration reviews before buying
- 5 grams patchouli essential oil to deepen the fragrance oil
Instructions
Safety & prep
- Gear up. Put on goggles, gloves, and long sleeves, and open a window.
- Weigh everything. Pre-weigh every ingredient before you start, including the fragrance in its own cup.
Lye solution
- Make the lye solution. Add the sodium hydroxide to the distilled water (never the reverse), stir, and set aside in a safe place to cool to 90–100°F.
Oils & clay
- Melt the hard oils. Melt the coconut oil and shea butter, then stir in the olive, almond, and castor oils.
- Whisk in the clay. Whisk the kaolin clay into the oils and bring them to 90–100°F, keeping them on the cool side since conifer scents can speed up trace.
Combine & fragrance
- Blend to emulsion. Pour the lye water into the oils and stick-blend in short bursts just until you reach a thin, uniform emulsion. Don’t push it to thick trace.
- Add the fragrance. Pull out a cup of batter for the green swirl first if you’re coloring, then pour in the fragrance and stir by hand with a whisk, not the stick blender.
Mold & rest
- Mold the soap. Pour the batter into the mold and texture the top.
- Cover and rest. Cover with cardboard and leave undisturbed for 24 to 48 hours.
Cut, cure & store
- Cut the bars. Unmold the loaf and cut it into 1-inch bars.
- Cure the bars. Cure 4 to 6 weeks on a rack, turning the bars weekly.
- Store them covered. Once cured, keep the bars in a closed cardboard box or paper bags — pine’s bright top notes are the first to wander off in open air.
Notes

Related Articles
See ALL
Easy Goat Milk Soap {Melt and Pour, No Lye!}
How to Hatch Chicken Eggs in an Incubator
Goat Milk Lotion Bar Recipe
The Best Chicken Breeds to Eat (3 Choices)
The 7 Best Tomatoes for Canning
Which Chickens Lay The Most Eggs? The 9 Most Productive Breeds
Rigatoni Al Forno
How To Make A Simple and Frugal Liquid Dish Soap (With Video)
The Ultimate Guide to Easter Egger Chickens
Garden Plans for 4 x 4 Beds {Sample Layouts for Vegetable Gardens}
Cream Cheese Mints
How to Make Goat Milk Soap For Beautiful + Glowing Skin
See all
Related Articles
Cast Iron Skillet Roast Chicken
Chicken and Dumpling Soup
Easy Cast Iron Skillet Pork Chops
California White Chickens (Best White Chickens for Your Flock)
Growing Onions in Your Garden (A Beginner’s Guide)
How to Make Castile Soap: 100% Olive Oil Cold Process Recipe
Crockpot Ham and Bean Soup
15 Gorgeous Christmas Soap Recipes to Make and Give
Slow Cooker Chicken Spaghetti